Hollow Knight: Trial Of The Warrior Guide
Table of Contents
With this guide, you should be able to survive the Trial Of The Warrior within the Colosseum Of Fools.
You Are Reading :Hollow Knight Trial Of The Warrior Guide

Quick Links
The Colosseum Of Fools is the place to go in Hollow Knight if you want to test your combat skills. By the time you make it here, you should be well-versed in using your nail to wipe out the various enemies skittering around Hallownest. Which is good since the Colosseum offers up a challenge that even seasoned Hollow Knight players might find daunting.
There are three trials you can undertake in the Colosseum Of Fools. The Trial Of The Warrior is the first one and this guide will help you fight your way through it.
How To Begin The Trial And What To Expect From Enemy Waves

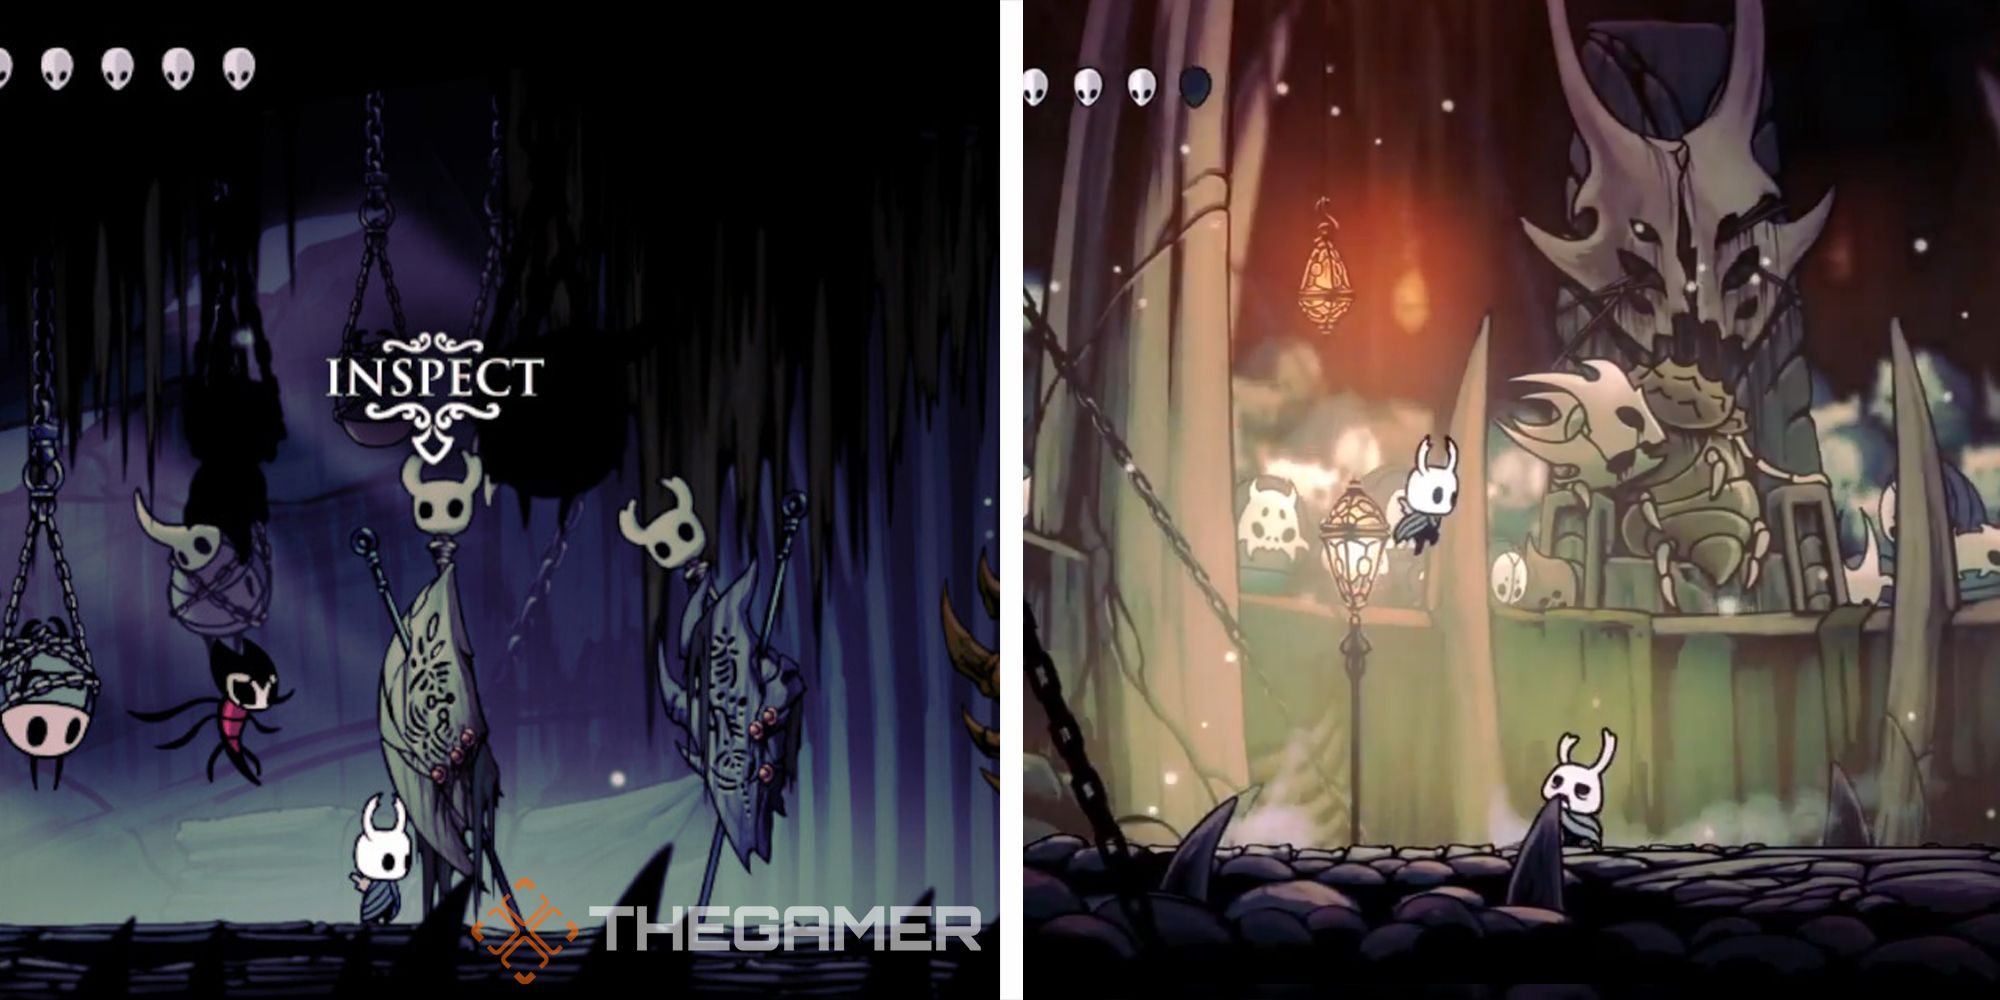
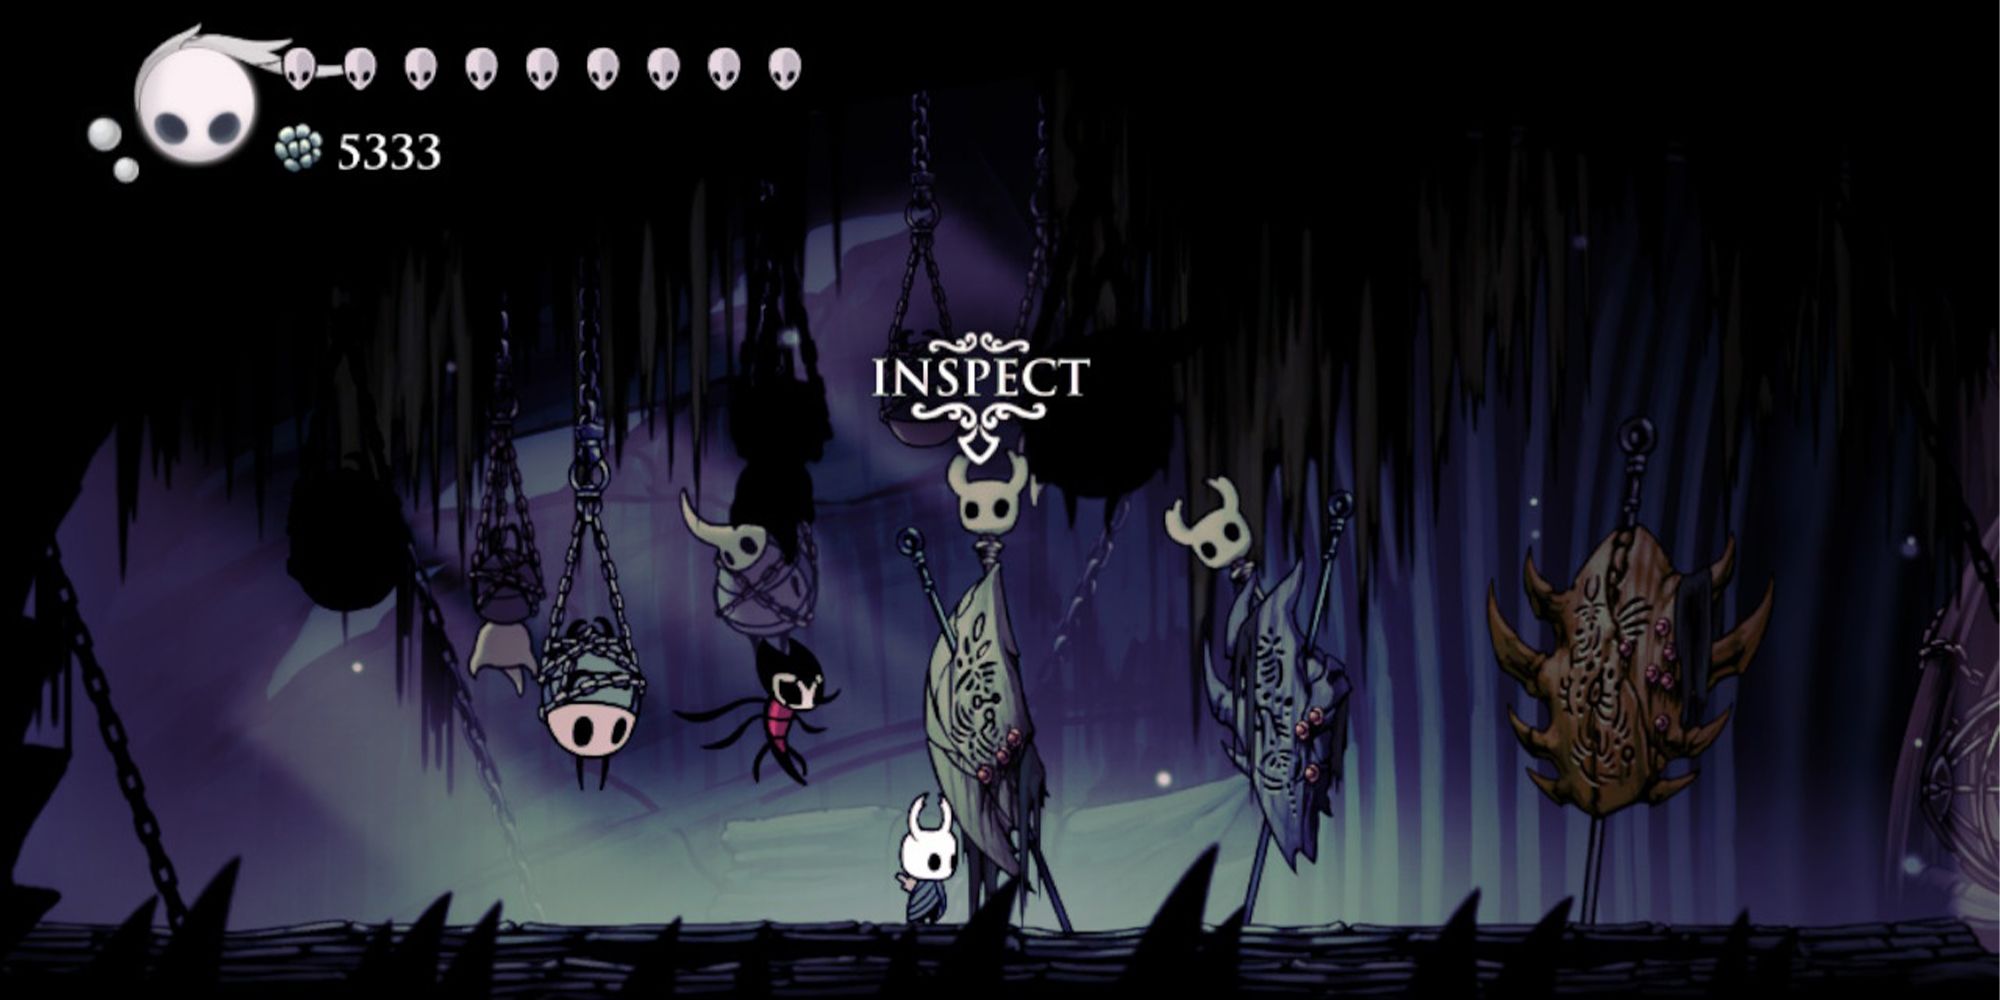
The Colosseum Of Fools is located in the northeast section of Kingdom’s Edge. Once you’re inside, to begin the Trial Of The Warrior, walk up to the first banner you see when you enter the Colosseum and pay the 100 geo entry fee. Then head to the right to enter the arena.
These trials involve waves of enemies that will get progressively more and more difficult as they go along, so knowing what you’re about to deal with can be immensely helpful. Here are the enemies you’ll face.
First Wave
The first wave is fairly simple. You’ll encounter a single Shielded Fool followed by two more afterward. These guys aren’t very tough, so just slash and nail jump on their heads to get around their shields. After they’re dead, Sharp Baldurs will appear. All they do is roll towards you, so you shouldn’t have much trouble with them.
Second Wave
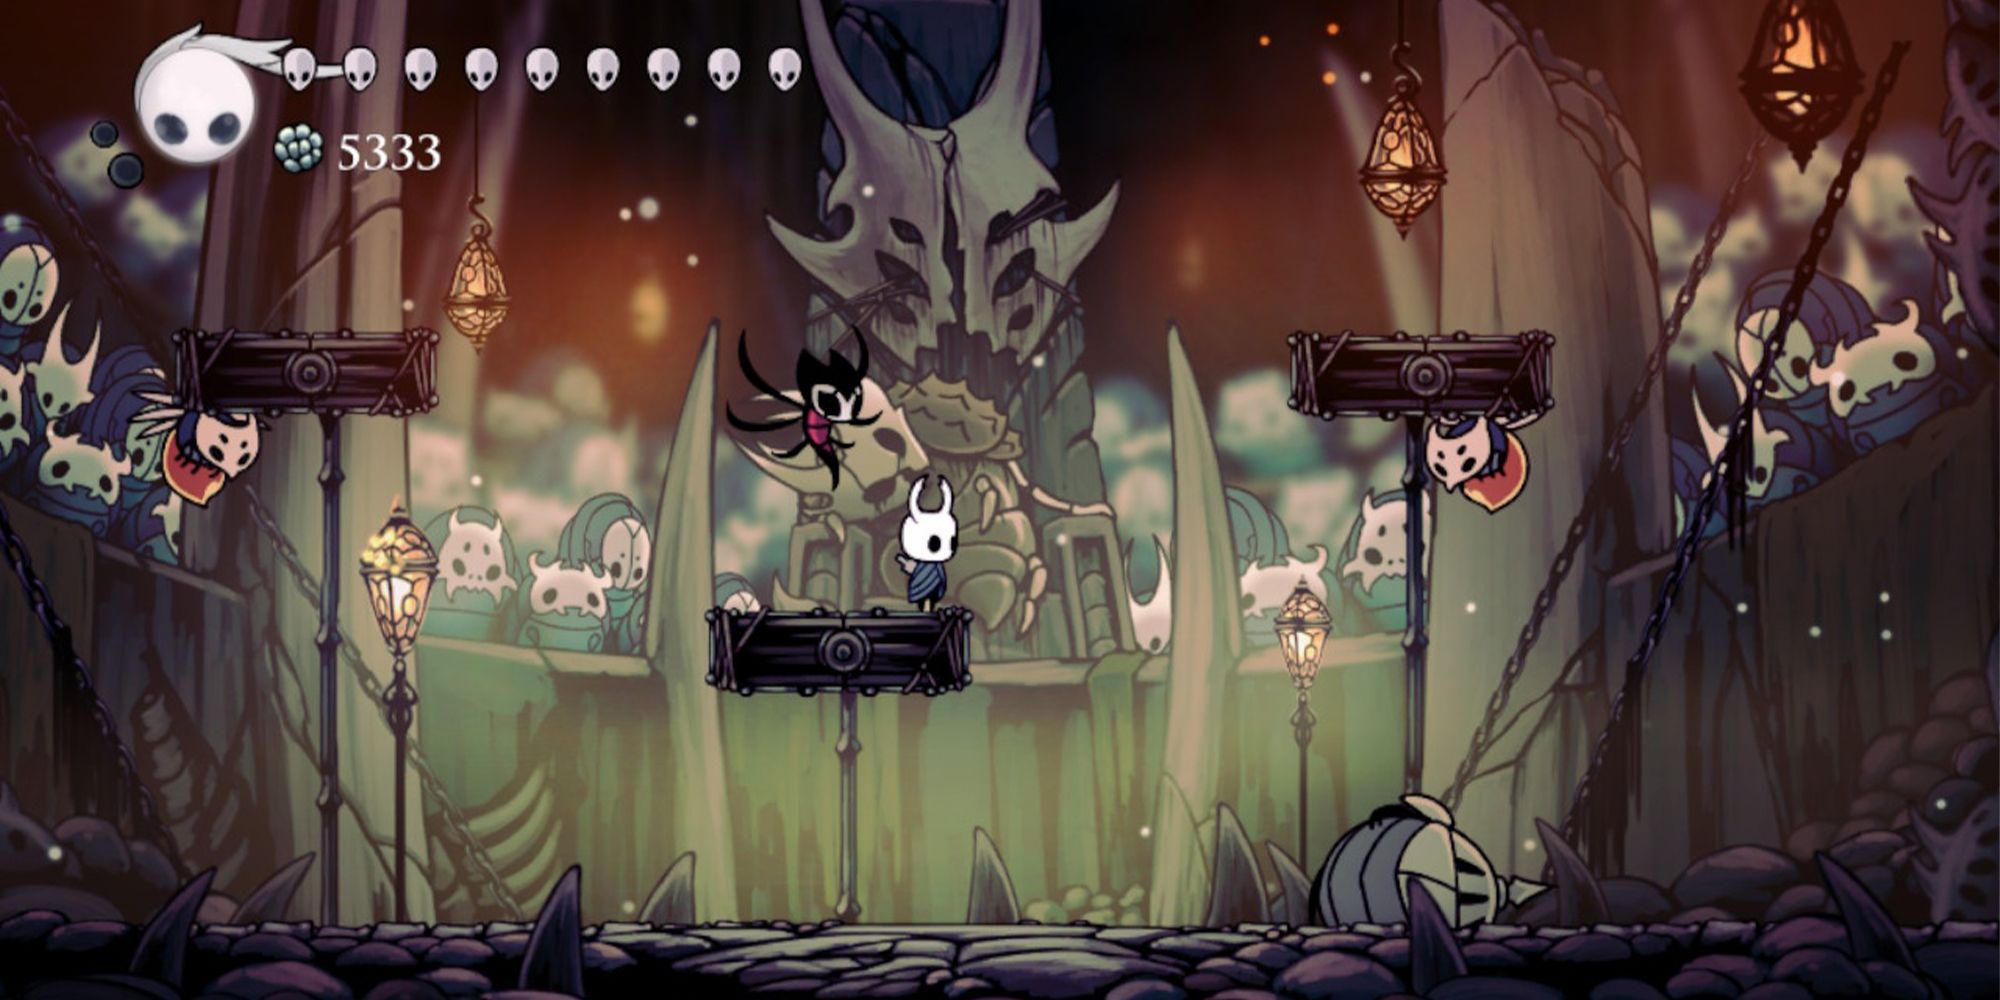
This wave features a whole bunch of Sharp Baldurs appearing along with some platforms that will rise up out of the ground. The Baldurs will spawn in on the platforms, which means they can roll off and land on your head. Just watch out above you and take them out one by one. The ones on the higher platforms often won’t even move until you get close to them, so you can just bait out one or two of the Baldurs at a time to make things easier.
Third Wave
Now you’ll have to fight some Sturdy Fools, who are a bit burlier than the Shielded Fools. One will spawn in at first, then two will follow. Hitting them with nail jump attacks can backfire since they throw projectiles in an upward arc. However, they’re not very tough, so you can treat them like normal enemies and slash away while watching out for their thrown attacks.
Fourth Wave
Primal Aspids will appear overhead and more platforms will rise up out of the ground. Aspids fly around and fire three projectiles at a time in a spread-out pattern. These enemies are annoying since they take a few hits to kill and their projectiles can be hard to dodge. Especially since the projectile that shoots out in the middle will usually be right where you’re trying to jump and attack them. Move between the space between their projectiles and try to separate them so you don’t need to dodge all of their attacks at the same time. You can use the platforms to make some space between you and them.
Fifth Wave
Pretty much the same as the fourth wave, except that more platforms appear and spikes rise up out of the floor. These spikes will remain there for the next few waves, so get ready to get a whole lot of jumping and dashing. Move from platform to platform while avoiding the projectiles spat out by the Aspids.
Sixth Wave
In this wave, you’ll have one large platform near the bottom of the arena near the spikes and two smaller platforms on the left and right. Sturdy Fools will spawn on each platform. Fighting the one on the big platform is easy, but the smaller platforms can be tricky. Alternate between regular slash attacks and nail jump attacks to keep them on their toes.
Seventh Wave
Now you’ll have three large platforms stacked vertically. Two Primal Aspids will spawn in followed by two Sharp Baldurs. Try not to hang around the middle of these platforms or you may get trapped between enemies. Stay close to the edge so you can easily jump to the next platform above or below if you need to.
Eighth Wave
The stacked platforms will retract and be replaced by a single medium-sized platform. Four Vengeflies will spawn, which can be killed with one blow each. However, after they’re dead, a Vengefly King mini-boss will appear. His attacks involve swooping in toward you and spawning more Vengeflies. When he swoops in, nail jump on his head. Do this a few times and that should do the trick.
Ninth Wave
The spikes will finally go away and the platforms will lower. Now you’ll have to face an onslaught of enemies including Shielded Fools, Study Fools, Sharp Baldurs, and Primal Aspids. Each time you kill one enemy another one will spawn in until you’ve beaten them all. Kill the Aphids first as their projectiles will be the most annoying attack to deal with.
Tenth Wave
Now things get weird as the ceiling will lower and make it so you can’t jump over enemies. Sharp Baldurs will spawn in and roll towards you. Before this gets ugly, attack the Baldurs as soon as they come out of their capsules. Get to each one quickly and this wave shouldn’t be a problem.
Eleventh Wave
The ceiling will raise up a bit, which will still restrict the space you have to move around vertically but you’ll be able to jump a little easier. Now some Volatile Gruzzers will show up. These guys can be a hassle since they drop globs of orange goo as they hover above you. When you kill them, they’ll land on the ground and convulse until they explode. There will be two of these enemies, then three more will spawn. Avoid being under them and when you kill them, get far away from their corpses before they blow up.
After you beat the Gruzzers, two Gruz Mothers will emerge. These enemies hover around the arena and will charge toward you. At times, they’ll repeatedly slam into the ground. Since you have a limited amount of space due to the lowered ceiling, these ladies can be hard to dodge. Try to fight one at a time and watch out for the slam attacks.
Final Wave
The last wave will have you face off against Zote The Mighty provided that you’ve saved him during your previous encounters with him. Unsurprisingly, fighting Zote is easy as he’s pretty pathetic. After his overdramatic entrance, he’ll just run after you while weakly flailing his nail in your general direction. Just whack him until the fight is over and you’ll complete the Trial Of The Warrior. If you undertake this trial again, this last wave won’t reappear as Zote will have moved on.
Extra Tips And Tricks For Survival

The best thing to remember for this trial is to always prioritize going after the Primal Aspids. They’re one of the most irritating enemies in the game and can make life harder for you if you leave them alone. Kill them quickly and this trial is a breeze.
Use the platforms to your advantage. You can make some space between enemies and yourself by jumping on the platforms. You can also use them as cover from Aspid projectiles.
Certain waves only trigger once you kill all of the enemies. If you need to heal, leave one enemy alive, head to the other side of the arena, and heal as much as you can. Figuring out when it’s safe to heal is the key to surviving these trials.
For charms, try to use ones that give you extra soul for doing damage like Grubsong or Soul Eater, or allow you to heal quicker like Quick Focus. Before even attempting these trials, you should try to acquire as many charms, charm notches, mask shards, vessel fragments, and nail upgrades as you can.
For completing the Trial Of The Warrior, you’ll receive around 1000 geo, a charm notch, and the Warrior achievement. Repeating this trial will earn you approximately 1000 geo each time, so it’s an easy way to make some money if you wind up broke.
Link Source : https://www.thegamer.com/hollow-knight-trial-of-the-warrior-guide/
