
Battlefield 2042: Hazard Zone Guide
Table of Contents
Learn the best strategies for extracting in Battlefield 2042’s Hazard Zone.
You Are Reading :Battlefield 2042 Hazard Zone Guide

Quick Links
Battlefield 2042 has made some major changes to the core Battlefield formula. Specialists and more open loadout choices have been controversial amongst the community. In standard Conquest, these changes seem odd. But when you play 2042’s Hazard Zone, these design decisions start to make more sense.
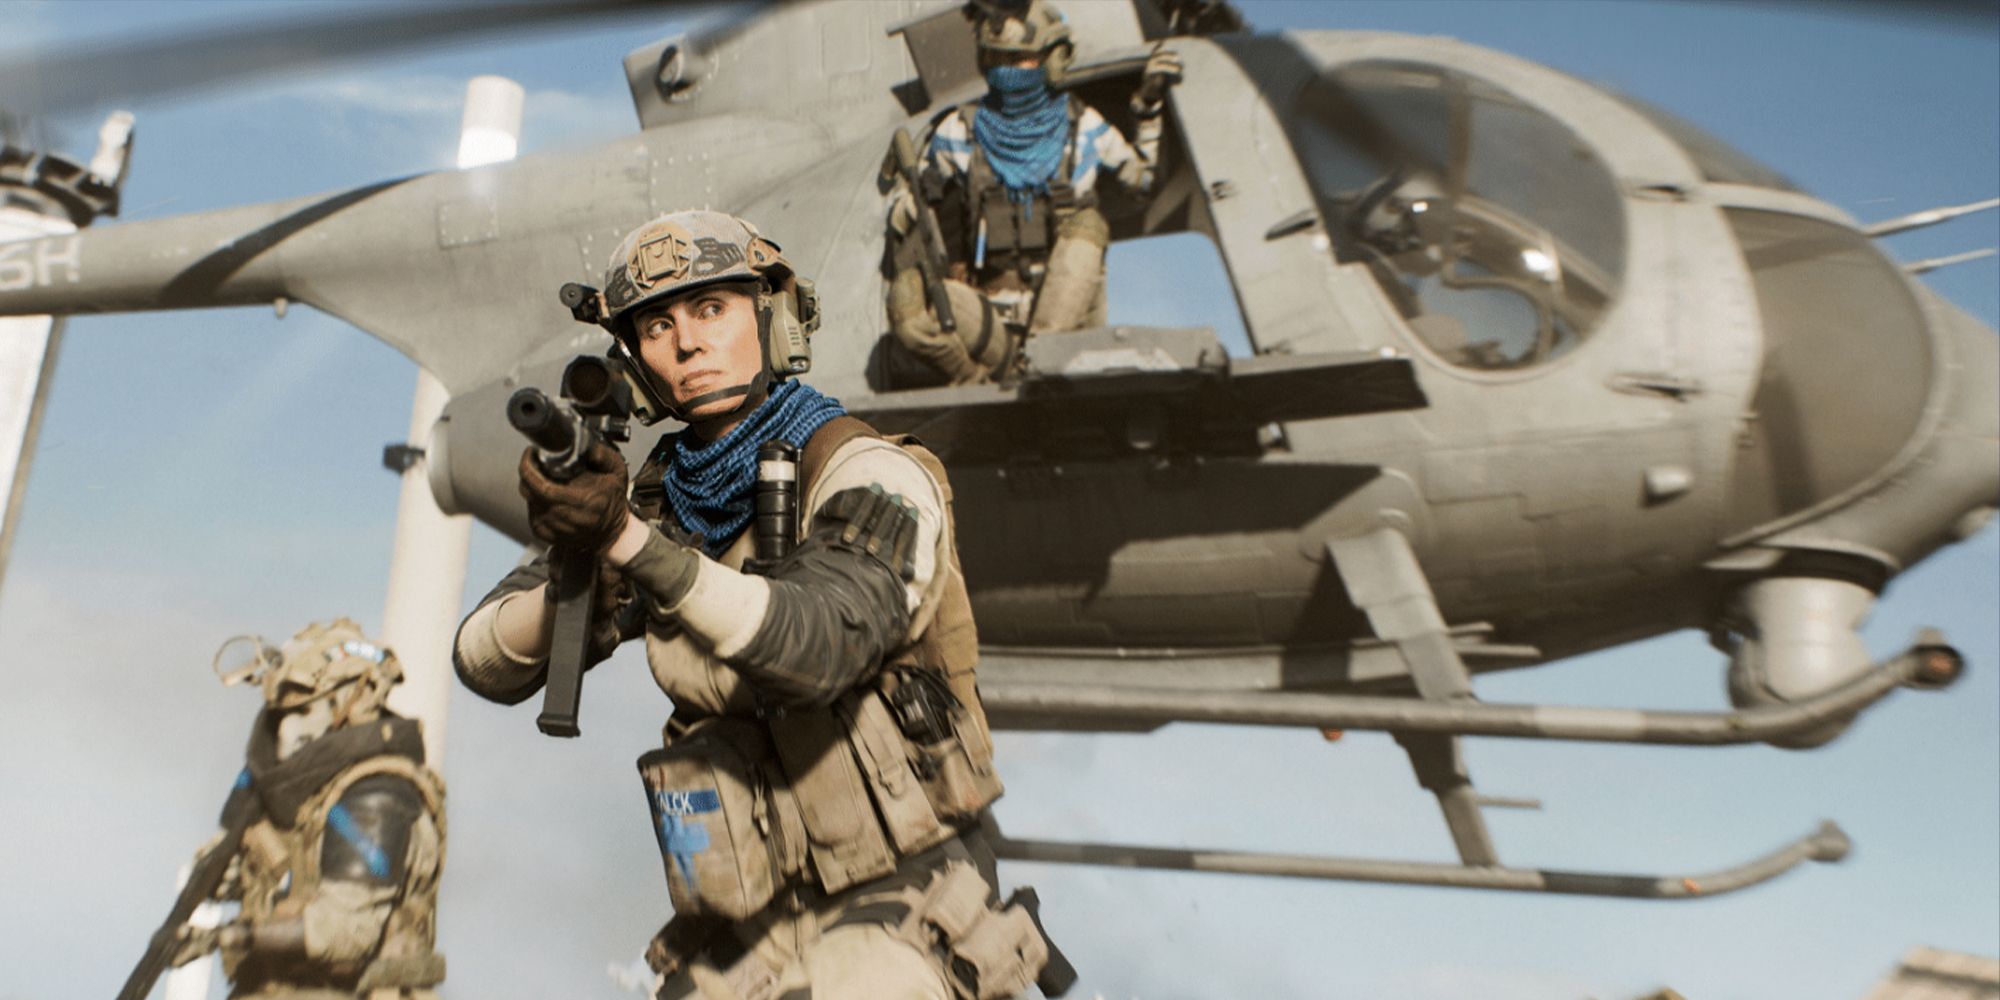
Hazard Zone is DICE’s answer to Battle Royale and survival shooters. A handful of squads are dropped into a Battlefield map to fight over Data Drives and extract. The stakes are high, teamplay is at the forefront, and every decision counts. For those new to this more hardcore game type, here is a complete guide to Battlefield 2042’s Hazard Zone.
What Is Hazard Zone?

Hazard Zone is a small-scale, competitive game type that tasks squads with recovering Data Drives scattered across the map. When your team obtains at least one Data Drive, they can extract once an extraction point is active. Only two opportunities to extract will present themselves in each game. If you don’t extract, you lose. You only get one life, so make it count.
Up to 32 players (24 on last-gen hardware) can be in a Hazard Zone game at once. It draws parallels from games like Escape From Tarkov and Hunt: Showdown, giving players one life and limited loadouts to finish the mission. Hazard Zone also features a new currency type called Dark Market Credits, exclusive to this mode. These credits can be spent on perks, weapons, and gadgets before a Hazard Zone match begins. But just like Hunt or Tarkov, you’ll lose those items if you die. Coordinate with your team, synergize your Specialist abilities, and make good combat decisions to get out alive.
Return to Quick Links
Playing Hazard Zone

Each Hazard Zone match is split into two phases: the pre-game, and the match itself. You’ll configure your loadout in the pregame, coordinating with your team to bring the right gear. The actual Hazard Zone match will see you extracting Data Drives, partaking in PvE and PvP combat.
The Pregame

Once everyone loads into the game, your squad will have one minute to create your loadout. You’ll be able to select your Specialist, primary and secondary weapons, gadget of choice, then select perks that enhance your character in some fashion. Just about every weapon and gadget from 2042 is available here. This interface also showcases what your team is planning to run. Communicate with your team to synergize your loadouts.
Specialists are free to select, along with the M5A3 rifle and a few perks. Everything else costs Dark Market Credits to purchase. More powerful perks and weapons require more Credits to purchase. When you’ve selected all of your gear and are ready to go, you can lock your loadout. Once the countdown reaches zero, the actual game begins.
Fighting In The Hazard Zone

You and your squad will be deployed at a specific part of the map, close to a few other teams. Drop Pods near your location will have AI guarding them, although these bots are hardly a threat. Kill the enemies guarding the pod, then interact with the pod to reveal a Data Drive. You can only carry three Data Drives at a time. Have your team grab a few if you’re almost full. You also drop all of your Data Drives on death, but so does the enemy. Stick with your team and scavenge any enemies you kill to stay alive.
Certain sectors of the map will have a higher yield of Drop Pods and Data Drives, although these zones are typically hot spots for enemy players. Hazard Zone maps are slightly smaller variants of 2042’s core maps, so getting around will take some time. Vehicles do spawn on the map, so keep your eyes peeled for any vehicles you can use to get around.
As you explore the Hazard Zone, you’ll come across various stations called Uplinks. There are Reinforcement Uplinks for resurrecting dead teammates, Ranger Uplinks to call in a friendly Ranger, and Vehicle Uplinks to call in a vehicle. Using these stations doesn’t cost any Credits, so use them whenever you stumble on an Uplink.
Extraction

Eight minutes into a Hazard Zone match, an extraction opportunity will present itself. An Osprey will arrive at a marked location on the map, allowing one squad to exit the game with all of their Data Drives. An Osprey can’t extract multiple squads, and the extraction point is the same for everyone. These areas are typically hot spots for combat, so be prepared. Bringing a Specialist that can spot targets, such as Casper, is recommended for making these sections a little easier. Extracting is the only way to win.
If you miss your Extraction window, a second Osprey will arrive seven minutes after the first. If your squad does not make the second Extraction, you’ll die and lose all of your Data Drives. Grab as many Data Drives as your team can carry, get yourself a vehicle or Ranger, and fight like hell to escape. Even if you die during this part, you’ll still gain Dark Market Credits. But if you successfully extract with multiple Data Drives, you’ll get substantially more Dark Market Credits.
Return to Quick Links
Hazard Zone Upgrades

Beyond your typical suite of guns and gadgets, Hazard Zone features a unique set of perks you can purchase for Dark Market Credits. These perks provide powerful bonuses that improve your character’s combat efficiency or assist with earning Dark Market Credits. You have three perk slots, although the second and third slots are locked behind Extraction Streaks—how many games you’ve consecutively extracted in. Should you lose an Extraction Streak, you lose the extra perk slots. Every Hazard Zone upgrade can be found below:
Cost
Return to Quick Links
Best Hazard Zone Specialists And Loadouts

As of writing, the current Hazard Zone meta revolves around vehicles. Rangers and armored jeeps are incredibly powerful in Hazard Zone, so you’ll want to bring Specialists that can counter vehicles. Beyond that, Specialists that can support your team—notably Falck and Angel—can be a major boon.
Best Specialists
- Casper: Allows you to spot enemy squads from safety and disrupt enemy vehicles.
- Falck: Heals your team from a distance and revives downed players faster.
- Angel: Grants infinite armor, ammo, and can revive faster.
- Sundance: Acts as an excellent counter to vehicles and Rangers.
- Irish: A more niche pick, Irish’s shield is amazing for sniping or disabling elevators.
- Rao: Counters enemy vehicles, Rangers, and can spot enemy targets.
Best Loadouts
- PBX-45: SMGs have minimal bloom, unlike ARs and LMGs.
- DM7: Deals great damage at all ranges.
- C5 Explosives: Strap it onto Casper’s drone, vehicles, or key locations. C5 is incredibly versatile.
- Repair Tool: If you’re going to rely on vehicles to win, have at least one person bring a Repair Tool.
- Prox Sensor: This grenade can auto-spot enemy targets.
- Negotiated Bounty I: If Angel is in your squad, free armor is useless. Kills are your main source of Credits, so this will drastically improve your earnings.
- Squad Redeploy: Useful for when you can’t reach a Reinforcement Uplink.
- Throwable Increase: Extra grenades are really useful, especially Prox Sensors.
Return to Quick Links
Hazard Zone Tips
Hazard Zone is a large departure from Battlefield’s core gameplay. It’ll take quite a few rounds to get used to. Here are a few tips to help you get adjusted.
- Vehicles and Rangers are overpowered: If you come across any Vehicle or Ranger Uplink, immediately use it. They’re just as valuable, if not more valuable, than Data Drives.
- Stick together: You become downed when your HP reaches zero. If you’re near an ally, they can get you back in the fight sooner. Stick together to best synergize your abilities and keep one another alive.
- Prepare before engaging: If an enemy team is in your sights but close to cover, consider repositioning before you start a gunfight. The element of surprise is useful, but it won’t single-handedly win you gunfights.
- Stick to cover: Hazard Zone’s TTK is the exact same as base 2042, meaning you die incredibly fast for an extraction royale. Stick to cover to avoid getting sniped or killed by a third party.
- Spend your points: This isn’t Tarkov. Dark Market Credits are incredibly easy to come by if you can rack up a kill count. Don’t get gear fear; spend your points.
Return to Quick Links
Link Source : https://www.thegamer.com/battlefield-2042-hazard-zone-guide-tips-tricks/