Battletoads: All Act 1 Collectible Locations
Table of Contents
Each of those 13 stages features six collectibles: five hidden throughout the level and one unlocked by completing the level’s optional objective.
You Are Reading :Battletoads All Act 1 Collectible Locations
Rare’s Battletoads has a total of 78 collectibles, spread across 13 of the game’s 22 stages. Each of those 13 stages features six collectibles: five hidden throughout the level and one unlocked by completing the level’s optional objective. This guide will cover only the collectible locations, not boss fights or general strategy. It is recommended, however, that the collectibles are gotten on “Tadpole” difficulty, as it will make the optional objectives the easiest.
The two kinds of optional objectives are “Achieve ‘A’ rank in all fights” and “Finish level in X:XX or less”. Both of these objectives follow a very general method of completion that spans across all levels:
For achieving ‘A’ ranks, you’re going to want to change between the three characters multiple times during the fight. Immediately after finishing a combo with one toad, tag out with another and do a combo with that one. Cycle between the three toads as many times as you can and land as many combos as possible. Doing so will make getting ‘A’ ranks incredibly easy; you will find yourself getting ‘S’ ranks most of the time. Do not worry about getting hit. The game is incredibly lenient with fight grades and will give you high ranks just by switching characters enough, even if you take a lot of damage. If a fight is going really bad, and you think you might come up short, simply pause the game and reload the checkpoint before the fight is over. The only fights you need to worry about are wave fights, not boss fights.
For beating levels under a set time, simply go fast and pause the game (thus pausing the timer) whenever you need to read this guide. These times are incredibly tame and you likely won’t even have to actively try for them.
If at any point you miss a collectible, you can replay the level to grab what you missed, but you must finish the level again after collecting it for it to stay collected.
All Battletoads Act 1 Collectibles
Act 1, Stage 1
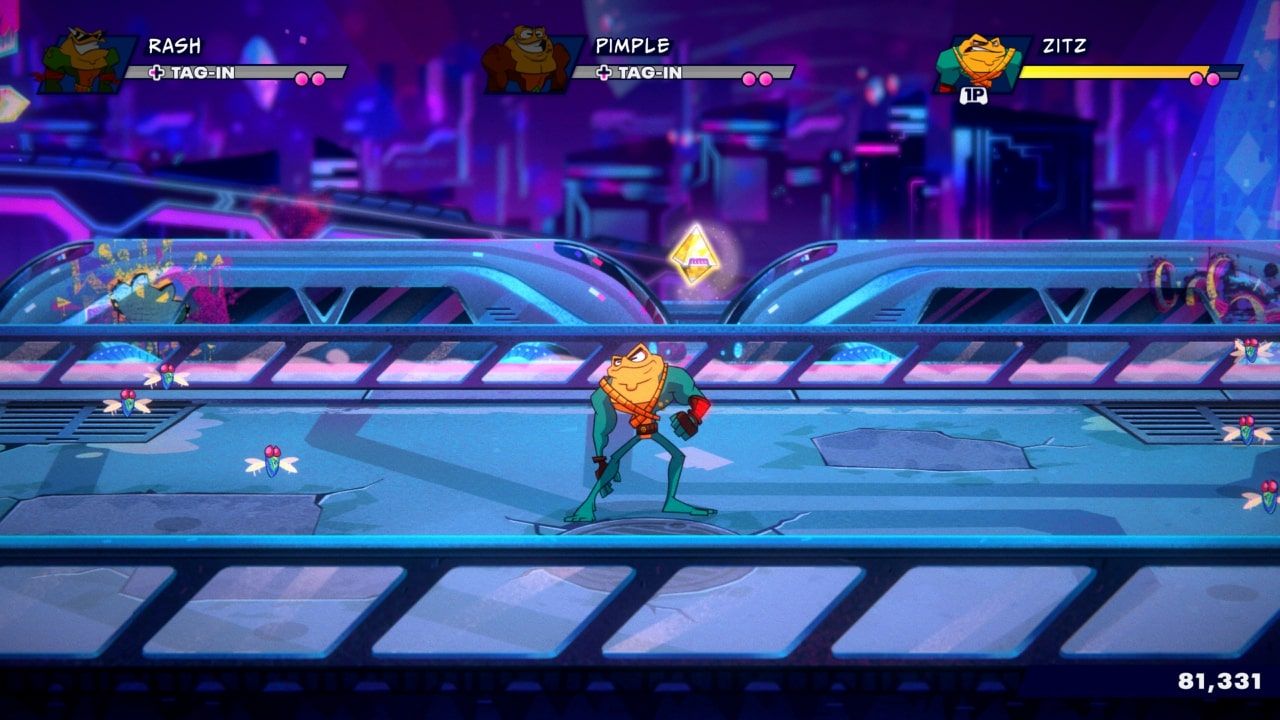
This level requires ‘A’ ranks for all fights, so follow the method above to get that. The other five collectibles are all hard to miss, though they get more challenging in the following stages. The first can be found in the area below. Just wait for the train to arrive, then grab the collectible with your tongue (LT + LS towards collectible + Y):
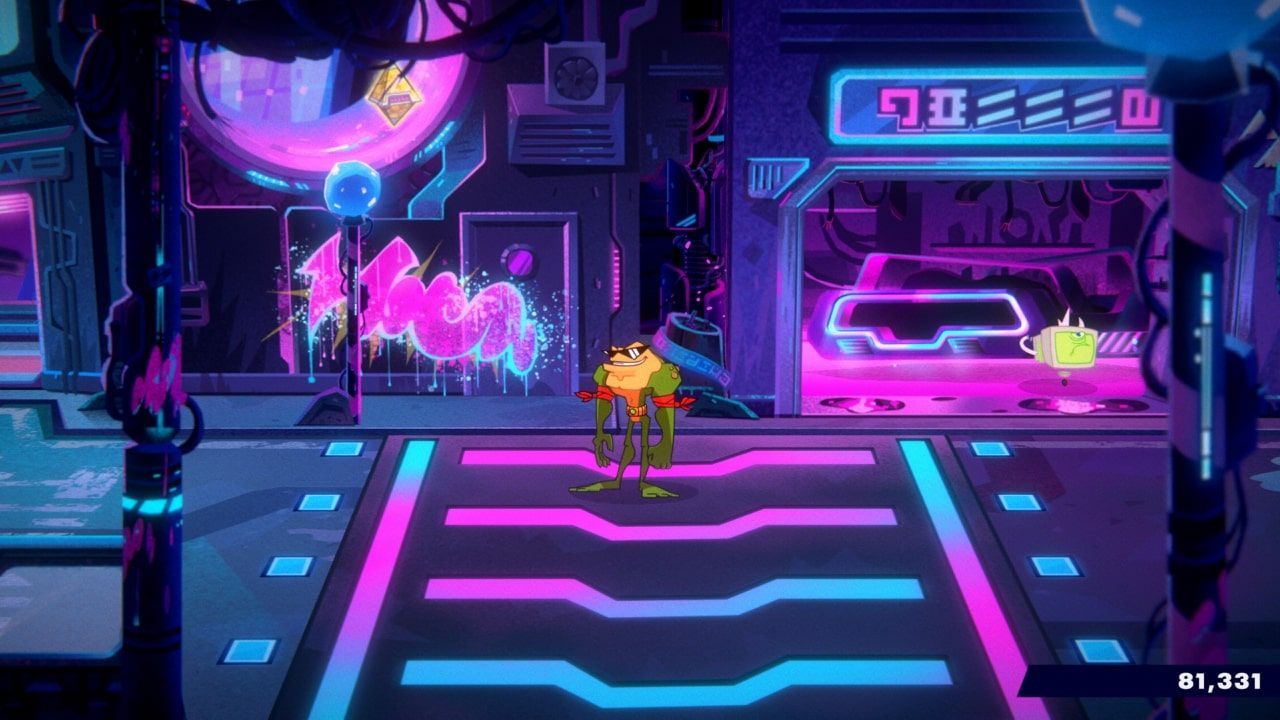
Shortly thereafter, you will find another collectible above a blue lamppost:
After the first boss fight, you will come to a red carpet. The third collectible is hidden in front of a star on the wall:

After the first continuation of the first boss fight, you will come to find the fourth collectible in plain sight:
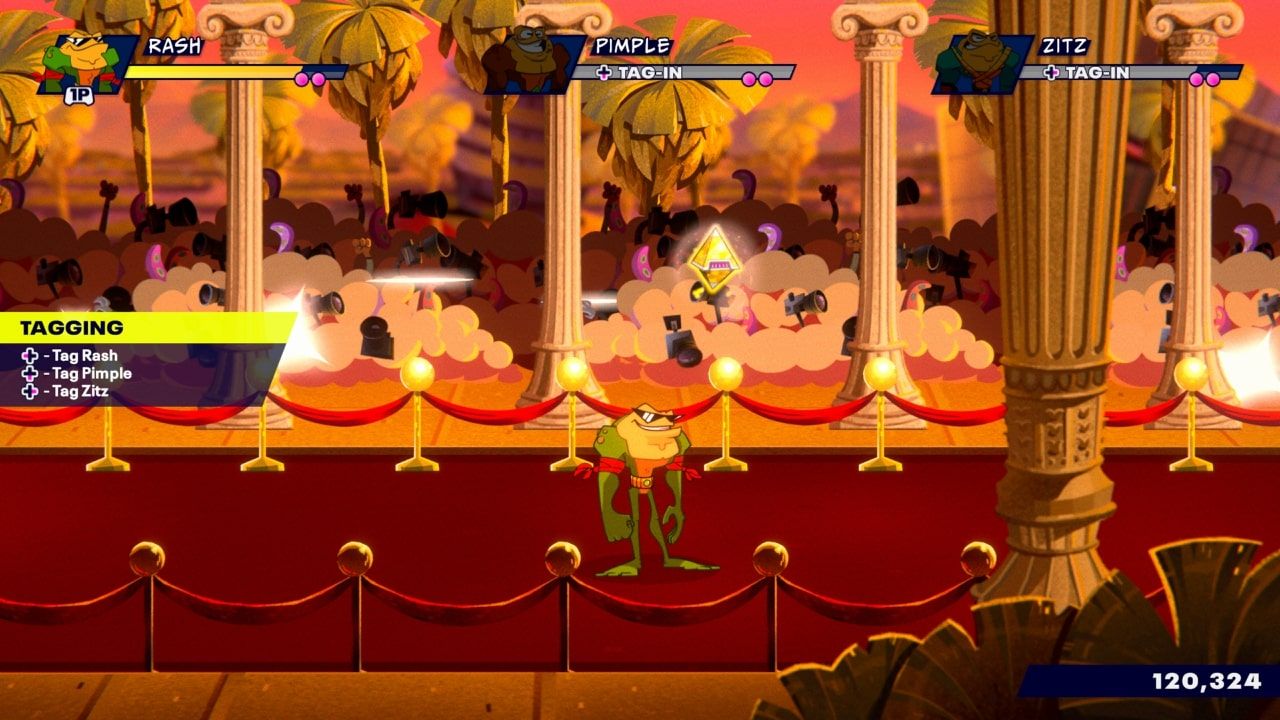
After a few small wave fights, you will find the final collectible in front of a statue of Rash:
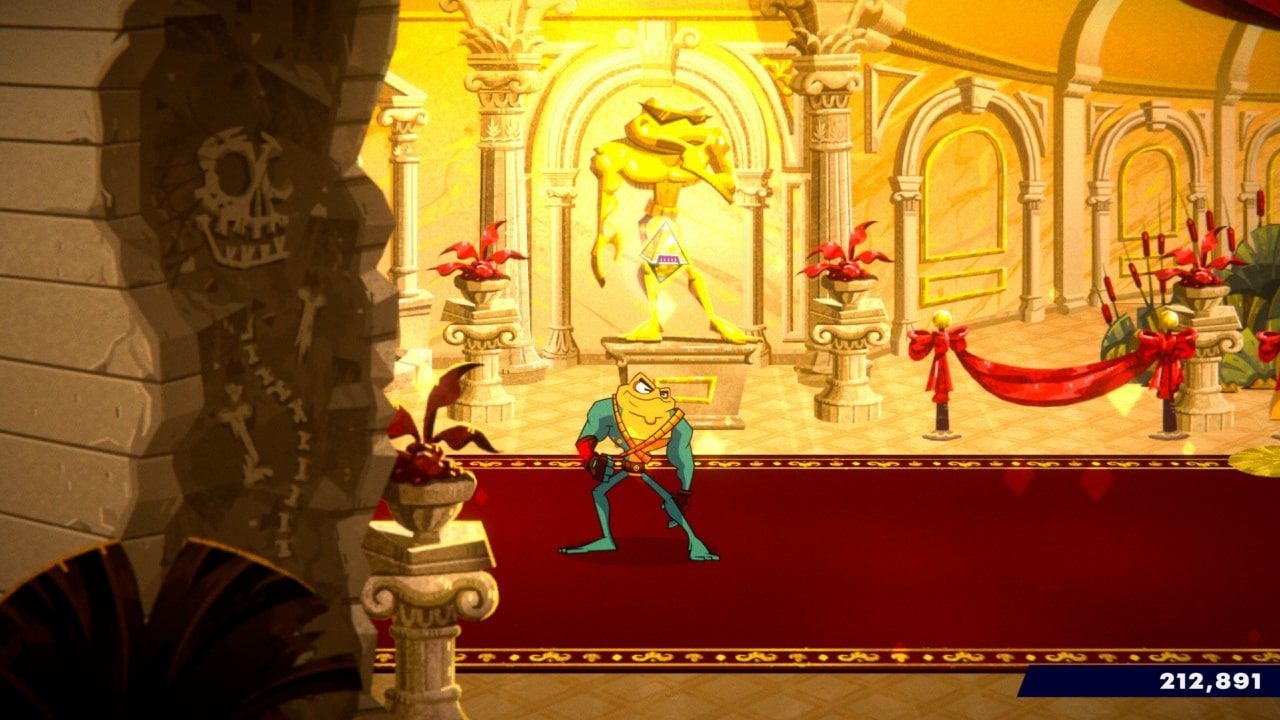
Assuming you got an ‘A’ ranking on all fights, you should have gotten all six collectibles from the first stage. Stage 2 does not have collectibles, so on to Stage 3.
Act 1, Stage 3
This stage is an auto-scroller, so it’s very possible to miss collectibles. If you do miss one, quickly reload the checkpoint and try again. You must beat this level in under 8 minutes and 30 seconds, but there is plenty of room to mess up. The first collectible will be early on. Just stay to the right as much as you can and you can’t miss it:
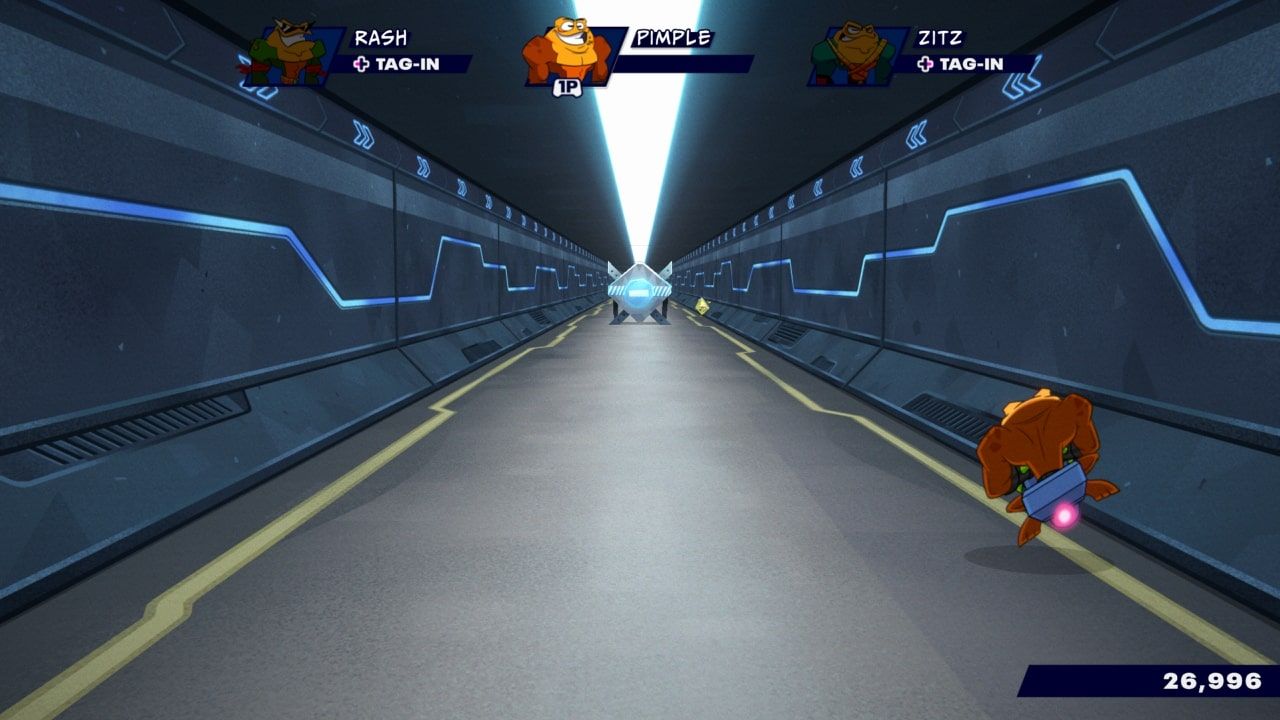
One you reach the second area of the stage in the tunnel, hug the right again and you will the second collectible:
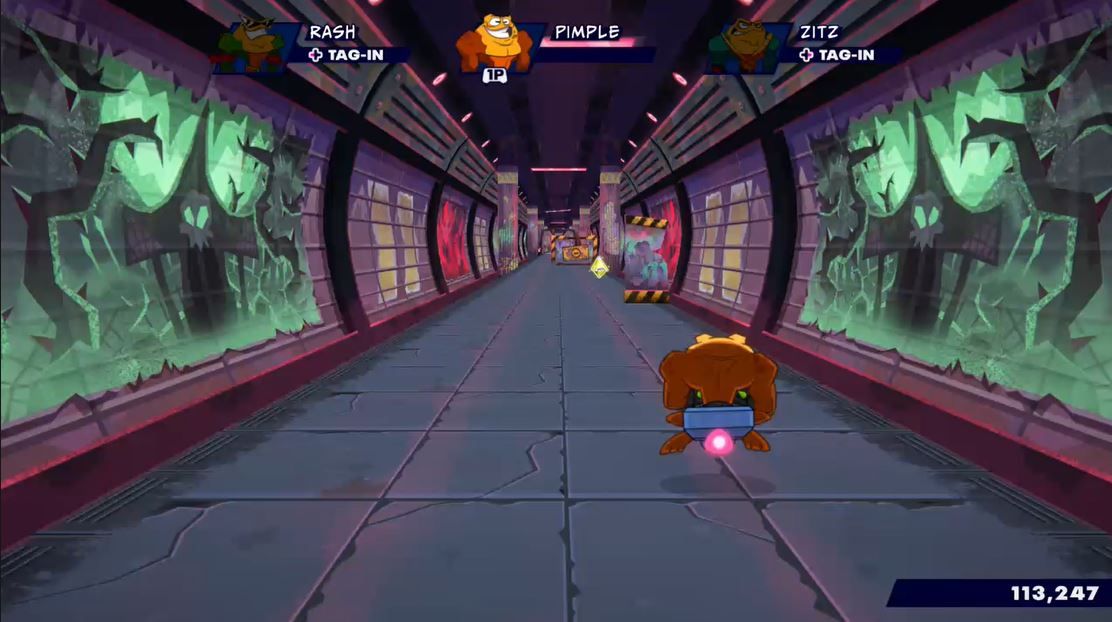
The third is a bit trickier, and comes shortly after. You will need to hug the right, jump up and grab the collectible over the gap, then dash to the left using LB to land safely:
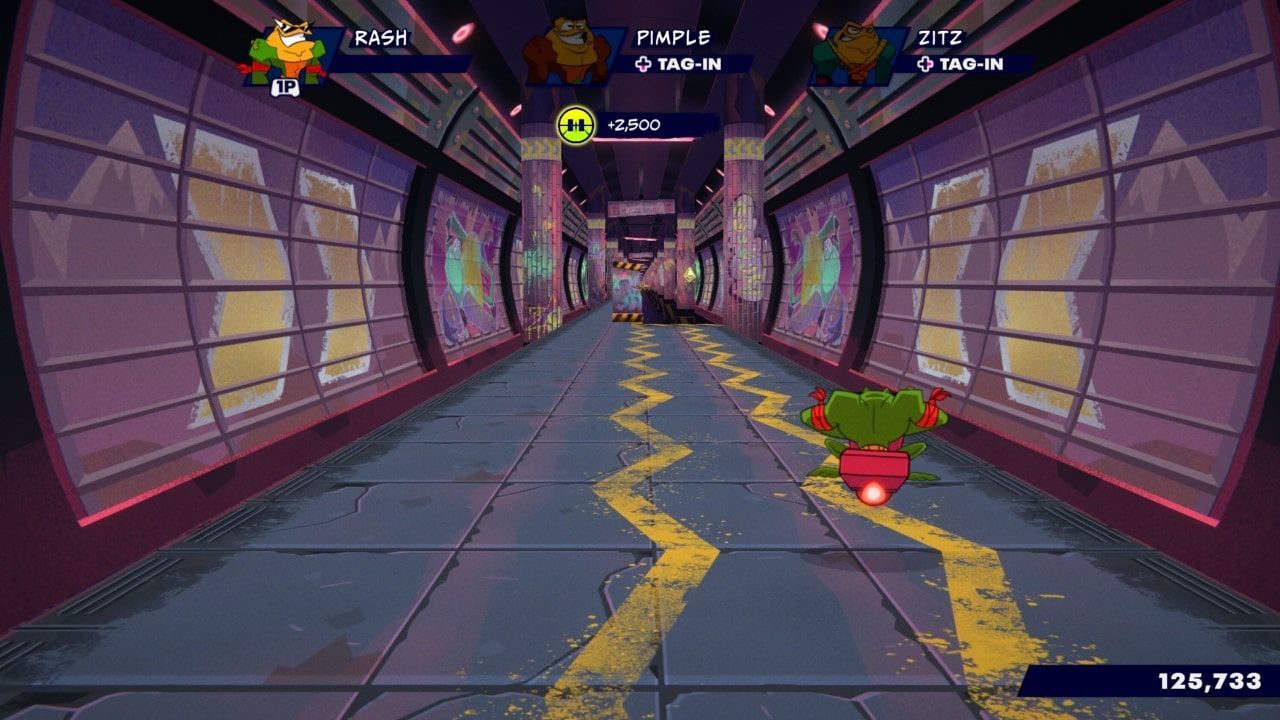
In the third section of the stage, going through the pink and blue lit tunnel, hug the right yet again to find the fourth collectible:
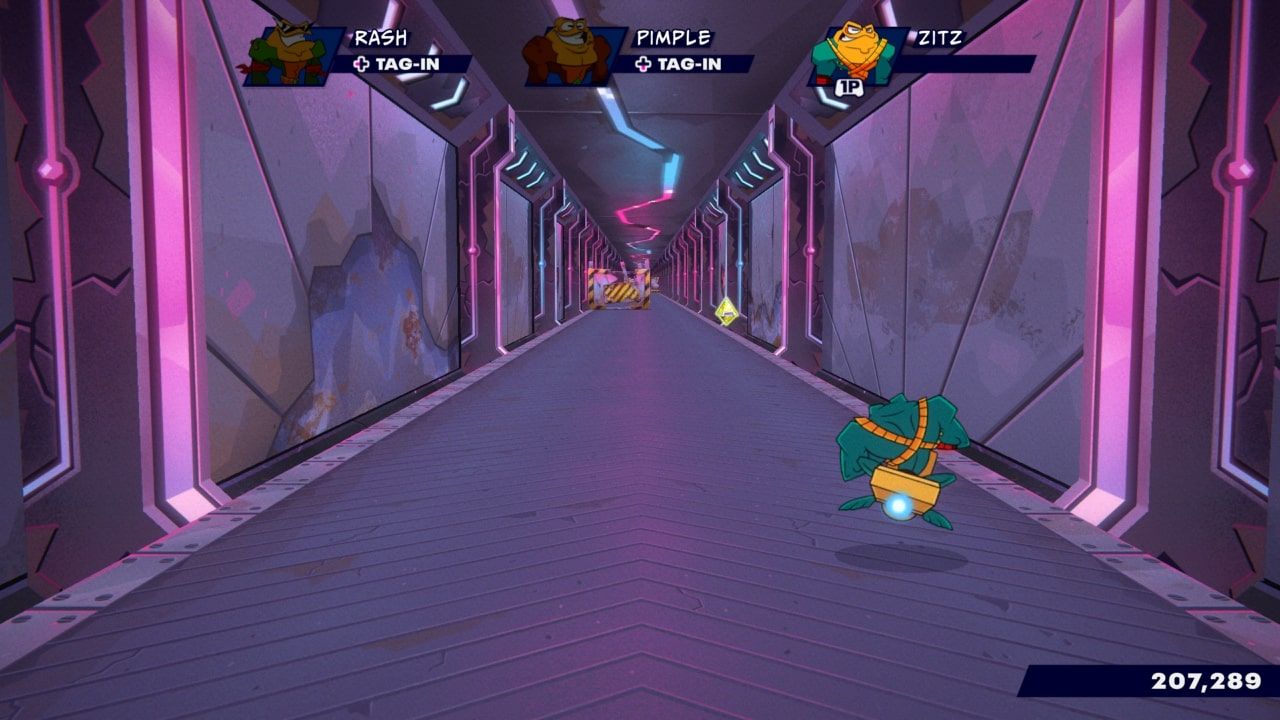
You know the drill by now. Always stay right. When you get to the “hole in the wall” section of the level, always enter the right hole when you have two options. The collectible will be immediately after a right hole, inside of a second right hole:
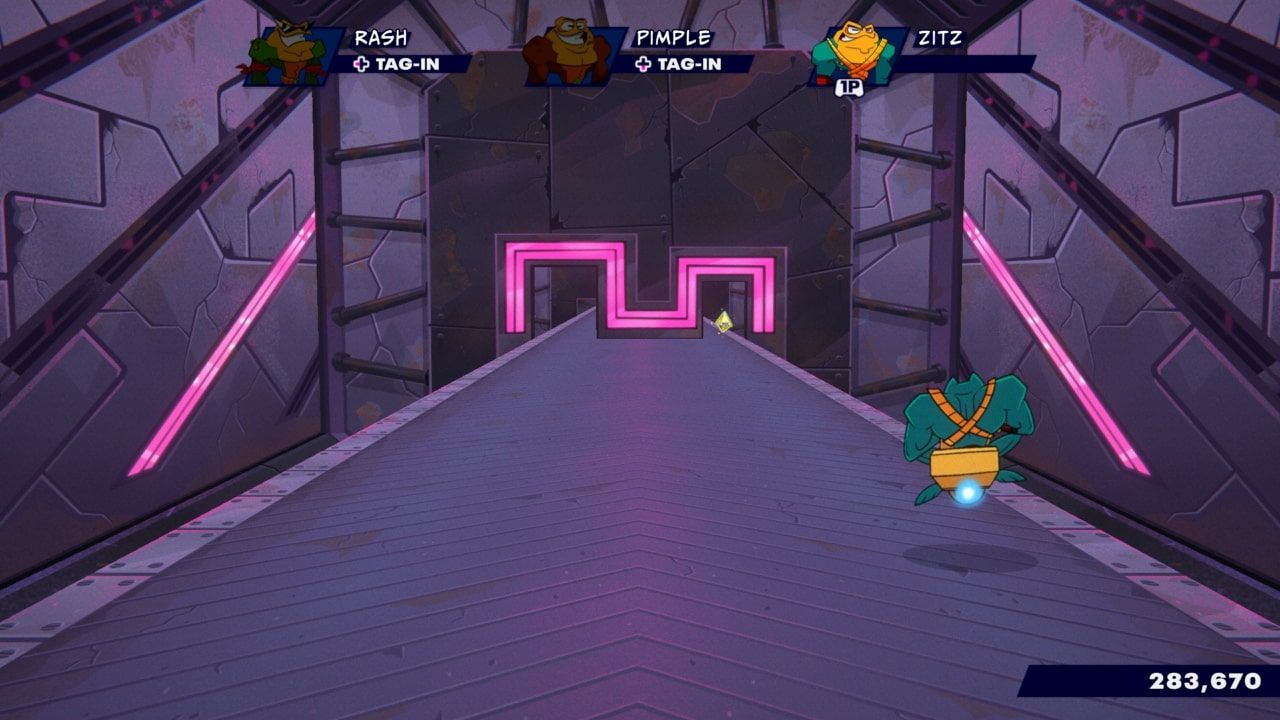
If you complete the level in less than 8 minutes and 30 seconds, you will get the sixth and final collectible of the level. If you never reverted, you will beat the level in around 7 minutes.
Act 1, Stage 4
The optional objective is to get ‘A’ rankings on all fights, so use the standard strategy. This stage is where things get a bit more complicated, though it starts off simple with a collectible in plain sight:
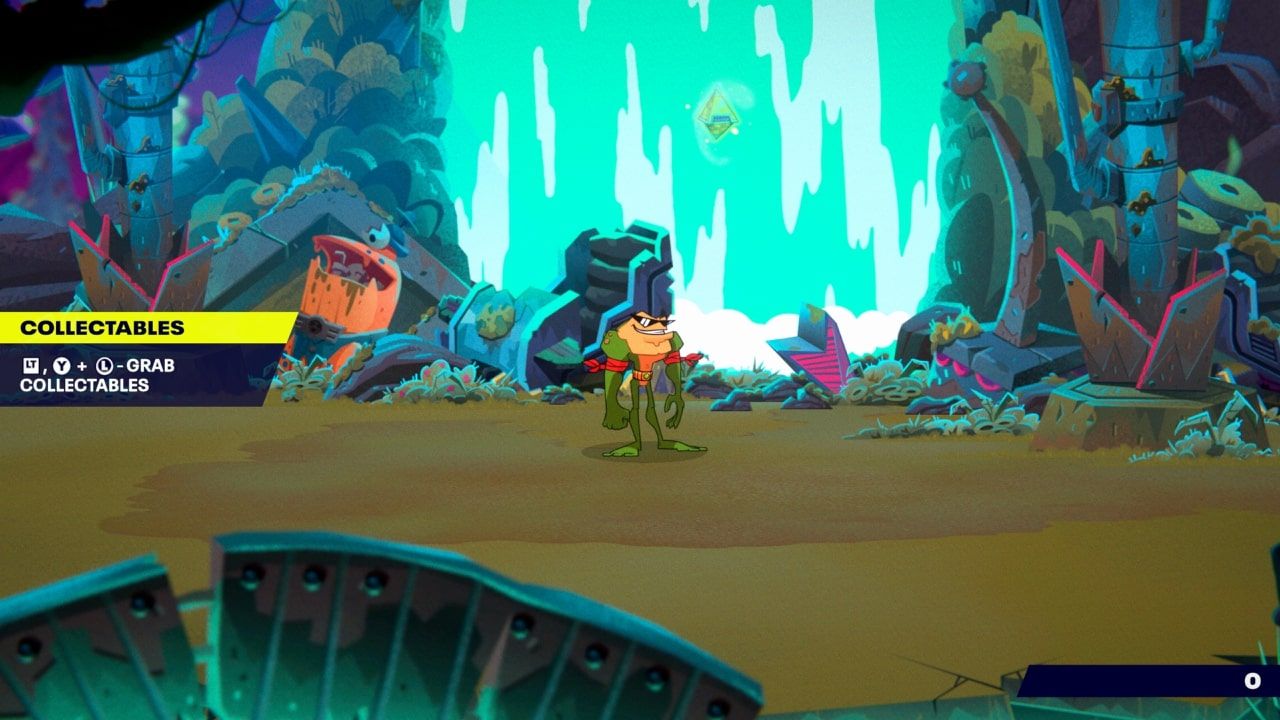
A short while later, you will come to see the first of four blue balloons that you must pop for a collectible later. Spit bubblegum at it (LT + LS towards balloon + A) to destroy it:
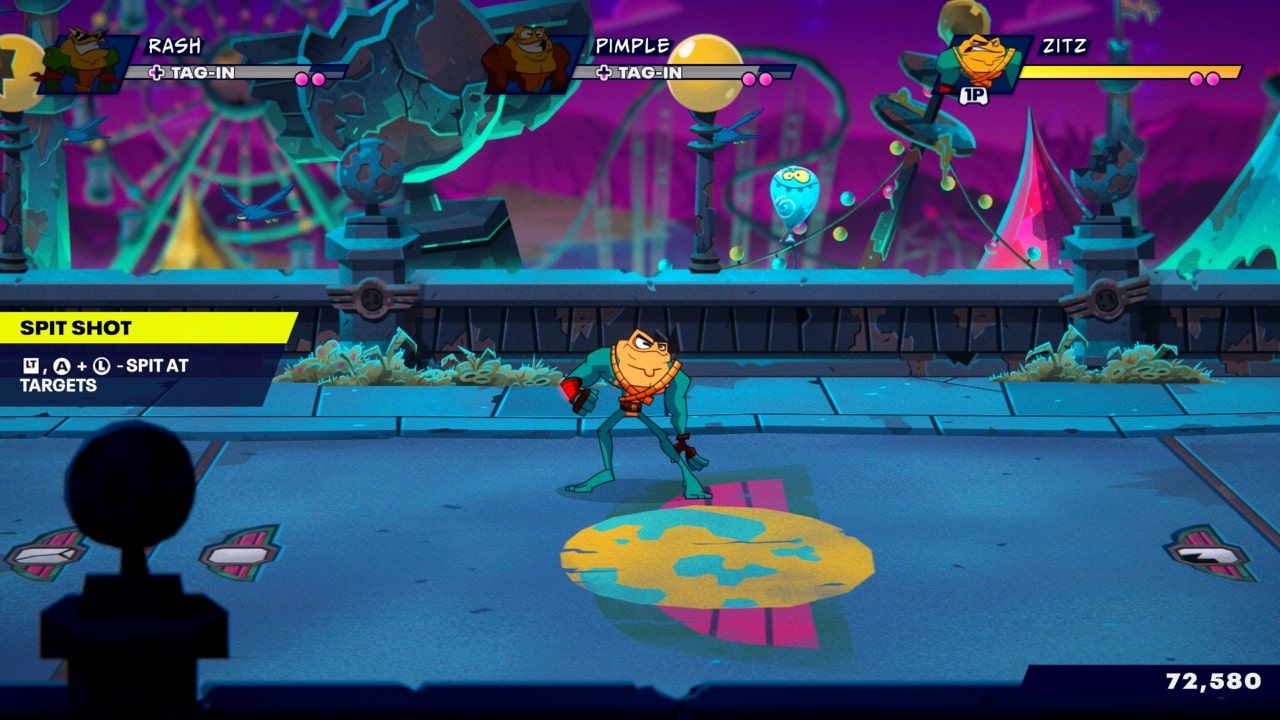
You will see the next balloon right after you learn how to move between the background and foreground areas:

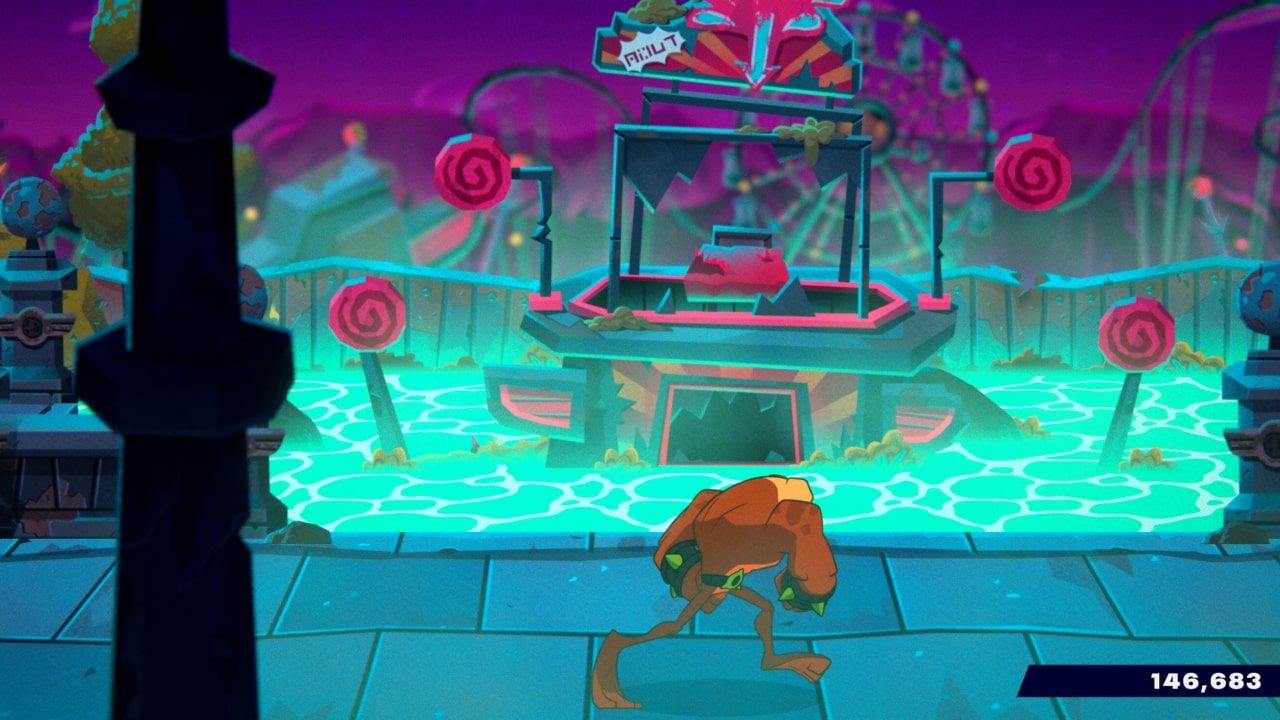
After a short cutscene, you will head right and find four red targets. Spit at all four of them to make the collectible appear in front of you:
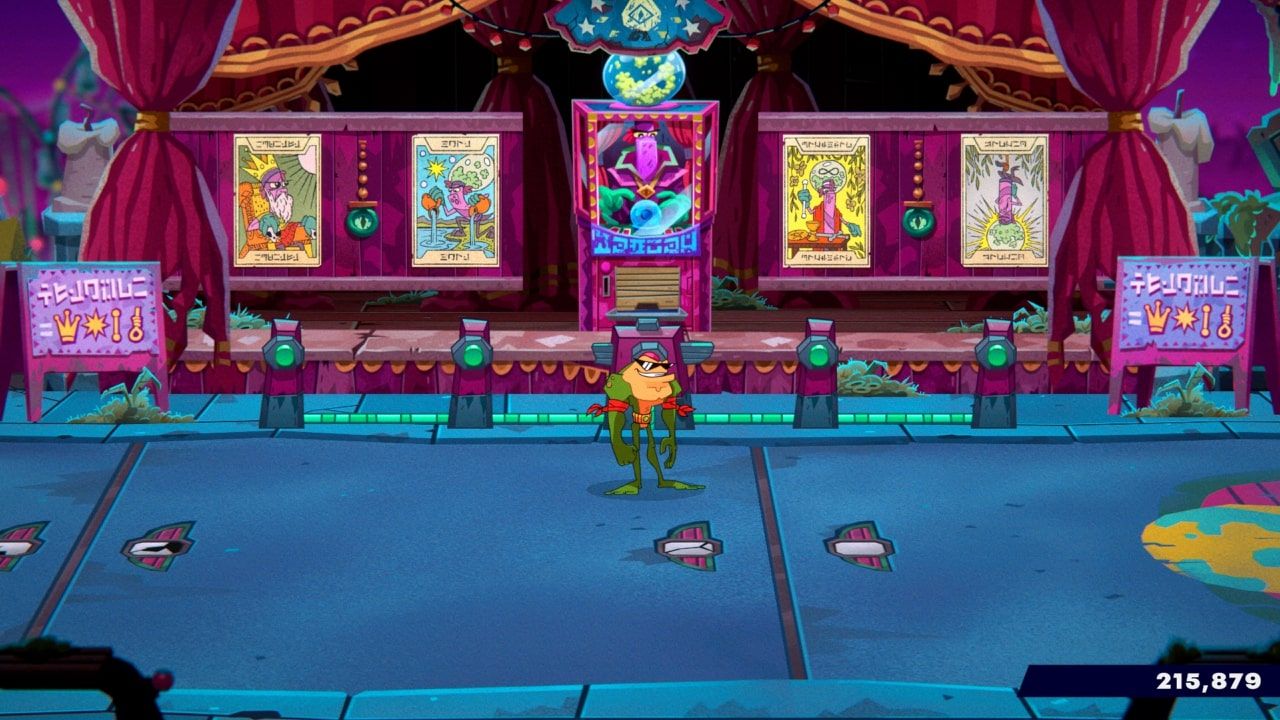
After a wave fight, match the posters to the picture below using the green buttons. Once they match, hit the central red button to spawn the collectible:
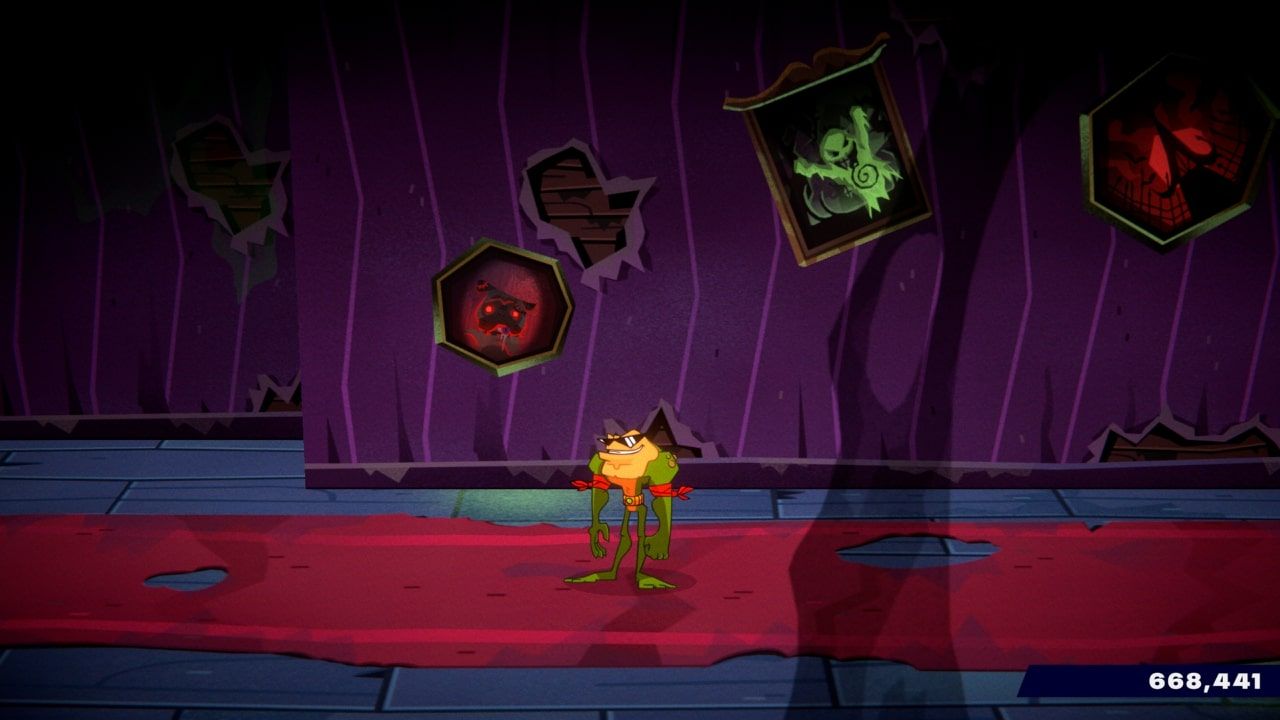
Head right into the haunted house, and you will eventually come to see a painting of a ghost. Spit at it to move the ghost to a painting later on in the haunted house:
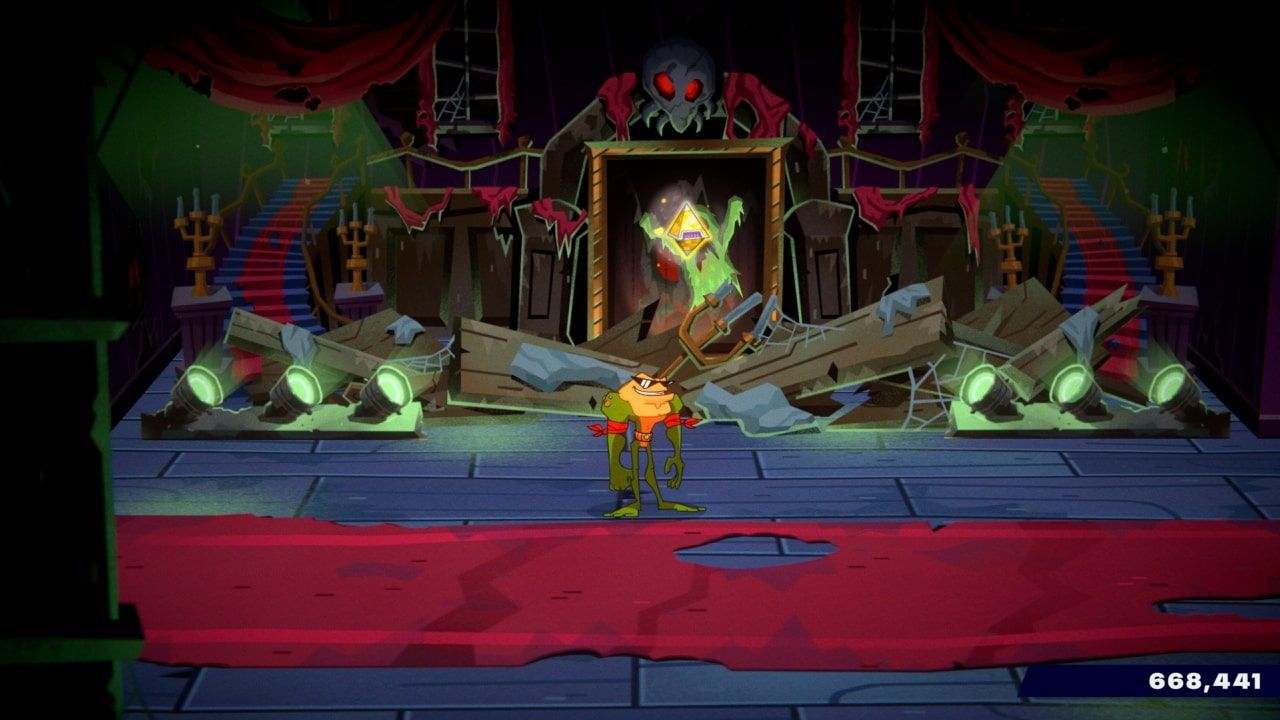
You will have to spit the ghost again when you see him later in the haunted house (you can’t miss him), then backtrack to the beginning of the house to find him again. After you spite at him a third time, he will teleport to the middle of the house. Spit at him here and a collectible will appear:
After leaving the haunted house, you will find the final two balloons a few wave fights apart. Make sure to pop both of them, and the collectible will appear next to the fourth balloon:
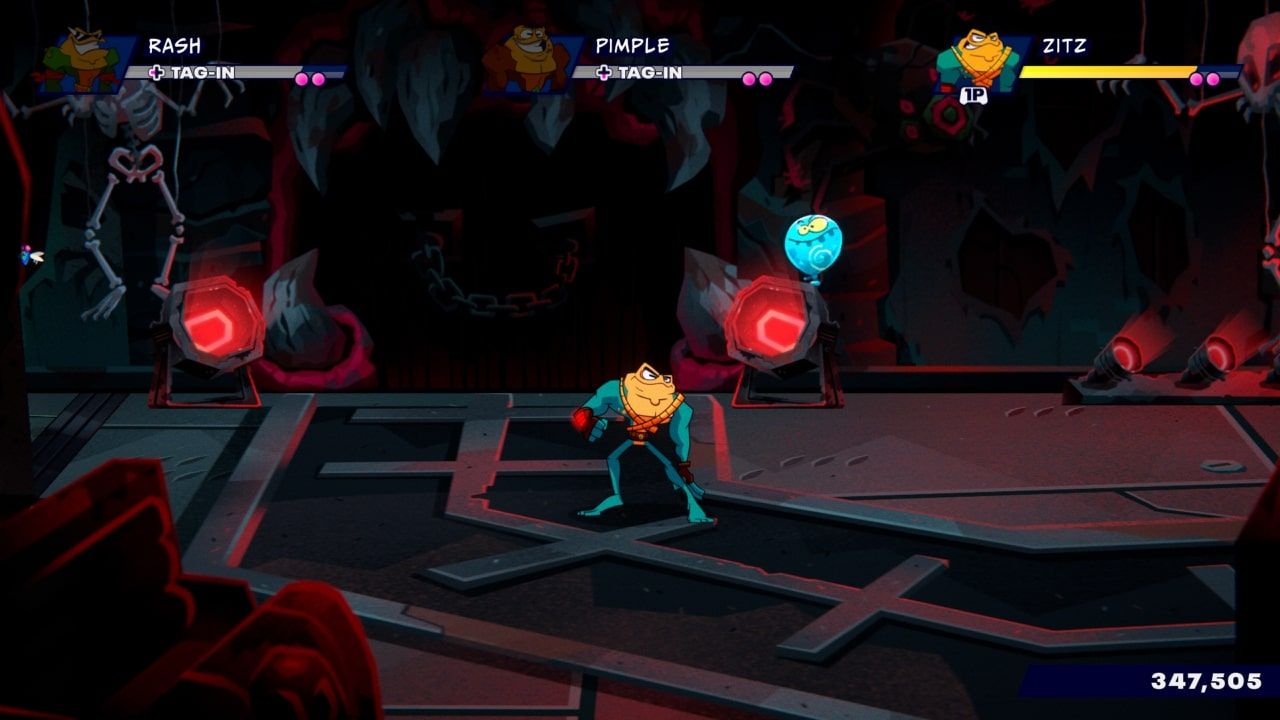
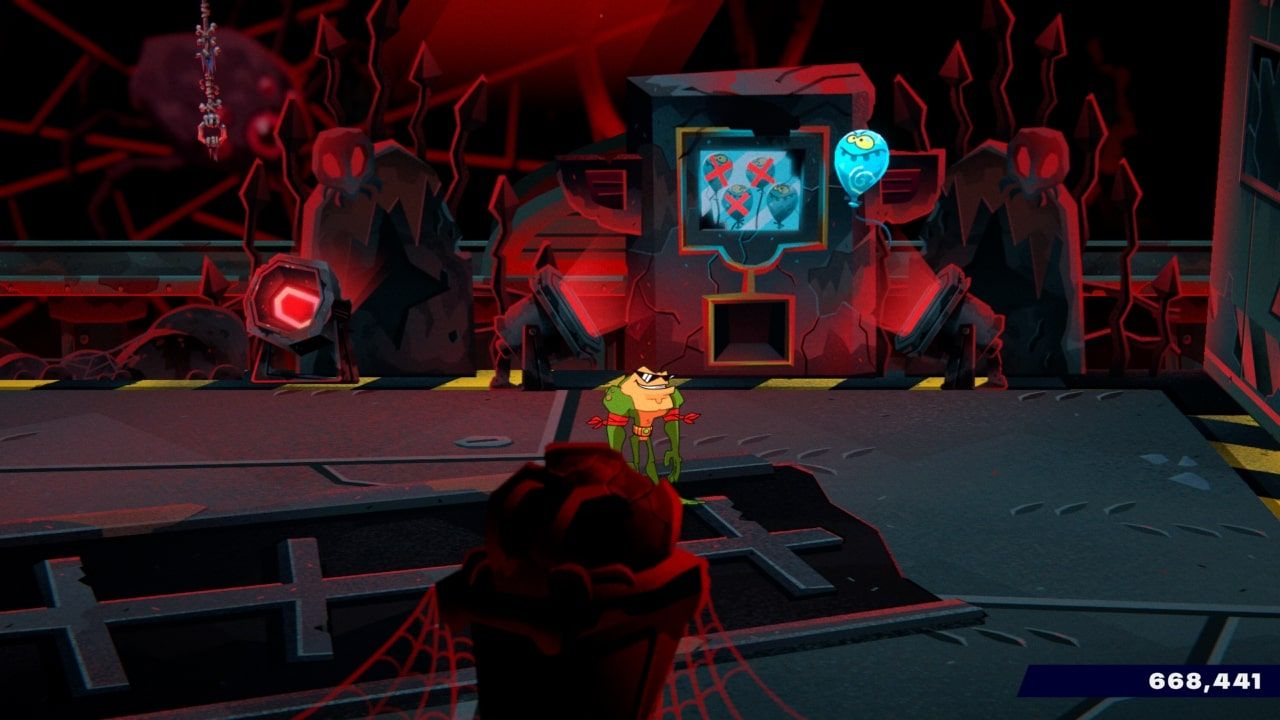
The stage’s final collectible will be obtained once ‘A’ rankings are achieved on all of the fights.
Act 1, Stage 5
This is last stage of this act to include collectibles, and then you’re on your own until Act 2, Stage 2. The first thing to look out for is the yellow target pictured below. When you see it, spit at it. It is the first of five in this stage:
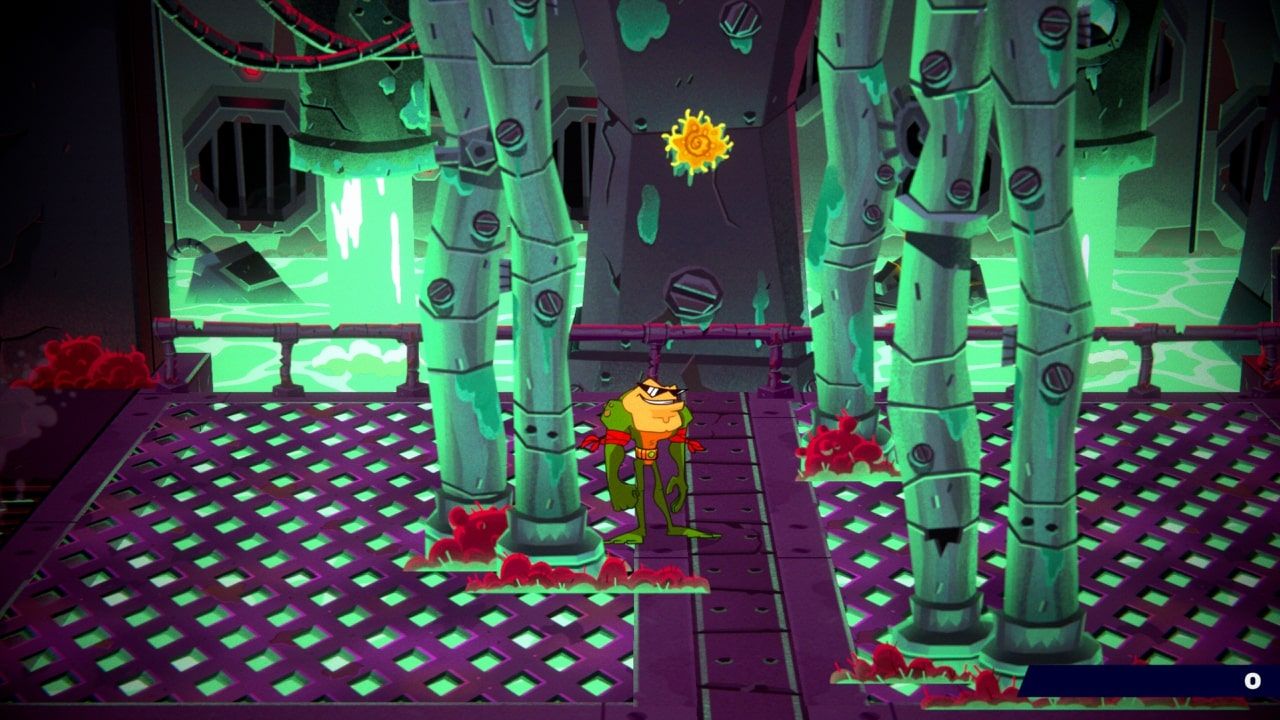
A bit further into the level, you will find these two buttons. Spit at both of them, then walk left to find a collectible in an open door:
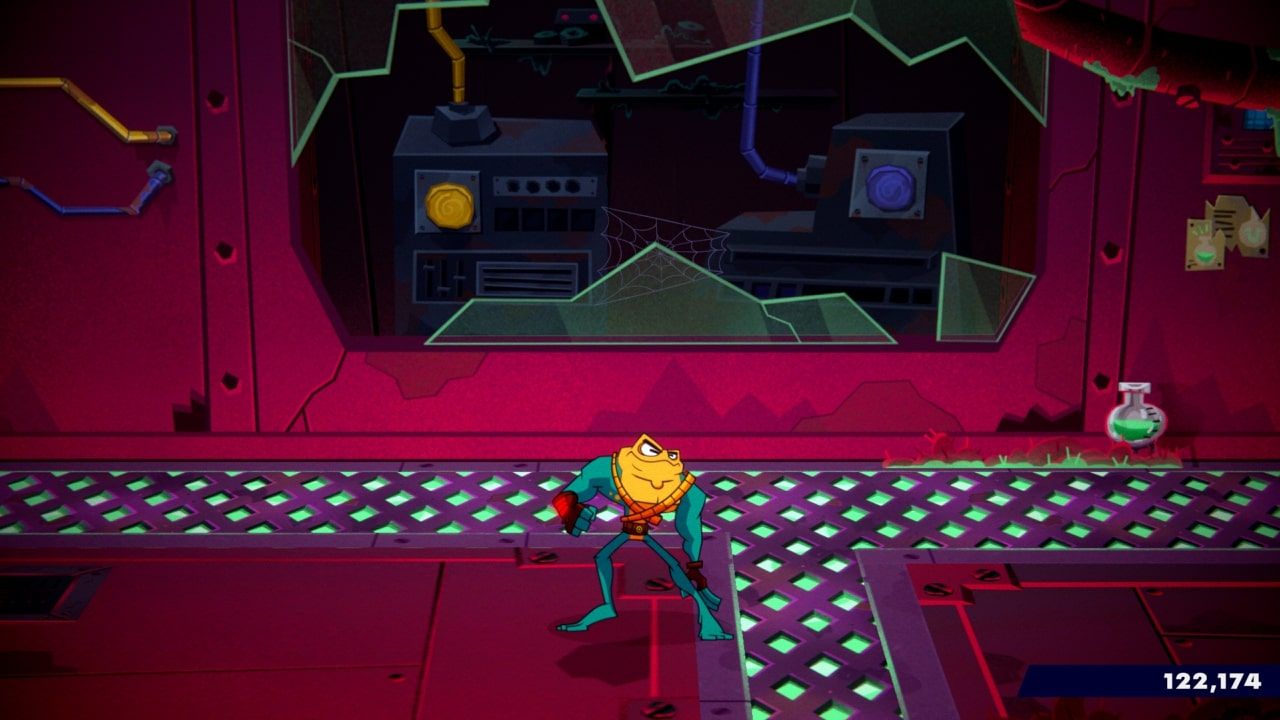
Head back right and you’ll see the next yellow splat very shortly. Spit at it:
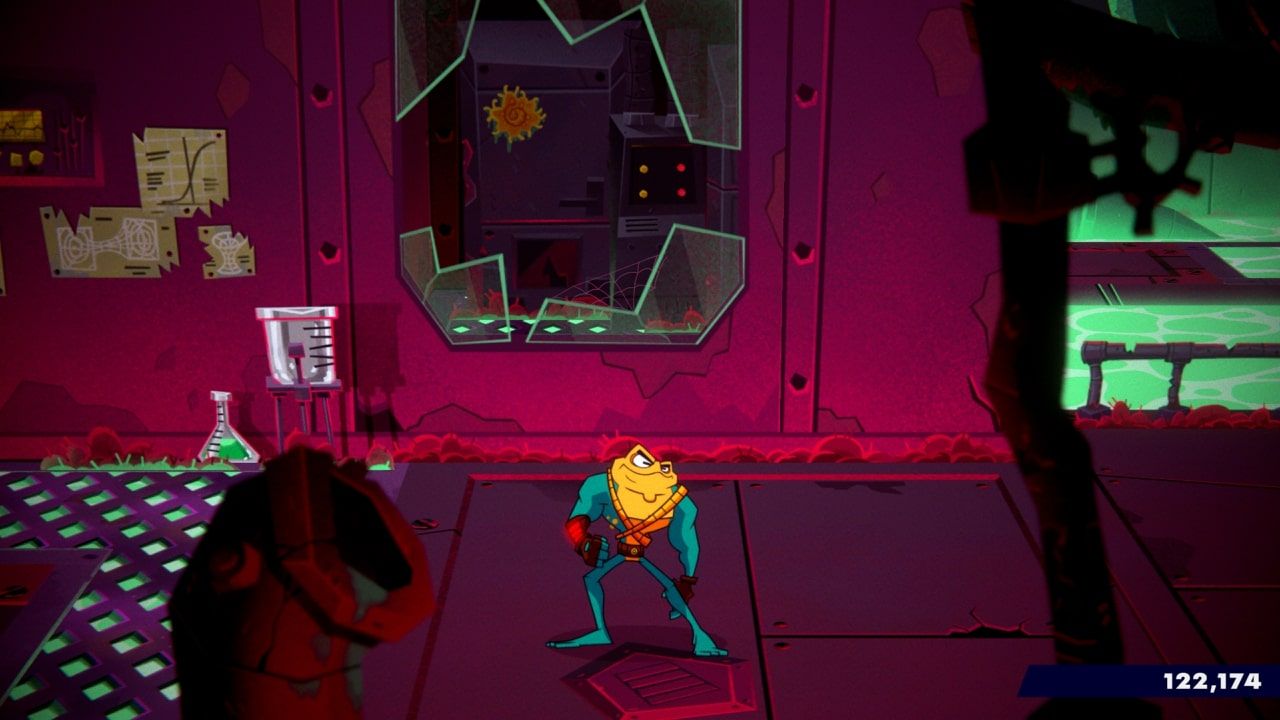
After a wave fight, you’ll come across four steaming pipes. Spit at all four of them to make a collectible spawn in the center:
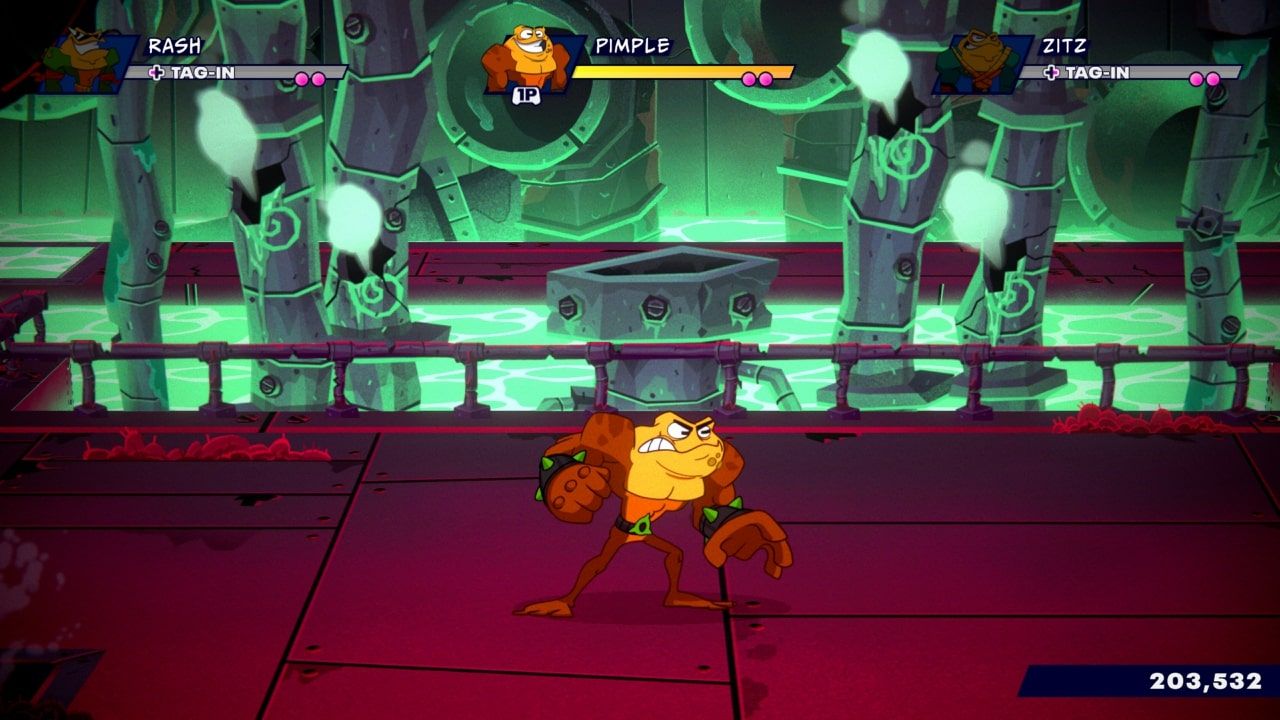
After some more fighting, a cutscene and a security hack, you will find a collectible in plain sight:
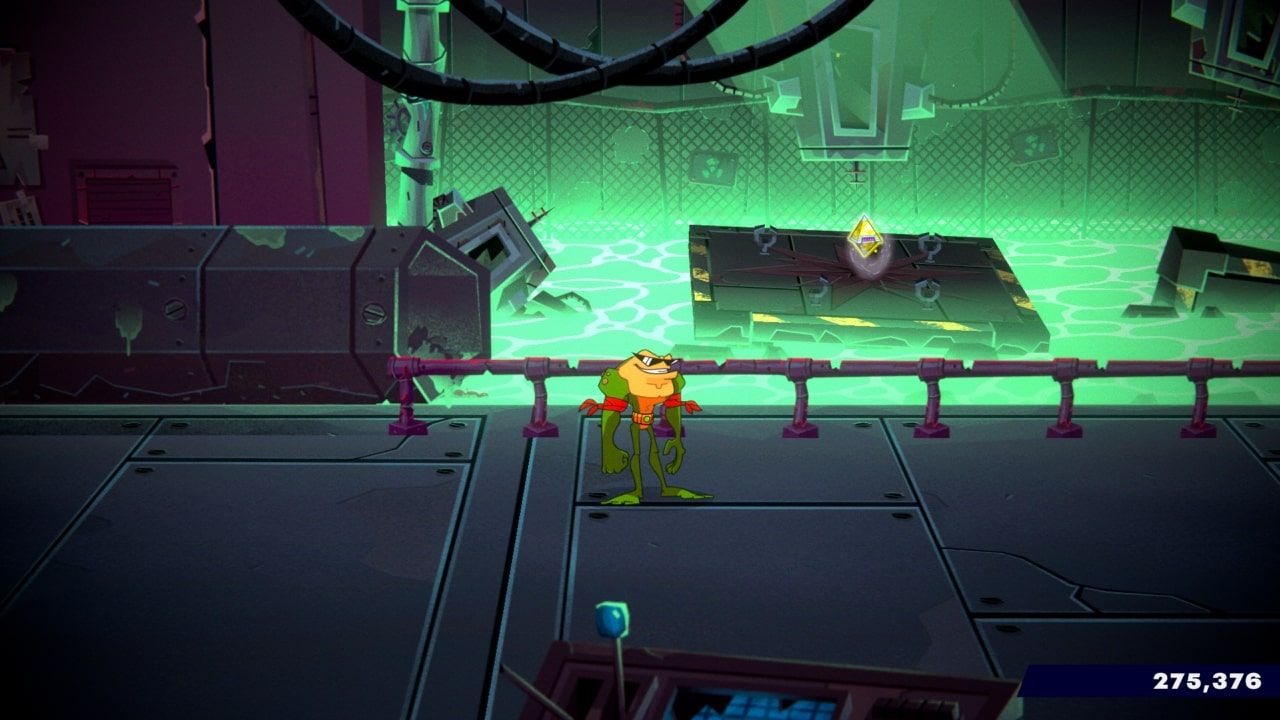
A short while later, you will pass a hard-to-miss yellow splat on the wall, so make sure to spit at it:
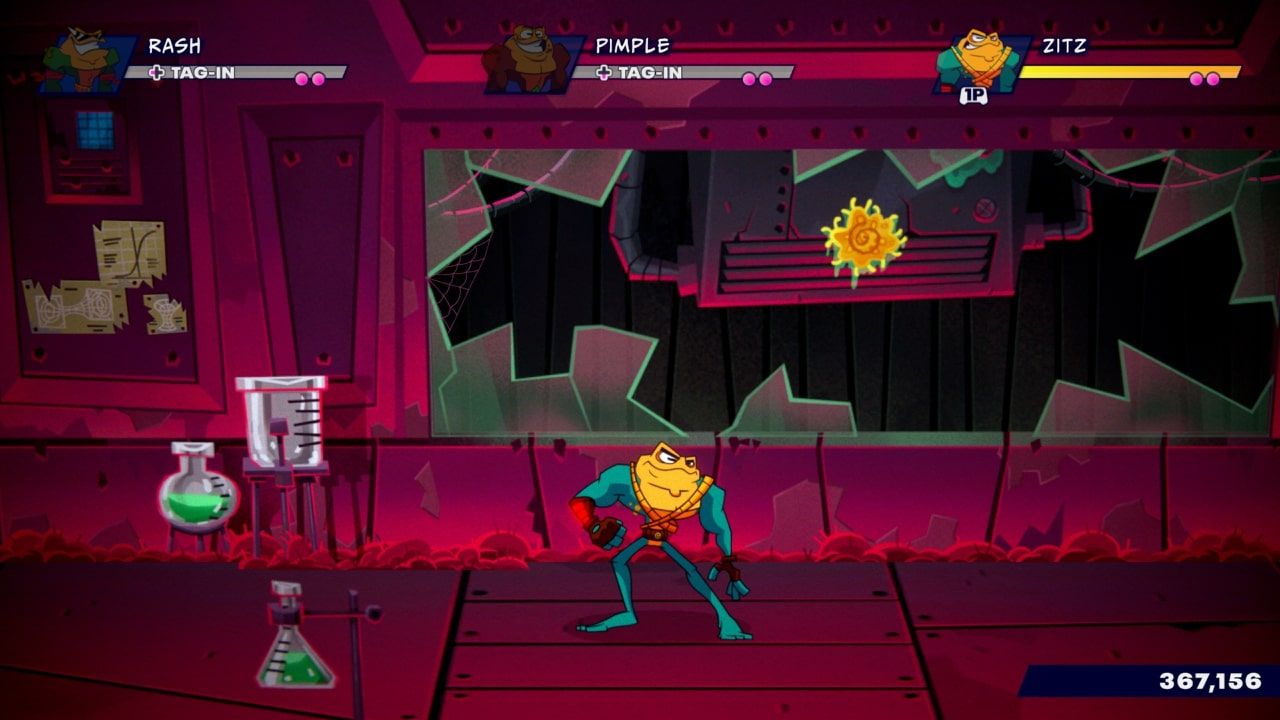
After a few rooms of wave fights, you’ll find a door with two lights on the outside. Shoot both lights, then walk to the left and shoot the two lights on the other door you just passed. This will open the door and present you a collectible:
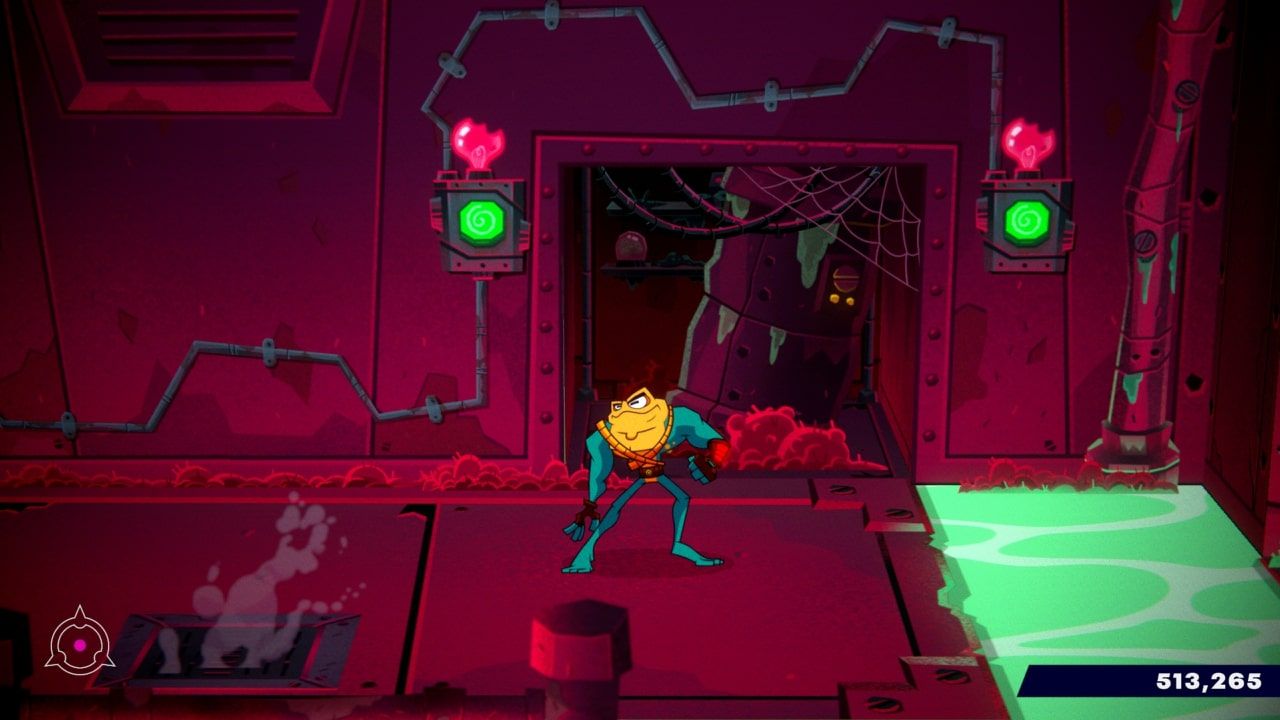
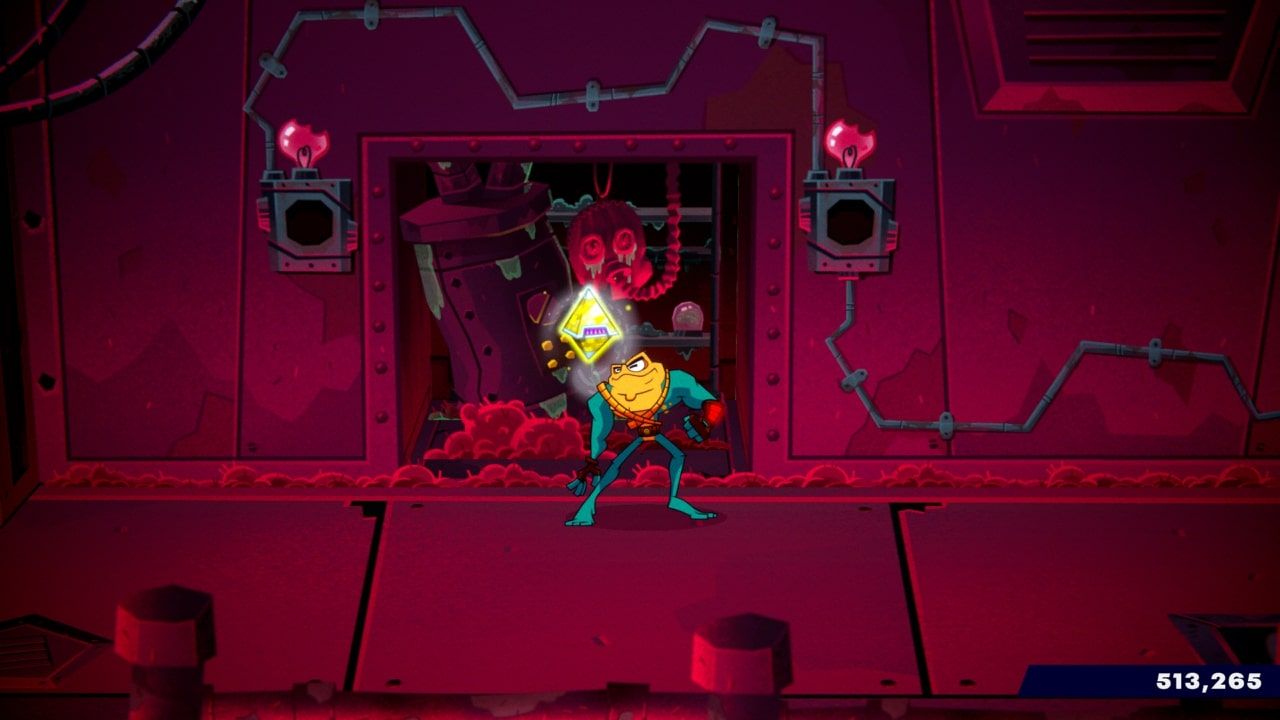
Finally, a bit further into the level, you will find the last yellow splat in the back left corner of a room. Spitting at it will spawn in the collectible in front of you:

Once you’ve finished the stage with all ‘A’ fighting ranks, you will earn the last collectible of Act 1!
Link Source : https://www.thegamer.com/battletoads-all-act-1-collectibles-guide/
