
Destiny 2: A Complete Guide To The Bunker E15 Master Lost Sector
Table of Contents
Everything you need to know about The Bunker E15 Master Lost Sector, and how to farm Exotics.
You Are Reading :Destiny 2 A Complete Guide To The Bunker E15 Master Lost Sector

Quick Links
Lost Sectors are the best means of farming Exotic armor in Destiny 2: Beyond Light thanks to the addition of Legend and Master difficulty variants. Europa and the Cosmodrome are currently the only two planets that support these new difficulty settings.
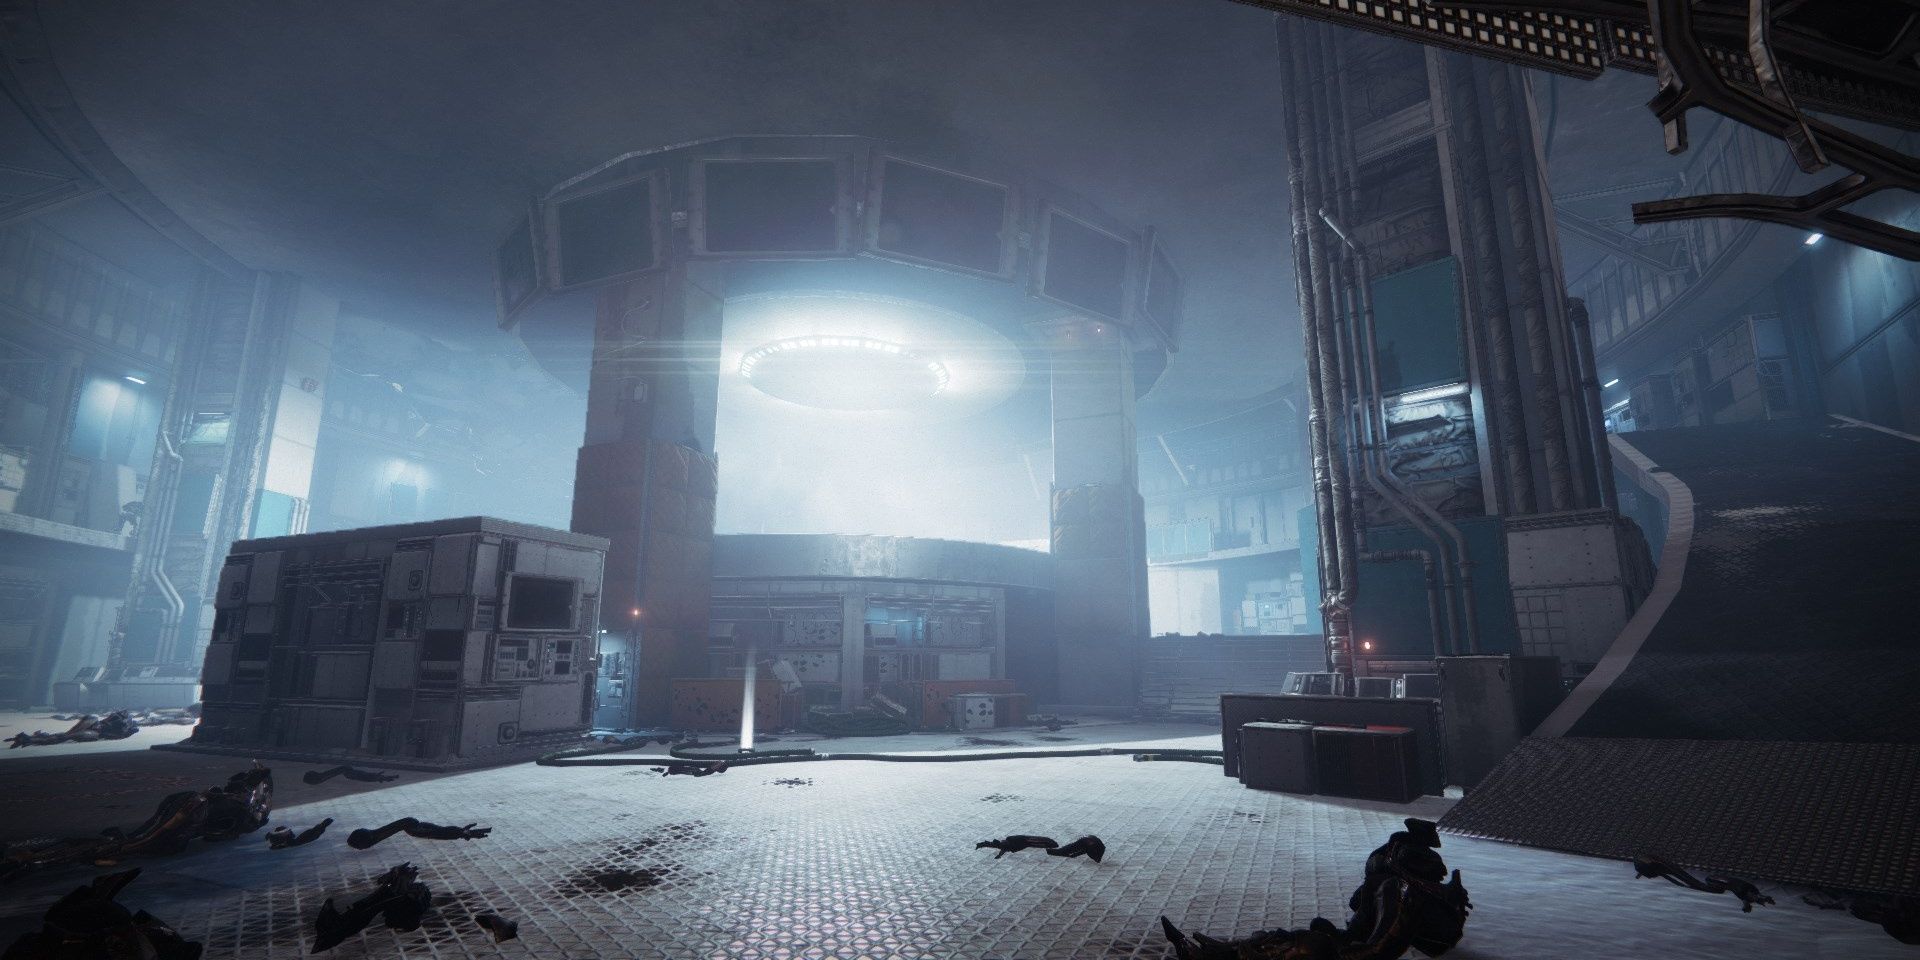
Bunker E15 is one of the Lost Sectors that supports these new difficulty settings and is one of the easier ones to beat. With a wave of security frames by your side, clearing out this Lost Sector takes little time at all. From recommended loadouts to strategies, here is a complete guide to completing the Master version of the Bunker E15 Lost Sector in Destiny 2.
Updated July 29th, 2021, by Charles Burgar: Season 14’s Artifact mods have made Lost Sectors significantly easier to farm. If you’re preparing for the next season, you’ll want to be farming this relatively easy Lost Sector on Europa. We’ve updated this guide with tables and a new table of contents section to make it much easier to read.
Modifiers And Recommended Loadout

Bunker E15 is one of the easier Lost Sectors to complete due to the presence of friendly security frames. Here are a few key modifiers tied to this Lost Sector:
Bunker E15 Modifiers
- Extra Shields
- Match Game
- Locked Equipment
- Extra Champions
- Barrier
- Overload
- Shocker
- Goblins leave pools of Radiolarian Fluid when slain
- Goblins leave pools of Radiolarian Fluid when slain
- +Arc and aerial damage taken
- Attrition
- Regeneration is greatly impaired. Defeating enemies may create wells of Light.
- Regeneration is greatly impaired. Defeating enemies may create wells of Light.
- ++Void Damage
- Void
- Minotaur
- Minotaur
Despite their being Void shields in this Lost Sector, only one enemy has a shield. This makes loadouts rather flexible, although we highly recommend you bring a Void Special or Heavy weapon due to this Lost Sector’s burn.
With how small this Lost Sector is and the presence of Attrition, Swords are highly recommended. The Lament is the best choice here, bypassing the Minotaur’s Void shield while countering Barrier Hobgoblins and dealing some absurd damage when used properly. Falling Guillotine is a great Legendary substitute if you want to use Eriana’s Vow to damage the Hydra boss.
Subclass
- Revenant
- Duskfield Grenades are excellent against Champions and can stunlock the boss.
- Way of the Pathfinder
- On-demand invisibility and a high-damage Super.
- Duskfield Grenades are excellent against Champions and can stunlock the boss.
- On-demand invisibility and a high-damage Super.
- Attunement of Chaos
- Overcharged Vortex Grenades with Contraverse Hold annihilate Champions.
- Shadebinder
- Bleak Watcher turrets are amazing for every encounter.
- Overcharged Vortex Grenades with Contraverse Hold annihilate Champions.
- Bleak Watcher turrets are amazing for every encounter.
- Code of the Protector
- Ward of Dawn gives some much-needed breathing room.
- Code of the Siegebreaker
- Pair with Wrath of Rasputin to speedrun this Lost Sector.
- Ward of Dawn gives some much-needed breathing room.
- Pair with Wrath of Rasputin to speedrun this Lost Sector.
Weapons
Mods
A Detailed Guide: Entrance

Entrance Enemies
- One Overload Captain
- Two Vandals
- Dregs
- Goblins
- One Minotaur
Right as you spawn in, take out the two Vandals on the right rock perch and central container. The Overload Captain and Dregs will begin to fire on your position. Use a grenade to take down the Dregs, then stun the Overload Captain. Use either a Sword or Truth to take him down. The door to the next section will then open up.
Free the security frames stuck in the Vex cage before dealing with the four Goblins. Head downstairs with your new security frames and take down the Goblins and Minotaur below. If you don’t have a Void weapon, use Lament to bypass its shield. Use the newly unlocked door to reach the second major arena.
A Detailed Guide: Cells

Jail Cell Enemies
- Two Barrier Hobgoblins
- Two Hobgoblins
- Goblins
- One Cyclops
Swing right upon entering the room to find a small group of Goblins. Take them down with a Seventh Seraph or IKELOS weapon to generate a Warmind Cell. Detonate the Warmind Cell to unlock every Vex cage and kill the Hobgoblins overlooking the arena. Now you can safely jump up to the second floor and take out the remaining Goblins, causing the second wave of Vex to spawn shortly afterward.
Among the second wave will be two Barrier Hobgoblins and a Cyclops. Destroy the Cyclops from a distance before facing the Champions. Damage the Champions alongside your security frames to force their shield to appear. Break the shield using Lament or any anti-barrier weapon and kill the Hobgoblin. Do the same thing to the other Hobgoblin, then escort your small army to the boss arena.
A Detailed Guide: Boss Arena
Boss Room Enemies
- Four Overload Minotaurs
- Hydra boss
- One Wyvern
- Goblins
- Hobgoblins
Take note of the icy corridor that leads to the boss arena; this is by far the safest area to kill Overload Champions in and damage the boss from. Once inside the room, try to navigate to the sleeping Wyvern at the back of the room. Use a Sword to take it down. If the security frames woke up the Vex, create some distance before fighting the Wyvern. Take down all of the Vex inside to spawn the boss.
As the Hydra is spawning, run back to the icy corridor. An Overload Minotaur will spawn during this first wave that you’ll need to kill. To get its attention, kill the Goblins that spawn near the corridor or shoot the Minotaur a few times. Lure it around the corner before disrupting and killing it. Now that the Champion is dead, use a long-range weapon like Eriana’s Vow, Truth, or a Sniper Rifle to damage the Hydra. When it loses a third of its health, it will teleport next to the corridor and spawn a fresh set of Vex opponents alongside yet another Overload Minotaur.
Try to damage the Hydra as much as possible here to force it to teleport away. Dealing another third of its health bar should force it to leave. Consequently, this will spawn one additional Overload Champion, meaning you’ll need to defeat two at once. Defeat the Champions as before, luring them to the corridor before stunning and damaging them. At the last quarter of the Hydra’s health bar, one more Overload Minotaur will spawn. Kill this fourth and final Champion, defeat the Hydra, then loot the chest to complete this Lost Sector with a Platinum rating.
Link Source : https://www.thegamer.com/destiny-2-bunker-e15-master-lost-sector-guide/