Final Fantasy 14: The Wanderer’s Palace Dungeon Guide
Table of Contents
From Goobbue to Tonberry, here is our complete guide to the FFXIV Dungeon, The Wanderer’s Palace.
You Are Reading :Final Fantasy 14 The Wanderer’s Palace Dungeon Guide
Quick Links
The Wanderer’s Palace is a level 50 dungeon in Final Fantasy 14. Originally added in patch 2.0, this side dungeon can serve as a gateway to harder level 50 content and beyond. Although this dungeon is technically not required to progress in the main story, it’s an important stepping stone for your journey so far.
With difficult bosses and tricky encounters, you’ll want to prepare before you enter The Wanderer’s Palace. In this guide we’ll take a complete walk-through of the dungeon, exploring each boss’ attacks and mechanics.
How To Unlock The Wanderer’s Palace
The Wanderer’s Palace is a side dungeon that unlocks through the following quest.
- Accept the level 50 quest ‘Trauma Queen’
- NPC Location: Allene – Western Thanalan (x:11.4, y:13.9)
- NPC Location: Allene – Western Thanalan (x:11.4, y:13.9)
Dungeon Walkthrough
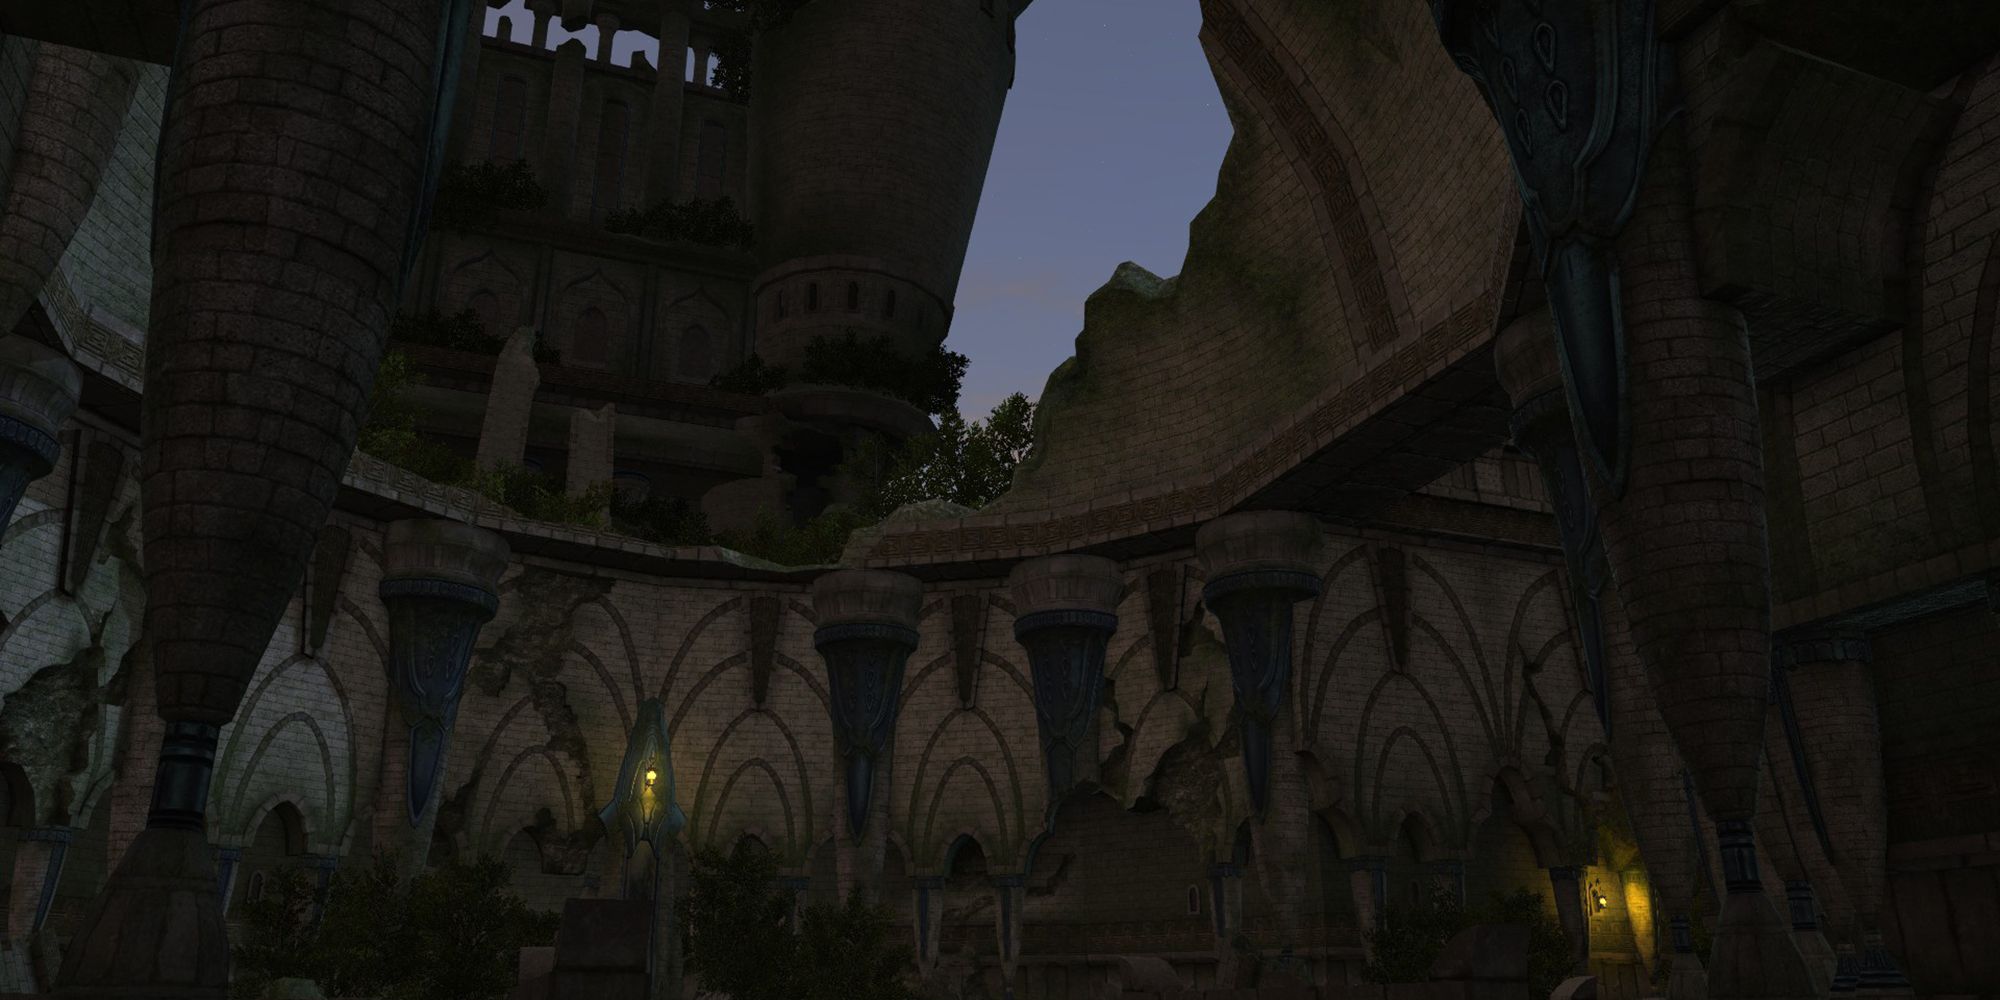
The first thing you will notice about the Wanderer’s Palace are the large, untargetable Tonberrys that are dotted around the dungeon. These enemies will slowly walk toward you, acting as a soft-DPS check. If you take too long killing the trash mobs in each room, the Tonberry will walk up and stab the closest player, dealing massive damage to them. While it is possible to survive this and escape with your life, it’s better to avoid it by quickly dealing with each group of enemies.
Additionally, the smaller Tonberrys that you need to kill in each group of enemies will drop Lantern Oil. You will need to use this oil on the Rusted Nymian Devices to activate them and allow you to pass through each door. Remember to pick up the Lantern Oil when the Tonberrys drop it.
Keeper Of Halidom
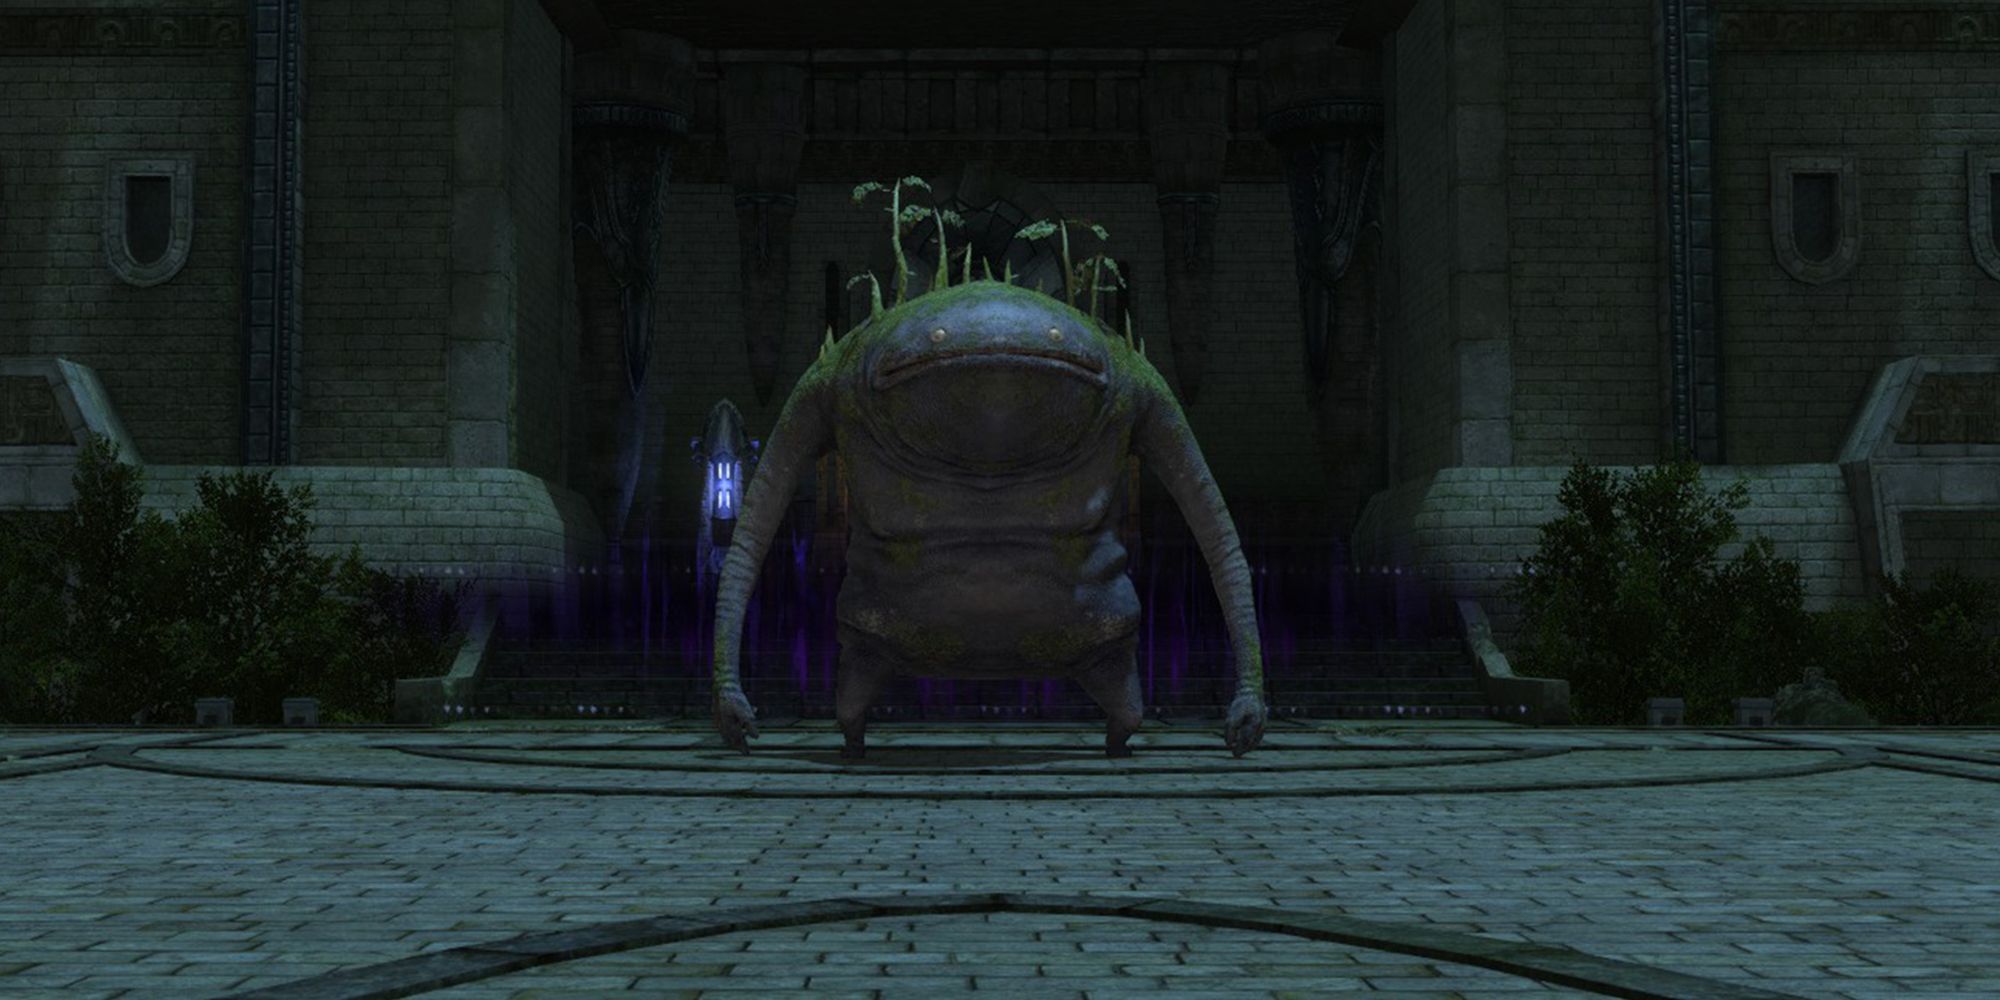
The first boss of The Wanderer’s Palace is the Keeper of Halidom. This massive Goobbue will inflict various debuffs on your party, so have Esuna ready. Below are each of its attacks and how to avoid them.
- Beatdown: A frontal cone attack that resolves instantly, giving no time to react. This attack only does a small amount of damage, but the Tank should face the boss away from the rest of the party to avoid them being hit too.
- Moldy Sneeze: This instant frontal cone deals a small amount of damage and inflicts poison and reduced immunity. Similar to Beatdown, make sure the Tank is facing the boss away from the rest of the party to avoid them being hit by this attack.
- Inhale: A large frontal cone that will pull in players and deal a small amount of damage. Immediately following Inhale, the Keeper will use Goobbue’s Grief. Inhale can be avoided by running outside of the cone AoE.
- Goobbue’s Grief: Deals damage in a circle around the boss, inflicting poison on any hit player. Move away from the boss when it begins to cast Inhale to avoid the immediately following Goobbue’s Grief.
- Moldy Phlegm: The boss will target a random player with a circular AoE that deals a small amount of damage and inflicts poison and reduced immunity. Move outside of the AoE when it appears on the ground to avoid this attack.
After defeating the Keeper of Halidom, you will move into the Endless Rise, where you will need to use Lantern Oils on the devices to proceed.
The Endless Rise
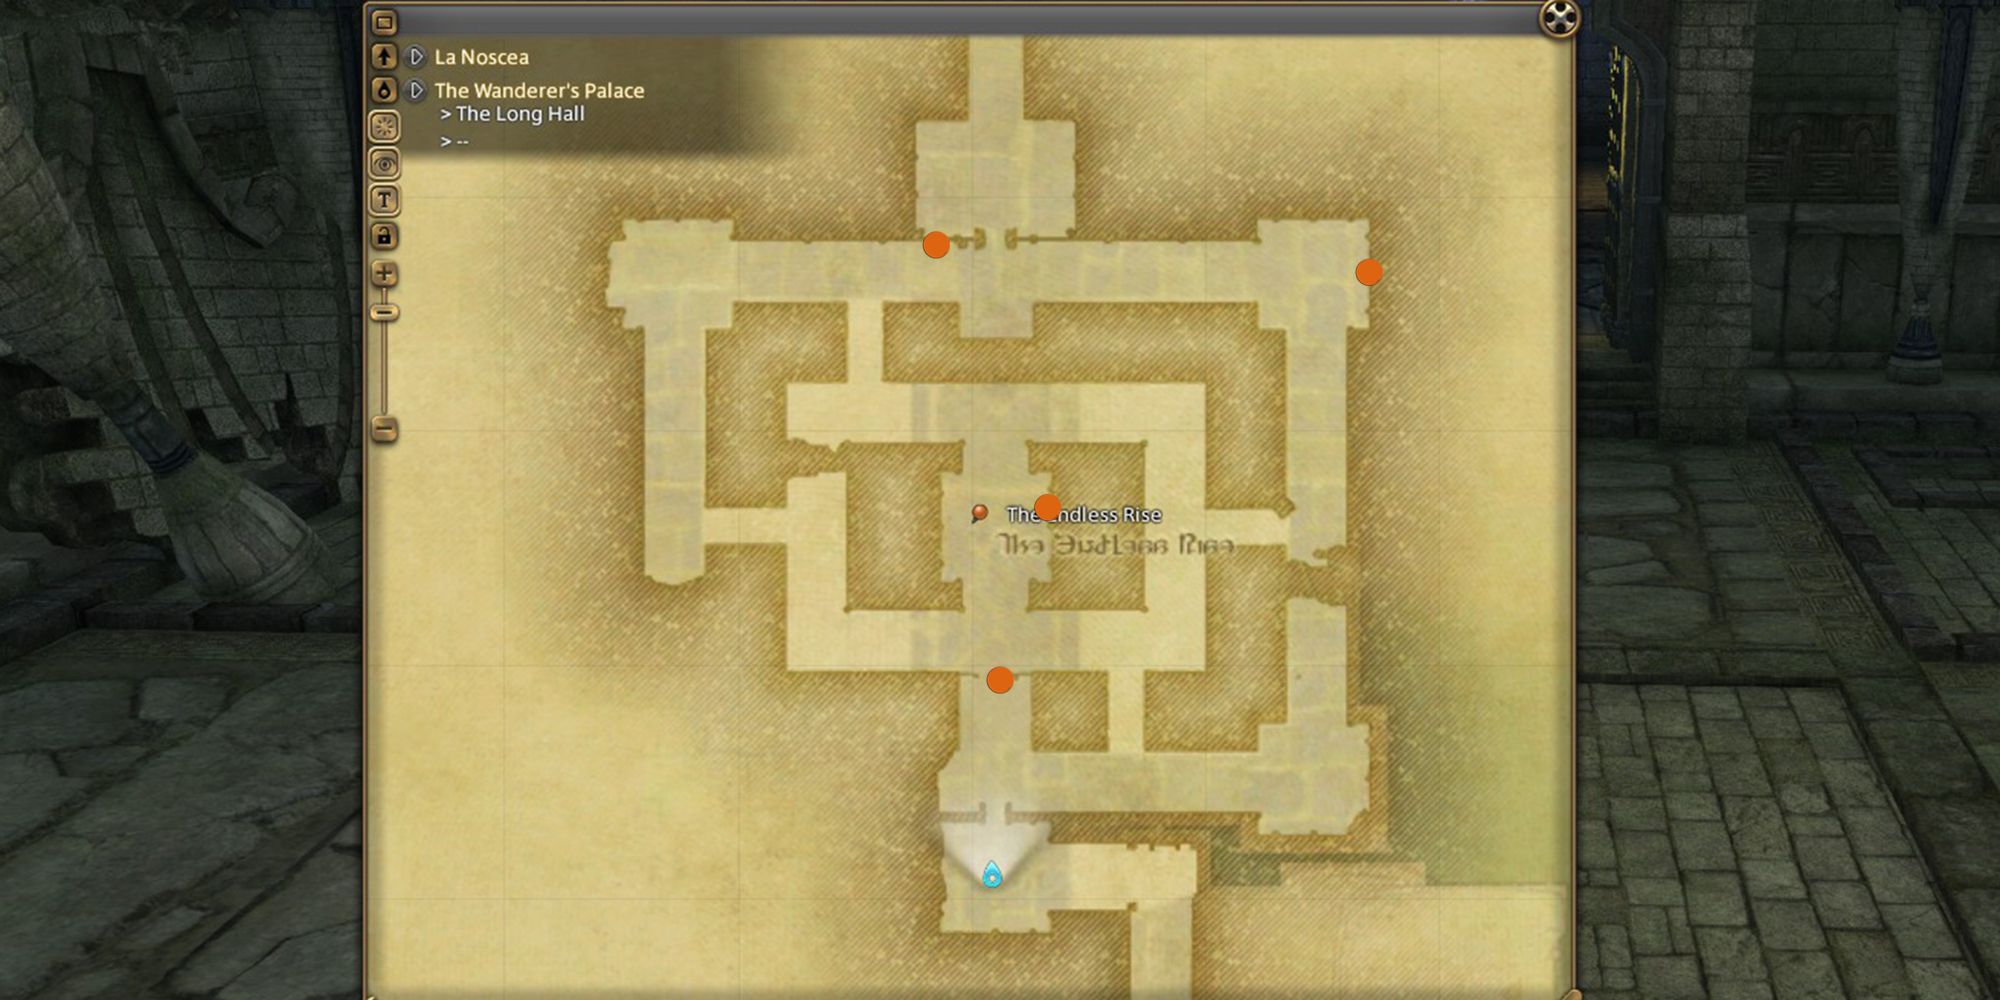
After proceeding down the short path past the first boss, you will enter the Endless Rise. This large room has four Rusted Nymian Devices that must be activated before you can continue. This room also contains a number of large Tonberrys that will follow you around if you get too close to them. However, if you move far enough away from a pursing Tonberry, it will stop following you and return to its original path. Try to move around often to avoid being caught by the Large Tonberrys as you locate and operate the Devices.
You can find the location of each device on the image above.
Giant Bavarois
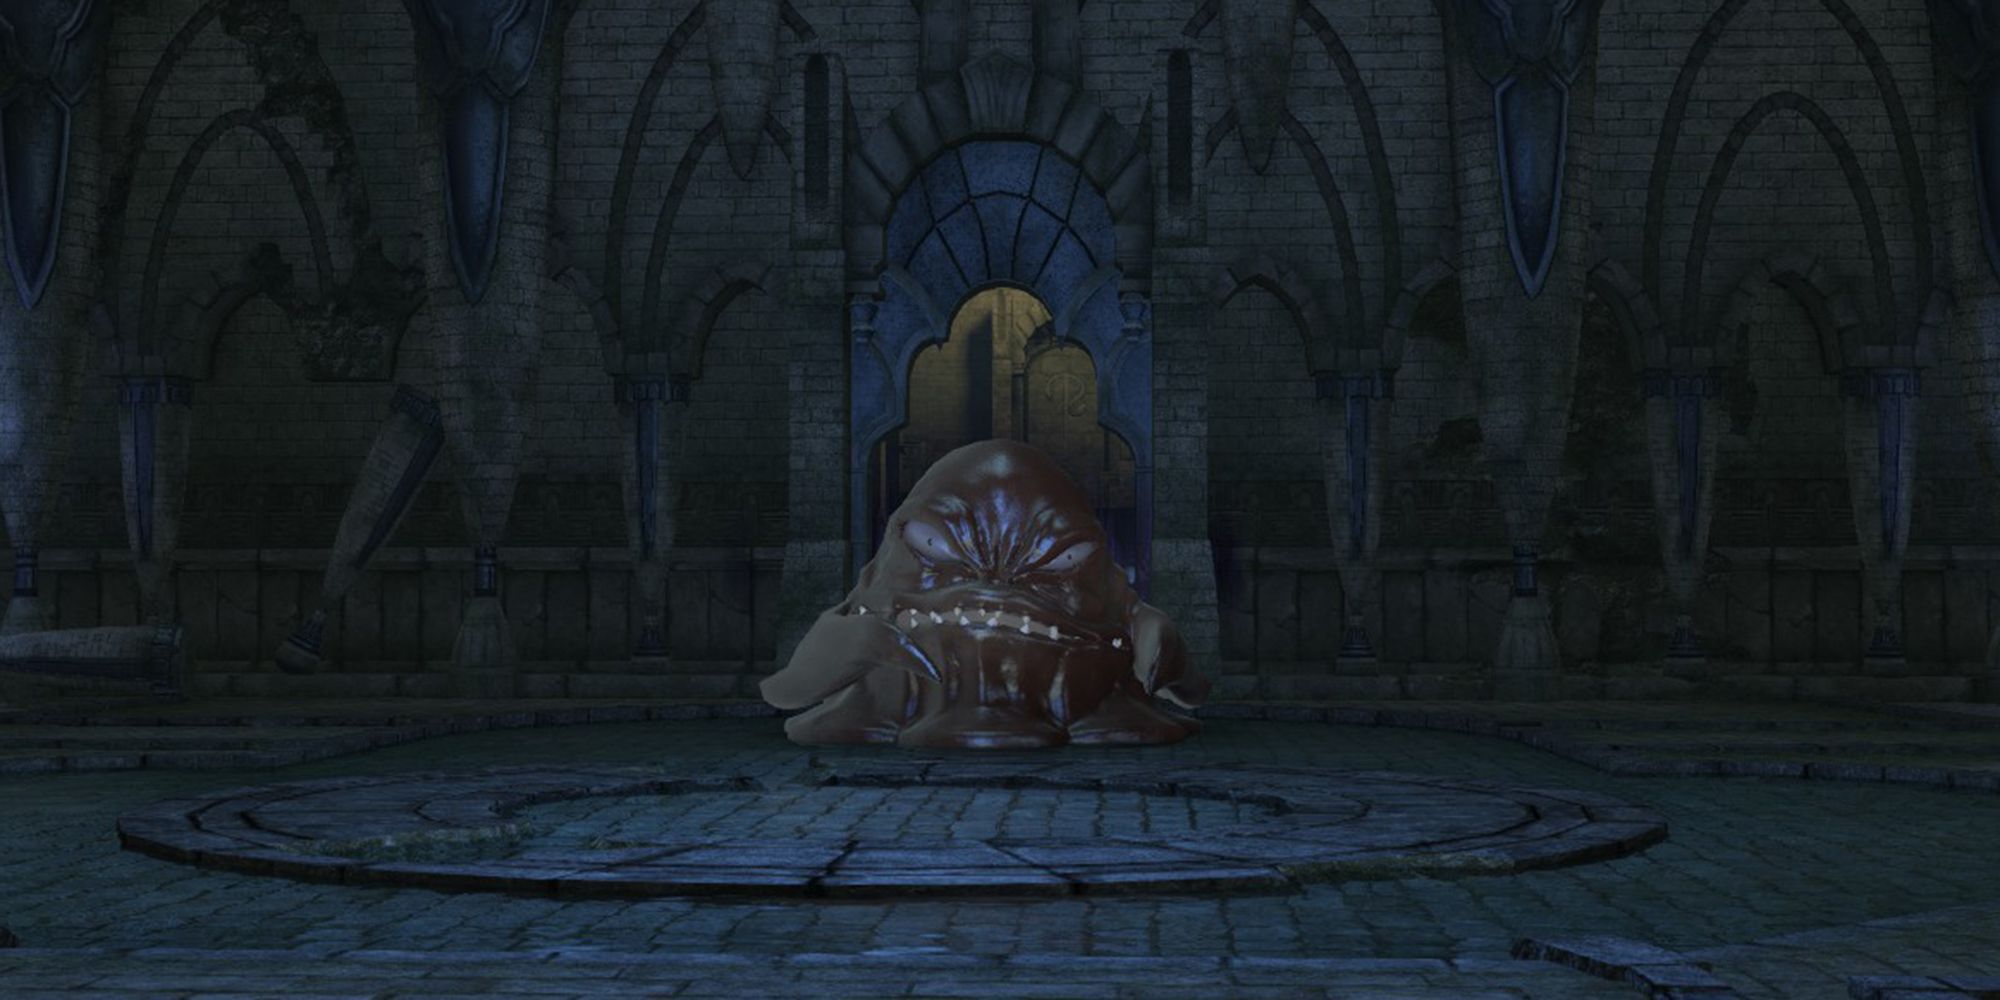
The second boss of The Wanderer’s Palace is the Giant Bavarois. While the boss alone is not dangerous, this fight can get tricky when it spawns adds. White, Green, Blue, and Purple Bavarois will periodically spawn throughout the fight that all do different things. The boss and adds’ attacks are listed below.
- Fire: Deals unavoidable damage to the boss’s target.
- Amorphic Flail: Targets a random player and begins to move toward them. If the boss catches up with its target, it will deal a high amount of damage to them. The affected player should run away from the boss during this attack until the boss stops moving.
Adds
- White Bavarois: Deals a small amount of damage and inflicts Heavy, slowing movement speed.
- Green Bavarois: Deals a small amount of damage and inflicts Windburn, dealing damage over time to the target.
- Blue Bavarois: Continuously heals the boss. This enemy should be focused first when it spawns.
- Purple Bavarois: Deals a small amount of damage and inflicts Paralysis.
The Tank should group up all of these enemies as they spawn, and the DPS should focus on the Blue Bavarois before dealing with the others. After all the adds have been defeated, focus on the Giant Bavarois. Repeat this process until it is defeated and move further into the dungeon.
Tonberry King
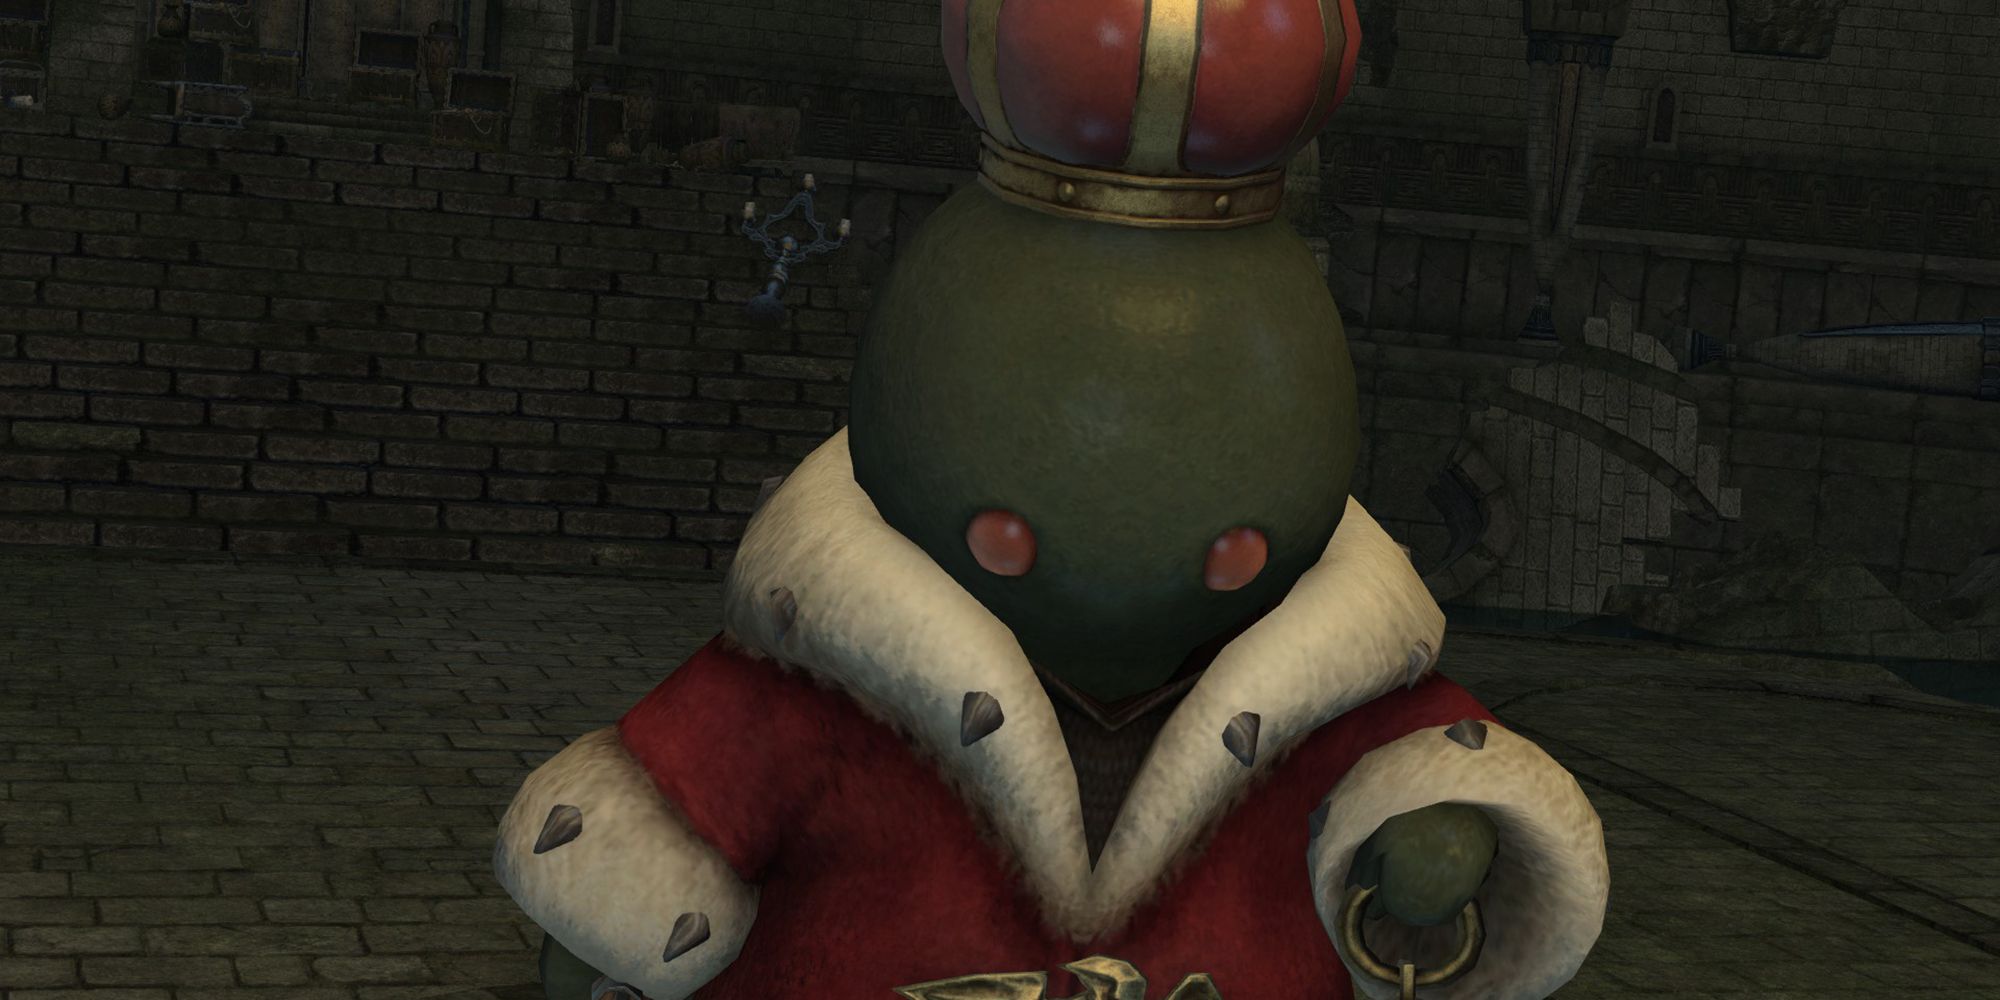
The final boss of The Wanderer’s Palace is the Tonberry King. This boss can be especially difficult, as you’ll need to coordinate with your party for its main mechanics.
Throughout the fight, the Tonberry King will summon Tonberrys around the arena. These enemies will slowly move towards the boss, but will stop to attack players if they are attacked first. When the Tonberrys are killed, they will grant the boss a stacking damage buff. Eventually, the Tonberry King will use Everybody’s Grudge, dealing damage to all players that increases with each stack of the buff.
Alternatively, if the Tonberrys reach the King, they will remove one stack of the damage buff. However, after doing so, they will target players like normal enemies, most likely going after the Healer. The Tank should group up any Tonberrys that make it to the King before they target other players.
The strategy for this fight is to kill the Tonberry adds in groups of three to four, depending on the health of your party. If your party has higher level gear, you may be able to kill more than that before dying to Everybody’s Grudge. After killing around four Tonberry’s, let the Tank group up the others, but don’t kill them yet. Wait until the boss uses Everybody’s Grudge, removing its damage buff, before killing more Tonberrys.
You will want to balance killing and leaving the Tonberrys alone for the duration of this fight. Coordinate with your allies and find out what works best for you. Make it through this fight and you’ll complete The Wanderer’s Palace.
Link Source : https://www.thegamer.com/final-fantasy-14-wanderers-palace-dungeon-guide-walkthrough/
