
Final Fantasy 14: Thornmarch (Hard) Guide
Table of Contents
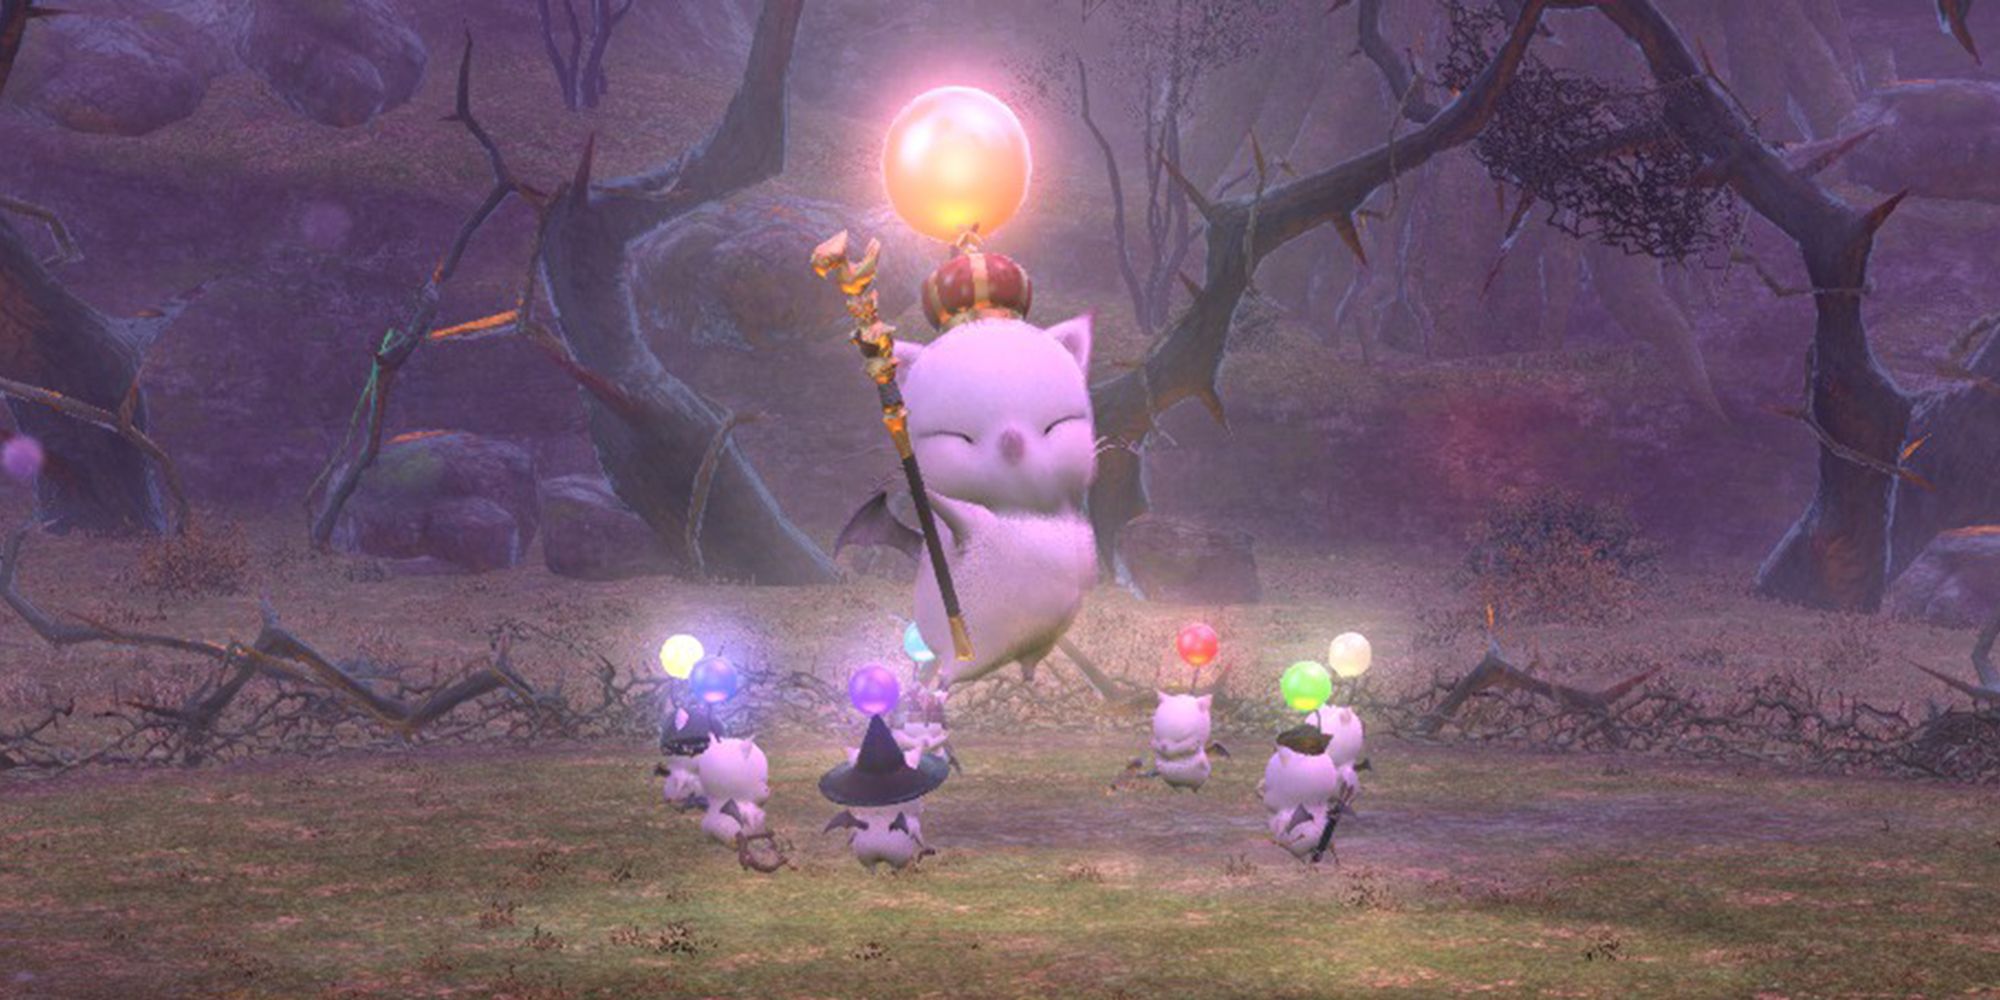
Prevent your untimely death by Moogle with our guide to the FFXIV Trial, Thornmarch.
You Are Reading :Final Fantasy 14 Thornmarch (Hard) Guide
 Guide")
With dozens of Trials in Final Fantasy 14, there’s always something new to challenge. Released in patch 2.1, Thornmarch (Hard) is a Trial unlike any other. Here, you’ll contend with Good King Moggle Mog XII and his seven Mogglesguards as their very presence threatens Gridania’s peaceful pastures.
Despite their cute appearances, King Mog and the Mogglesguard will put up a challenging fight if you’re not prepared. Let’s go over each phase of this Trial, each member of the Mogglesguard, and ultimately how to clear Thornmarch (Hard).
How To Unlock Thornmarch (Hard)
This Trial will unlock through the Main Scenario with the following quest.
- Complete the Main Scenario Quest ‘You Have Selected Regicide’
- NPC Location: E-Sumi-Yan – Old Gridania (x:6.0, y:10.6)
- NPC Location: E-Sumi-Yan – Old Gridania (x:6.0, y:10.6)
Thornmarch (Hard) Trial Walkthrough
 Guide")
This Trial is a bit different from others you’ve faced so far. Rather than facing a single boss, you will instead fight each member of the Mogglesguard before challenging the Good King himself. In the first half of the fight, you will face the Mogglesguard in four different waves in which a certain Moogles will appear. After defeating them all as they come, the Good King will be summoned, and each Mogglesguard will return to the fight.
In the second half of this Trial, you will face both the Mogglesguard and the King at the same time. Let’s go over both phases of this fight and what you can expect from each.
Phase 1
At the beginning of this Trial, Whiskerwall Kupdi Koop, the Paladin, will face you alone. After defeating him, the next Mogglesguard will spawn in the order listed below. Additionally, each of their attacks are also listed.
Wave 1:
- Whiskerwall Kupdi Koop (Paladin)
- Spinning Mogshield: A circle AoE that deals moderate damage and inflicts stun.
- Spinning Mogshield: A circle AoE that deals moderate damage and inflicts stun.
Wave 2:
- Pukla Puki the Pomburner (Black Mage)
- Pom Flare: Deals massive damage in a large AoE.
- Wooly Wart Kupu Kogi (Archer)
- Moogle Eye Shot: Targets a random player and marks them. After a few seconds, the Archer will deal damage four times in a row to the marked player.
- Pom Flare: Deals massive damage in a large AoE.
- Moogle Eye Shot: Targets a random player and marks them. After a few seconds, the Archer will deal damage four times in a row to the marked player.
Wave 3:
- Furryfoot Kupli Kipp (White Mage)
- Pom Cure: Restores health to a damaged Mogglesguard.
- Pukna Pako the Tailturner (Rogue)
- Moogle Thrust: Targets a random player before rushing up to them and dealing a moderate amount of damage.
- Ruffletuft Kupta Kapa (Warrior)
- 100-kuponze Swipe: Deals damage in a wide frontal cone AoE.
- Pom Cure: Restores health to a damaged Mogglesguard.
- Moogle Thrust: Targets a random player before rushing up to them and dealing a moderate amount of damage.
- 100-kuponze Swipe: Deals damage in a wide frontal cone AoE.
Wave 4:
- Puksi Piko the Shaggysong (Bard)
- March of the Moogles: Creates an AoE that buffs other Mogglesguard, increasing their attack.
- March of the Moogles: Creates an AoE that buffs other Mogglesguard, increasing their attack.
After defeating each Moogle, they will all respawn and summon Good King Moggle Mog XII, and the fight will enter phase 2.
Phase 2
Now that the King has arrived, you will need to employ some strategy. The off-Tank should bring the King over to the edge of the arena, away from the rest of the party. Meanwhile, the main Tank should round up as many of the Mogglesguard as possible. Some of the Mogglesguard do not respond to enmity, meaning they will not have their attention drawn to the Tank no matter how much damage they take.
While the off-Tank is taking on the King, they should try to do as little damage as possible while still maintaining enmity. When King Mog reaches certain health thresholds, he will use Memento Moogle. This attack deals damage based on the King’s current health and how many other Moogles are still alive. When all seven Moogles are alive, this attack can be fatal. Because of this, make sure only the off-Tank is fighting the King while all other party members focus on the Mogglesguard.
Each Mogglesguard has various attacks that make some more dangerous than others. Because of this, you’ll want to defeat each Moogle in a specific order, listed below.
After all of the Mogglesguard are defeated, all party members should focus on the King, who will be alone.
Good King Moggle Mog XII will use Mog Creation, which deals damage in a straight line to his front. Additionally, Good King Moggle Mog will also periodically use modified attacks of Mogglesguard that have been defeated. For example, if the Pukla Puki (the Black Mage) is defeated first, the King will periodically use a modified version of Pom Flare. He will continue to add these attacks to his arsenal as each Mogglesguard is defeated.
The real challenge of this fight will be remembering and killing the Mogglesguard in the correct order. When the King is on his own, he is much less dangerous and can be dealt with easily. However, make sure to only damage him when all other Mogglesguard have been defeated. When done correctly, you’ll be able to take down King Moggle Mog and complete this Thornmarch.
Link Source : https://www.thegamer.com/final-fantasy-14-thornmarch-hard-king-moogle-walkthrough-guide/