
Kingdom Hearts 3: Where To Find Every Treasure Chest In The Keyblade Graveyard
Table of Contents
Here’s everything you need to know to find every Keyblade Graveyard treasure chest in Kingdom Hearts 3.
You Are Reading :Kingdom Hearts 3 Where To Find Every Treasure Chest In The Keyblade Graveyard

Quick Links
Many things make the Kingdom Hearts series charming and innocent with the main one being all the Disney-related characters you get to meet. You also get to visit many of their associated worlds which each have their feel and energy to them.
This makes it seem like a fun and light-hearted adventure, but there are many times when the story descends into darkness. There are moments of genuine despair and hopelessness throughout Kingdom Hearts 3, and you don’t want to end up in a bad world when that happens. Unfortunately, you’ll have to brave the morbidity of the Keyblade Graveyard if you want to continue and find its treasures.
Chests In The Keyblade Graveyard

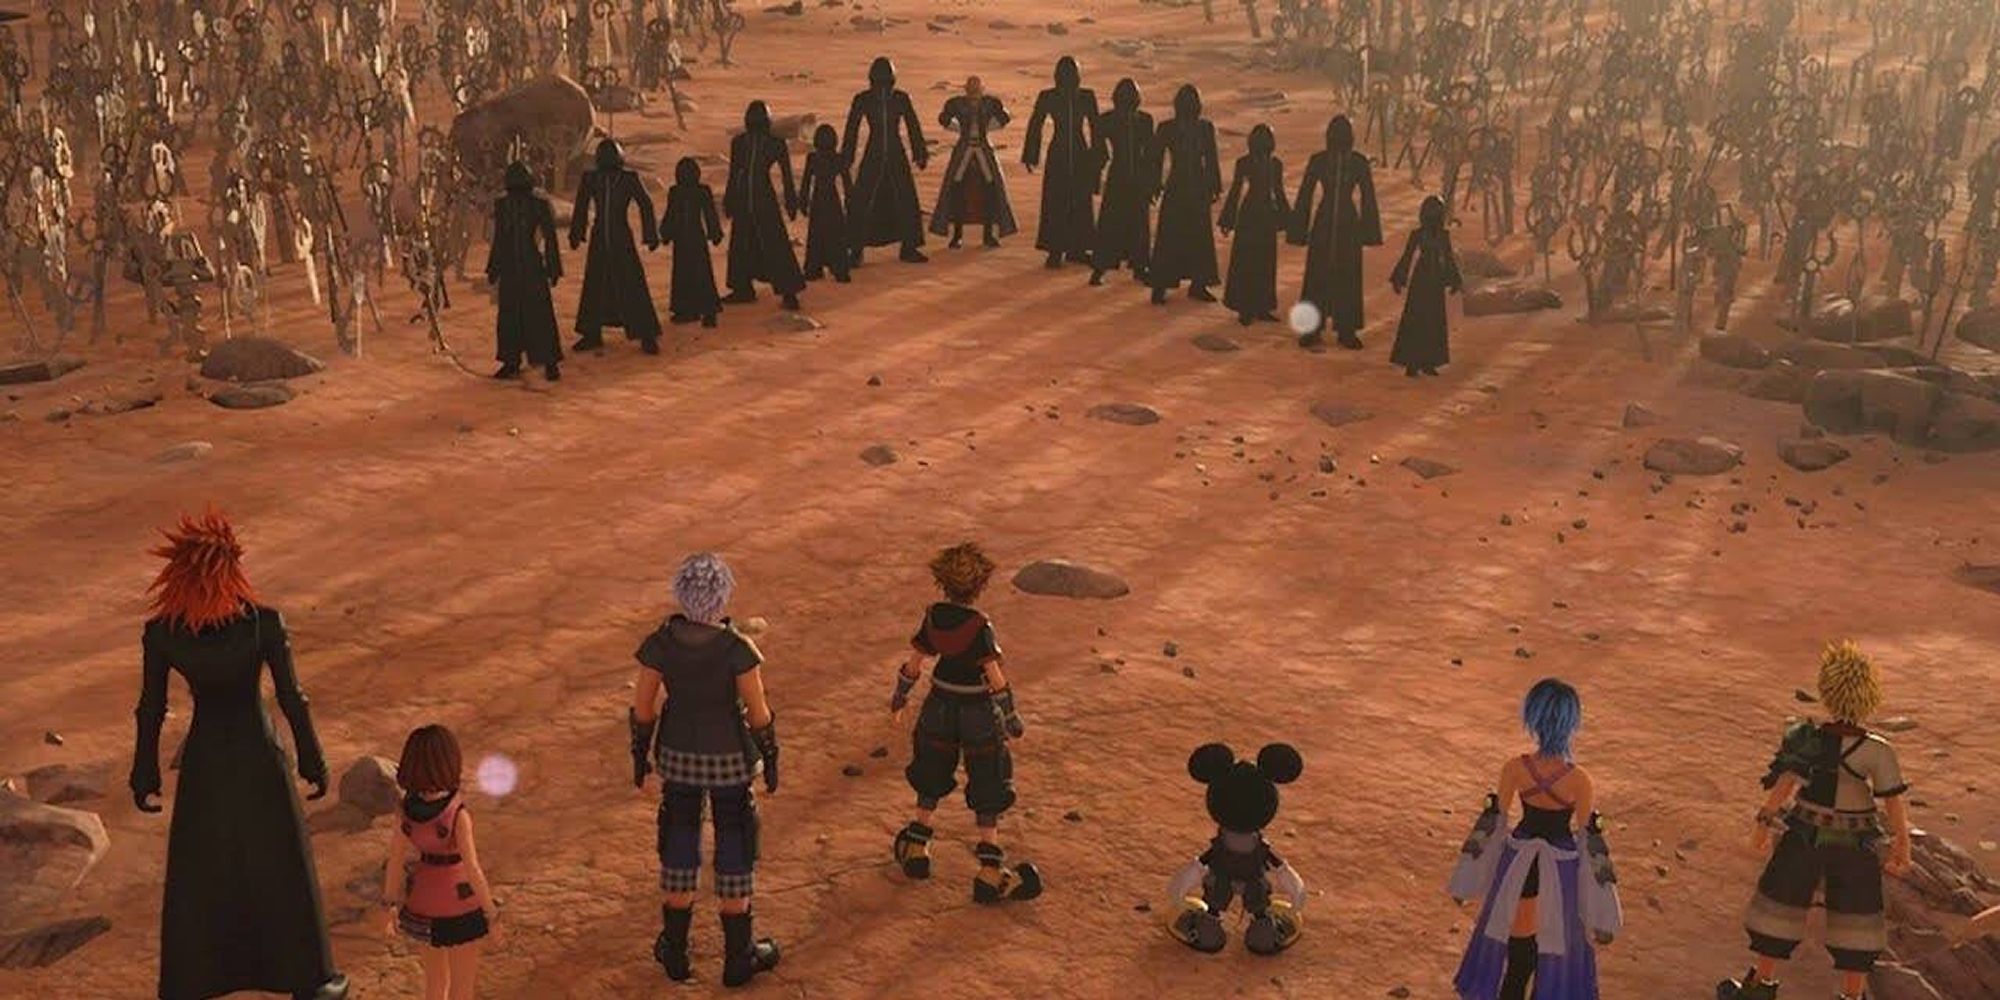
Though there are many familiar worlds you’ll recognize from classic Disney films, the Keyblade Graveyard is unique to Kingdom Hearts. It is a setting for an event known as the Keyblade War where many valiant warriors fought and died in battle.
The land itself remains damaged from the battle as it’s made up of jagged rocks and broken pieces of earth. Sora and his friends will need to travel to this desolate place to confront a group of villains. However, while making your way through, you’ll be able to find 6 treasure chests.
Treasure Chest Locations
- Chest #1: In the Badlands, turn away from the Save Point and head back down the path. The chest will be on your left.
- Chest #2: From the previous chest, go back the way you came and past the Save Point. There will be a pillar in the middle of the path and the chest will be behind it.
- Chest #3: From the pillar, keep following the path forward. You’ll pass through a wide-open area and at the far end will be an exit that leads to the Skein Of Severance. Go through it and a bit forward to find the chest on the left against a wall.
- Chest #4: From the previous chest, take the path forward. Follow it until you reach a big chamber and then turn to the right and take another path back. The chest will be on your right.
- Chest #5: Go back to the large chamber you came from and this time and take the path to the right. Follow the path forward until it ends in a corner and turn left to follow it forward. Keep going until you reach another corner where the chest will be.
- Chest #6: From the corner where you stopped, continue down the path to a hub area where there will be another Save Point. From the Save Point, continue forward down the path in front of it. Keep following this path until you reach another large chamber. From where you enter the chamber, turn to the left and go towards the wall. Take the path to the left before you reach the wall and go down it to reach the final chest of the Keyblade Graveyard then continue your quest.
Link Source : https://www.thegamer.com/kingdom-hearts-3-treasure-chest-keyblade-graveyard-location-guide/