
Outriders: Colosseum Expedition Guide
Table of Contents
Completing this Expedition will be a challenge for certain builds.
You Are Reading :Outriders Colosseum Expedition Guide

Quick Links
Obtaining the best gear in Outriders will require players to complete Expeditions, endgame missions that grant loot based on how quickly you clear the mission. With 15 Challenge Tiers to climb, these missions can prove extremely difficult at greater difficulties.
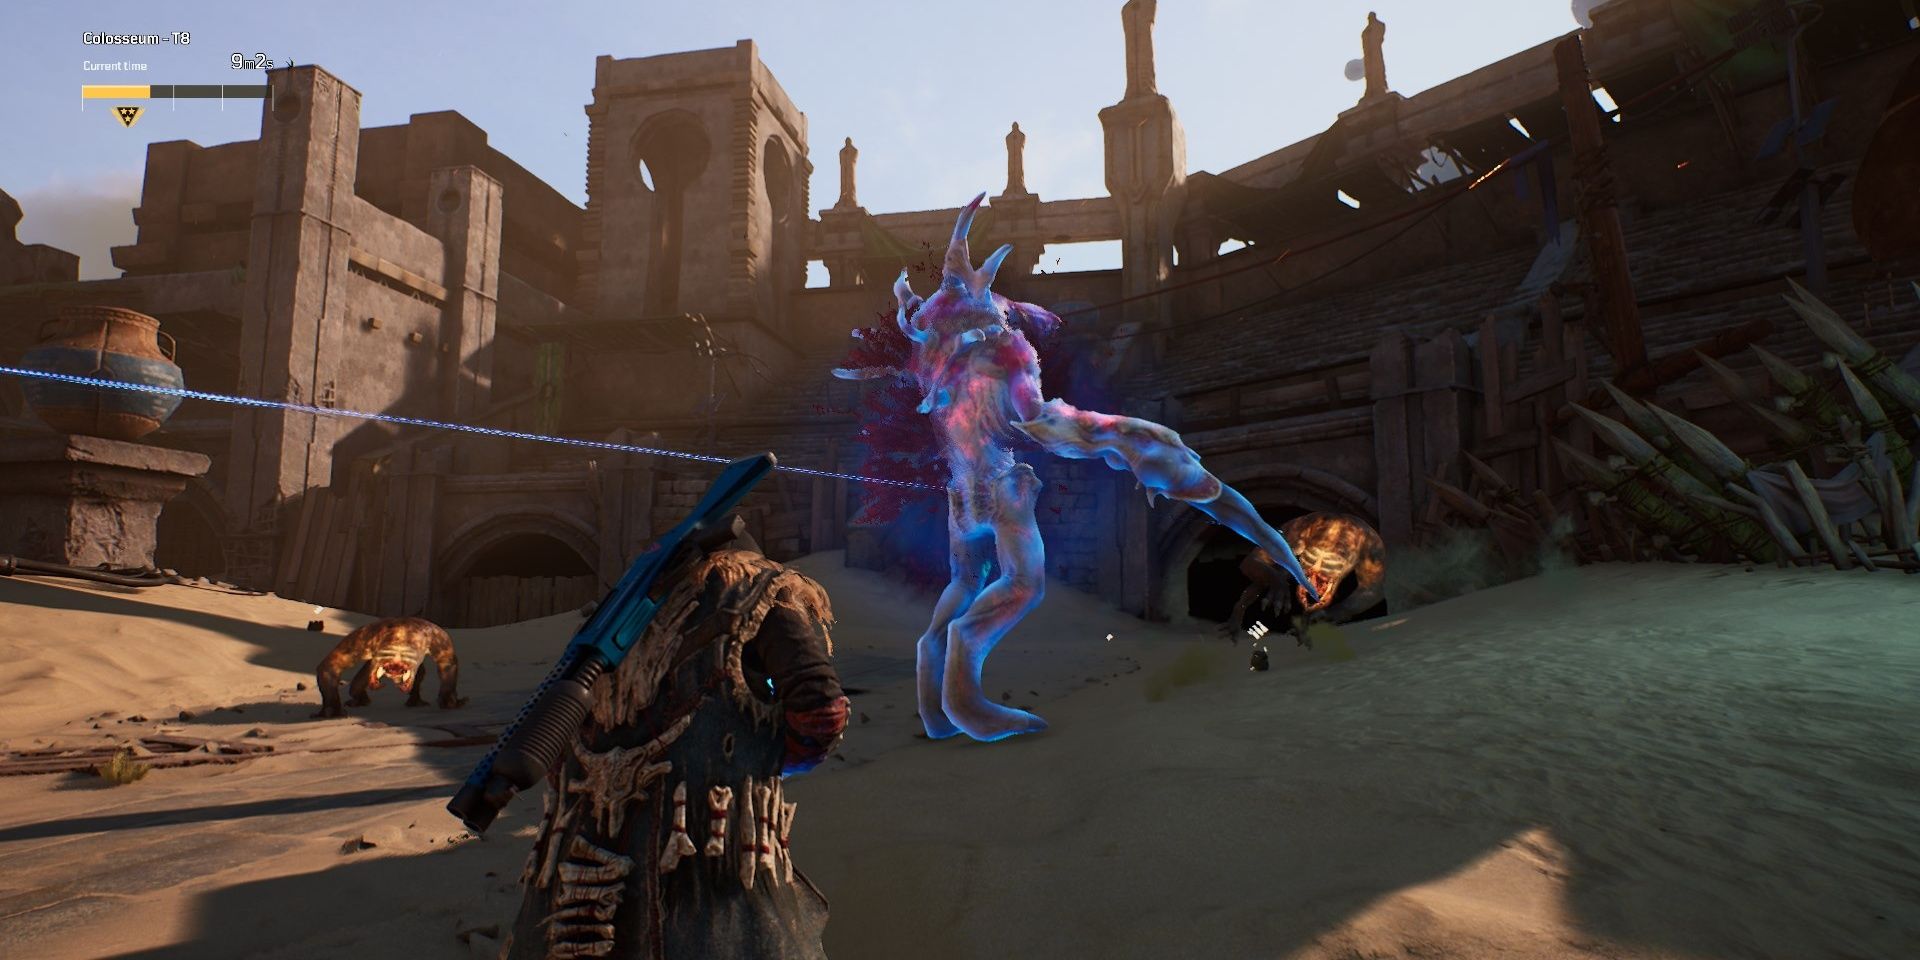
Colosseum is one of the more challenging Expeditions in Outriders. Unless you have crowd control effects at the ready, prepare to get jumped by half a dozen Alpha Perforos throughout this mission. While brutal at times, Colosseum doesn’t have a proper final boss and isn’t too demanding outside of the crowd control check. Here is a complete guide to completing the Colosseum Expedition in Outriders.
Updated November 30th, 2021, by Charles Burgar: Colosseum is still a relatively tough Expedition to farm in Outriders, mostly due to the sheer number of Elites and Alpha Perforos in this level. Now that timers are gone, the main reason to run Colosseum is to test your build’s damage output against Elites and Beast swarms. We’ve updated this Expedition guide to include up-to-date drop tables, strategies, and some recommended class abilities and mods to make this mission just a little bit easier.
Colosseum Enemies

- Challenge Tier Requirement: 8
- Drop Pod Cost: 90
Most of this mission consists of Desert Beasts, although a few Ferals appear at the very end of the mission. Expect to get jumped by half a dozen Alpha Perforos throughout this mission. There are also some reasonably tanky Elites in the form of Behemoths, so bring a character that can dish out some good damage. Crowd control weapons, abilities, and a high DPS build are highly recommended.
Return to Quick Links
Recommended Skills And Mods

Devastator
This mission suits bleed builds quite nicely. Endless Mass and Gravity Leap are fantastic in this mission, making some of Colosseum’s more open-ended arenas much easier to speed clear. Golem and Impale are good options if you’re playing at a higher CT and need more survivability.
Pyromancer
F.A.S.E.R. Beam is great in this mission. Most combat arenas are narrow corridors or open enough to take advantage of the ability’s impressive range. Of course, Ash Blast and Overheat are going to do well here as well.
Technomancer
It should come as no surprise that Blighted Rounds are amazing for this level. Quite a few Perforo enemies will attempt to stun you, however, so consider running Cold Snap or some sort of crowd control mod on your weapons to stay alive.
Trickster
Just about every enemy in this mission will want to get close, so you might consider dropping Hunt the Prey for Borrowed Time. Anomaly builds with Temporal Blade and Cyclone dish out some immense damage, provided you specced heavily into the Reaver tree.
Mods
AoE mods are incredibly strong for this mission. Shadow Comet, Moaning Winds, and Strings of Gauss are great here. Of course, classics like Fortress and Dark Sacrifice will heavily improve your overall damage output. Builds that lack crowd control should strongly consider Snowsquall or any Freeze or Ash bullet mods. For armor mods, run anything that enhances your abilities. If you need more damage resistance, Mitigation from Death is a great choice.
Return to Quick Links
First Encounter

You’ll need to fight your way up the street as waves of Perforos charge at you. Multiple Venomous and Alpha variants will spawn after a few seconds, so be ready to stun a few of them. A few powder kegs are scattered throughout this encounter that you can detonate, dealing a massive amount of damage to anyone nearby. Consider clearing some of the Perforos with these kegs.

Around the corner, you’ll have to kill another wave of Perforos. When you get about halfway down the path, five Alpha Perforos will charge you simultaneously in one massive group. If you have any abilities that can hinder their mobility, now’s the time to use them. Lure them to a powder keg if you need to deal some AoE damage.
Past that, a few Perforos, Venom variants, and Maulers will spawn at the end of the path. They shouldn’t pose much of a threat. Take them out to spawn a miniboss.
Boneplate Behemoth

A Boneplate Behemoth will introduce itself through a short cutscene. Besides the massive miniboss, a few Alpha and Venemous Perforos will arrive where the Behemoth came from. Either burst down the Behemoth or take out the Perforos. You’ll get your abilities back after this, so use anything you have to nuke the Behemoth’s HP.
Return to Quick Links
Second Encounter

After opening a gate, you’ll be charged by a large wave of Alpha Perforos, a Brood Empress, and additional fodder enemies. This encounter can easily kill you if you aren’t careful.
Lure the Alphas away from the Brood Mother, picking them off one by one. If you get toppled by the Brood Empress, make some space. At higher Challenge Tiers, Broods take hundreds of rounds to kill unless you have multiple damage mods. When most of the Alpha Perforos are dead, you’re free to kill the Brood Empress. Take all of the remaining enemies out to proceed.
Return to Quick Links
Ambush

After a short Mauler wave, you’ll be locked into a courtyard that will spawn monsters from four spawn locations—two for each side. Enemies will spawn in each quadrant.
You can either hunker down in one spawn point or use the central courtyard to fight the enemies. Either way, the enemies shouldn’t pose much trouble here. Kill all of the enemies, then open the gate to reach the colosseum proper.
Return to Quick Links
Colosseum
Despite the cutscene, you won’t be facing this Feral head-on. As with any colosseum, multiple enemies will swarm into the arena to kill you. This part is going to throw a ton of Elite enemies at you. Focus on any Elites that charge you, using every ability and weapon you’ve got to even the odds.
Boneplate Behemoth

The first miniboss is a Behemoth, as you’ve faced before. The Beasts shouldn’t give you much trouble here; just use the fodder enemies as an ammo or health resource while you take the big miniboss down.
Brood Queen

Right after the Behemoth dies, you’ll have to face a Brood Queen. This queen can buff all nearby Perforos, so it’s best to take this enemy out as fast as possible. If you can’t, take out the adds first. Focus your damage on her heart to kill the Brood Queen quickly.
Feral Waves

Ferals will now drop into the arena, two of which will be Warlords. These enemies can apply deadly status effects on you. Take them out as soon as you can. They’ll spawn near the back-end of the colosseum.
After the Warlords are dead, two Destroyers will spawn to take their place, spawning in the same location. Kill them as fast as you can.
Final Beast Wave
They’ll be one more Beast wave before you complete this Expedition, this time spawning a Behemoth and Brood Queen simultaneously. Focus on one of the bosses first, preferably the Behemoth. Use the fodder enemies as a health and ammo resource, then damage the bosses when it’s safe to do so. Clear this final wave to complete the Expedition.
Return to Quick Links
Link Source : https://www.thegamer.com/outriders-colosseum-expedition-guide/