
Sea of Thieves: How To Complete All The Proficient Trials Of Adventure
Table of Contents
The Trials of Adventure in Sea of Thieves are all about sailing and experiencing some of what the game has to offer.
You Are Reading :Sea of Thieves How To Complete All The Proficient Trials Of Adventure

The Trials of Adventure in Sea of Thieves are all about sailing and experiencing some of what Sea of Thieves has to offer. These Trials reward you with Renown that unlocks a bunch of interesting rewards during Season One. You’ll get more if you buy the season pass, and a few extra ones if you’re pirate captain, but no matter what these trials give you something to achieve in Sea of Thieves.
But understanding and completing these trials and deeds can be a little tricky, so this guide will show you exactly how to complete every Proficient Trial of Adventure.
How To Complete Every Proficient Voyager Trials of Adventure In Sea Of Thieves

- Finish a Voyage for each of the Trading Companies
- Use the Captain’s Table to vote on a Voyage
- Sail miles across the sea while on a voyage
The Proficient Voyager trials aren’t very taxing, and are the sort of challenges you’ll complete by playing the game naturally. But for beginners it can still be a little confusing.
The first deed wants you to finish a voyage for each of the three Trading Companies. While there are more than three Trading Companies in total, the ones this deed wants you to focus on are the Gold Hoarders, Order of Souls, and Merchant Alliance.
To find these voyages, you’ll have to buy them from the Trading Company representatives found on any outpost in the game. You can find the Gold Hoarders on tents on the beach, Order of Souls underneath the premium store, and Merchant Alliance on the pier where your ship spawns. You can propose these voyages on the captains table of your ship, although you can only be on one voyage at a time.
To complete this deed though you’ll need to complete one voyage of each. That means you’ll have to complete all the objectives, but you don’t have to turn in any of the treasure. That means that even if you ship or the booty is lost, you can still complete this deed.
Gold Hoarder voyages require to you hunt out treasure either on treasure maps or riddles. Order of Souls want you to defeat skeleton captains roaming a particular island. The Merchant Alliance will either want you to make a delivery or collect certain items and return them.
The second deed wants you to vote on ten Voyages proposed on the captain’s table on your own ship. This is simple enough as you also have to vote on your own proposals, so it should unlock during play as voyages are voted on.
The final deed is also similar. All you have to do is sail fifty miles while on a voyage. After over half the crew have voted for a voyage, you’ll begin and after that point but before you finish, every mile sailed will count towards this deed.
How To Complete Every Proficient Sailor Trials of Adventure In Sea Of Thieves

- Race along another crew’s ship – no firing!
- Sail miles across the sea
The first deed in the Proficient Sailor asks you to race along with another crew’s ship without firing. This description is a little vague but what the game wants you to do is sail along with another ship without firing. This means no using the cannons or firing any guns. The distance you need to travel is vague but it’ll take a few minutes traveling in a straight line to unlock this.
To do this you’ll need the cooperation of another ship, so using the game chat is probably the best way of getting them to join in, especially if they need to complete this deed as well. You can also use the alliance flag in the crow’s nest to signal your peaceful intentions.
The second trial wants you to simply sail fifty nautical miles. You don’t need to be on a voyage or anything, you simply need to sail. This will unlock as you do other deeds or Tall Tales, or Voyages so don’t worry about it. You also don’t need to do it in one session or without your boat sinking (although you probably want to keep your boat afloat) so this will unlock as you sail.
How To Complete Every Proficient Story Seeker Trials of Adventure In Sea Of Thieves

- Discover and read Journals while on a Tall Tale
- Successfully complete Tall Tales
- Reach a checkpoint in at least 6 Tall Tales
To call yourself a proficient story seeker, you’ll need to go out of your way to find some of the stories told across the Sea of Thieves. The first deed you need to complete wants you to discover and read three journals while on a Tall Tale. These offer small insights into the characters and history of the world. There are sixty Tall Tale Journals to find, so there’s plenty of options.
For a complete list of the location of Tall Tale Journals, head over to the EXPERT STORY TELLER GUIDE, but if you’re just after the three necessary, here is a list of the locations of the first three journals in the Shroudbreaker Tall Tale.
The first Journal can be found on the uncharted isle between The Crooked Masts and Crook’s Hollow, around N13 on the map. You can find it on the northwest side of the map, lying on the sand.
The second Journal is found in Ancient Spire Outpost. In the caves beneath the northern spire, you can see the book on a stone shelf surrounded by candles.
The third Journal is on the north side of Devil’s Ridge, near to a cannon.
Once you’ve collected all of them, you will have unlocked this deed.
The second deed requires you to complete three Tall Tales. There are eleven in total, broken up into the Shores of Gold arc, which has nine Tall Tales, and the Ashen Age arc, which has two. There is an order to completing the arcs, and it’s normally recommended that the player starts with the Shores of Gold story.
The first thing Shores of Gold Tall Tales are the Shroudbreaker, the Cursed Rogue, and the Legendary Storyteller Tall Tales. You may have completed the Shroudbreaker Tale as Novice Sailor Trial, but if you’re looking for a more comprehensive guide, check out our Tall Tales guides. Each Tall Tale unlocks specific rewards too, and some are pretty cool.
The third deed to complete in the Proficient Story Seeker trial will be half completed by completing the previous deed. It requires you to reach a checkpoint in six separate Tall Tales. You’ll need to play more Tall Tales to reach the next three checkpoints, but you should probably try and finish those tales as well, as you’ll need to complete all of them to finish the Expert Sailor trial later on.
How To Complete Every Proficient Merchant Trials of Adventure In Sea Of Thieves

- Deliver a Cargo Run’s Items on time in and perfect condition (0/1)
- Hand in a chicken, a pig and a snake (0/3)
- Hand in a Stronghold Gunpowder Barrel (0/1)
The first deed to become a Proficient Merchant wants you to delivery Cargo Run items on time and in perfect condition. To do this you’ll need to be on a Cargo Run Voyage, which you can purchase from the Merchant Alliance on the pier of any outpost. You can sometimes find them as messages in bottles on the beaches of islands, but this is less reliable.
Once you have the voyage accepted, look at where you need to pick up the items in question. If you’ve bought it from the Merchant Alliance at an outpost, it should be collecting the items from that same island, if not the same individual. Once you’ve found the person hiring you, they’ll hand over crates of goods that they want you to deliver. Each crate starts in perfect condition, and you’ll have to keep it that way to complete the deed.
The crates can be plants, clothe, or bottles, and there are Ashen variants if you’re in the Devil’s Roar. Plants need to remain a bit wet or they’ll dry out and no longer be in perfect condition, unlike clothe that must remain completely dry. Bottles on the other hand will break if the ship they’re on or the pirate carrying them takes damage or falls.
When transporting these goods you should use your bucket to flood the bottom few inches of your ship and keep your plants there. You might need a rowboat, or a very careful helmsmen to get the cloth on board without getting it wet. Once you’ve managed it, place the cloth on one of the shelves below deck but above the plant water. You can’t leave them on deck as rain might ruin the condition. It doesn’t matter so much where you place the rum bottles, but it matters how you sail. Don’t get into fights, and be ready to flee without crashing if you spot any unfriendly sails on the horizon. Likewise make sure you don’t crash into any reefs or rocks around the island you’re delivering to, and be careful when bringing it ashore as well.
You only need to transport one in perfect condition, so if you’re struggling, focus on delivering just one perfectly. Don’t worry much about the time limit, you’ll have loads as long as you stay on task.
The second deed wants to you hand in a chicken, pig, and chicken to the Merchant Alliance. It doesn’t have to be all at once, but you do have to hand in at least one of each animal to complete this deed.
To catch an animal, you’ll need the right cage for the job. Occasionally on islands you’ll see chicken, pig, or snake cages but these can be quite rare, so it’s sometimes easier to buy a Trade Good Commission voyage from the Merchant Alliance itself. As long as the voyage includes the collection of any animals, the Merchant Alliance Representative will provide the necessary cages.
Once you’ve got the cages, you’ll have to find the animals. You can find chickens, pigs, and snakes across any of the islands in the Sea of Thieves, but they spawn randomly. If you can’t find the right animal quickly, think about moving on. And don’t try to catch animals in The Devil’s Roar either. The much more dangerous landscape means they don’t normally survive long.
Pigs and chickens will run away when you approach so be ready to chase them. Snakes on the other hand will hold their ground and spit poison in your face. This can be really damaging and it will obscure your vision. What’s worse is that the snake will continue to spit on you even after you catch it. To make sure you don’t get killed you should bring another pirate with you to play their instrument. This will pacify the snake so it doesn’t attack you.
Once the animal(s) are on board, head for the nearest outpost to turn them. Make sure you keep the animals fed en route as they might starve before you make it all the way there.
The final deed for the Proficient Merchant Trials is to find and hand over a Stronghold Gunpowder Barrel. These aren’t the typical Gunpowder Barrels you’ve seen before and will be encrusted with a large ribcage wrapped around the keg.
They’re also much more explosive, valuable, and rarer than the typical Gunpowder Barrel too. There are a couple of ways to find one, but the most straightforward is to defeat a skeleton fort. There will always be a Stronghold Gunpowder Barrel in the vault. You can find forts by looking out for skull clouds forming over the horizon, signaling an active fort. Once the clouds have aligned, it means the fort is active and can be defeated. Look out though, Fort vaults are valuable and every player around can see the same clouds as you.
Once you defeat several waves of enemies, you’ll have to face off against the captain. Defeat them and you’ll be awarded with a vault key that can be used on the nearby vault door. Once open, load up your ship and head for the nearest outpost before the other pirates catch wind of your bounty. A Stronghold Gunpowder Barrel can destroy a large ship if ignited below deck though so handle with care.
Sometimes skeleton ships can have Stronghold Gunpowder Barrels as well, so you can sink the ship and claim the treasure before the sea does. This is a little less predictable as not every ship has one and in all the cannon fire, not every gunpowder barrel will survive.
You can also rarely find a skeleton onshore carrying a Stronghold Gunpowder Barrel. These are extremely dangerous but if you can skill the skeleton without triggering the barrel, normally by shooting its legs, you can claim the barrel yourself.
The final option available is piracy itself, stealing one from another crew. This is by far the most dangerous method as it requires you to defeat other players, who may well use the Stronghold Barrel to take you down with them if you do manage to win.
How To Complete Every Proficient Scorcher Trials of Adventure In Sea Of Thieves

- Set foot on any island within The Devil’s Roar
- Collect a red Flame of Fate from the Ferry
- Complete any Gold Hoarders, Order of Souls or Athena’s Fortune Voyage within The Devil’s Roar
- Deliver Devil’s Roar Cargo Run items in any condition
- Hand in a Chest of Rage
There’s a lot of deeds needed to complete the Proficient Scorcher trial, focusing exclusively on The Devil’s Roar region of Sea of Thieves. This space is dominated by volcanoes that pose a serious danger to pirates and their ships so it’ll take a crew of decent sailors to navigate the waters and lands safely. It is not recommended you spend long in The Devil’s Roar alone, as you’ll almost certainly have to sail and repair your ship at the same time.
The first trial is easy enough, all you have to do is set foot on any island within The Devil’s Roar. Simply make your way to the far east of the Sea of Thieves, where the ground is dark and the sky is grey. Then set foot on any of the islands, but don’t hang around too long. And don’t confuse any of the jagged sea rocks and volcanoes as islands, make sure you’ve made your way to a proper, named island before you make landfall.
The second trial is also pretty easy for the region. You have a collect a red Flame of Fate from the Ferry of the Damned. This is the ferry you appear at any time you die in the Sea of Thieves, before you can return to the land of the living. At the centre of the ferry is a large brazier that burns a ghostly white, but you can collect different colours from it depending on how you died. To collect a colour, all you have to do is approach the flame with your lantern held high and a button prompt should appear.
To claim a red flame, you have to die from fire. This is easiest with a firebomb, the special burning cannonballs you can get in barrels around the world. But volcanoes and lava produce a lot of fire too, making it pretty easy to acquire the red flame in The Devil’s Roar.
The third deed to be completed wants you to complete any Gold Hoarders, Order of Souls, or Athena’s Fortune Voyage in the Devil’s Roar. While you can’t tell exactly where any voyage will take you when you’re purchasing them, the ones that have you sailing in Devil’s Roar have a distinct red outline. Look for the red outline on voyages while at outposts.
You can also head to Morrow’s Peak Outpost, the only outpost in The Devil’s Roar, which will also sell the red branded voyages from their Trading Company. The treasure and rewards for Devil’s Roar voyages is always higher than in the rest of the Sea of Thieves.
If you’re going to head to Morrow’s Peak Outpost, you might want to pick up a Merchant Alliance Cargo Run, since the fourth deed wants you to Deliver Devil’s Roar Garo Run items in any condition. Like the other Cargo Runs, this is a delivery of various precious cargo that begins in perfect condition but can be ruined by various factors.
There are no new types of cargo in The Devil’s Roar, but they will all be a more valuable variant of the standard plant, clothe, and rum bottles.
The final deed in Scorcher trial wants you to hand in a Chest of Rage. These are easily the most dangerous pieces of cargo you might come across on Sea of Thieves, but also one of the rarest.
These chests boil over with rage, becoming brighter and brighter until they explode with fire. That explosion can cause considerable damage to ships by starting several fires instantly. The fires can be delayed by submerging it in the sea or flooding the hold where it is kept, but this can be small and ineffective.
When you have one onboard, the chest should be kept be at the very front of the ship, on the large wooden spike so that the damage is reduced as much as possible. If you have one onboard, you should immediately head to an outpost to turn it in.
Finding a Chest of Rage out in the wild is very rare. They can be found by digging up buried treasure from Devil’s Roar Gold Hoarder Voyages, but this is a slim chance. You can guarantee a Chest of Rage by defeating the Molten Sands Fortress, the only Fort found in The Devil’s Roar when it is active, or defeating an Ashen Lord. These are incredibly challenging boss battles that appear across the entire Sea of Thieves. You can see if any are available to fight by looking out for the swirling fiery tornadoes visible on the horizon. Follow these grim warnings to whichever island they are raging above and you’ll find a Ashen Lord there.
There is not an easy fight though, and have several flame abilities. Most notably they can throw cannonballs at nearby ships and begin to boil the seas around the island, making the approach all the more hazardous. Once on land, you’ll have to fight the Lord and their infinite minions before you can finally defeat them. Once slain, the Ashen Lord will drop loads of treasure, including an Ashen Chest.
How To Complete Every Proficient Bilge Rat Trials of Adventure In Sea Of Thieves
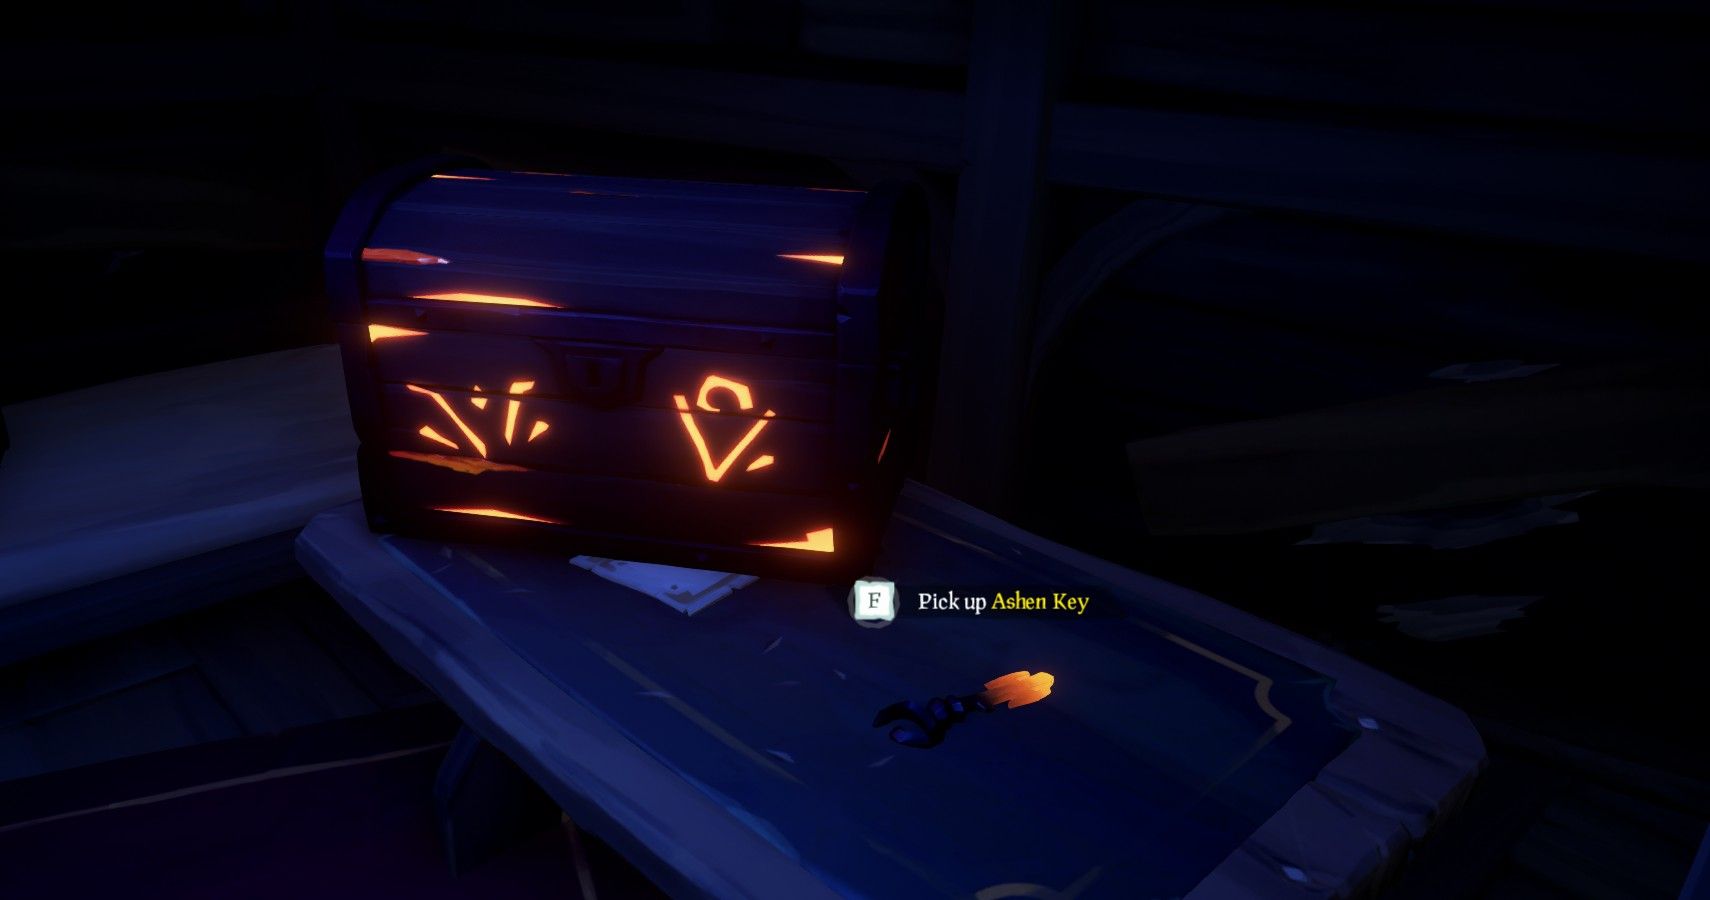
- Deliver both an Ashen Chest and Ashen Key to Larinna or to the Reaper’s Bones
- Deliver an Ashen Tome to Larinna or to the Reaper’s Bones
- Locate and speak to Duke, former Bilge Rat, wherever he may be lurking
The Bilge Rats were one of the biggest factions on the Sea of Thieves, lead by the often bumbling Duke, although he isn’t in his usual position. These trials will introduce you to the Bilge Rats, and their interesting wares.
The first deed will probably look familiar to anyone that has already completed the Novice Bilge Rat trial, but this one is slightly trickier. To complete the first deed you have to deliver both an Ashen Chest and an Ashen Key to Larinna or The Reaper’s Bones.
You may have already delivered one, but for this one, you’ll have to deliver both, although not necessarily at the same time. You can find Ashen Keys and Chests dotted around the Sea of Thieves by defeating Skeleton Captains and stealing their orders. They will lead to the treasure.
If you’re struggling to find one item specifically (keys are much rarer than chests), you can always buy a voyage from Larinna, but it will cost doubloons, a free currency but it is rarer than the standard gold coins you normally work in. Larinna can be found outside every tavern, on every outpost, in the game. To turn them into the Reaper’s Bones, you’ll have to head to the Reaper’s Hideout at I/J12 on the map. Once you’ve turned in both, this deed will be done.
The second trial is annoying very similar, but quite different. It wants you to deliver an Ashen Tome to Larinna or The Reaper’s Bones. Tomes can only be found inside Ashen Chests, that can only be opened by Ashen Keys. Once used, you cannot hand in either the key or the chest. So to acquire a Tome to have to find another set of Ashen Keys and Ashen Chests and use them together to collect and hand in the Tome.
This also means you’ll have to find both in the same session without losing one or the other. These are rare, valuable items too, so mind out for other pirates that might want what’s yours. Once you manage to hide in the Tome, this Deed will unlock.
The final deed in the Proficient Bilge Rat is to locate and speak to Duke, former Bilge Rat, wherever he may be lurking. Ever since Larinna returned, Duke has abandoned the taverns he used to haunt, leaving the Bilge Rats administration to Larinna herself.
Until very recently he was at the Lagoon of Whispers, but he’s just moved. To find him, you’ll now have to set out West, to Mermaid’s Hideaway at B13. This large island has a series of underwater tunnels, the easiest one to reach is in the lagoon in the centre of the centre. From there, you’ll have to navigate through until you find a large statue-like stone and a ladder. Duke can be seen on the ledge just behind the ladder. Talk to him to complete the deed.
Link Source : https://www.thegamer.com/sea-thieves-proficient-trials-adventure/