Destiny 2: Severing The Worm Quest Guide
Table of Contents
Log into Destiny this week to experience Season of the Lost’s Exorcism activity.
You Are Reading :Destiny 2 Severing The Worm Quest Guide
Quick Links
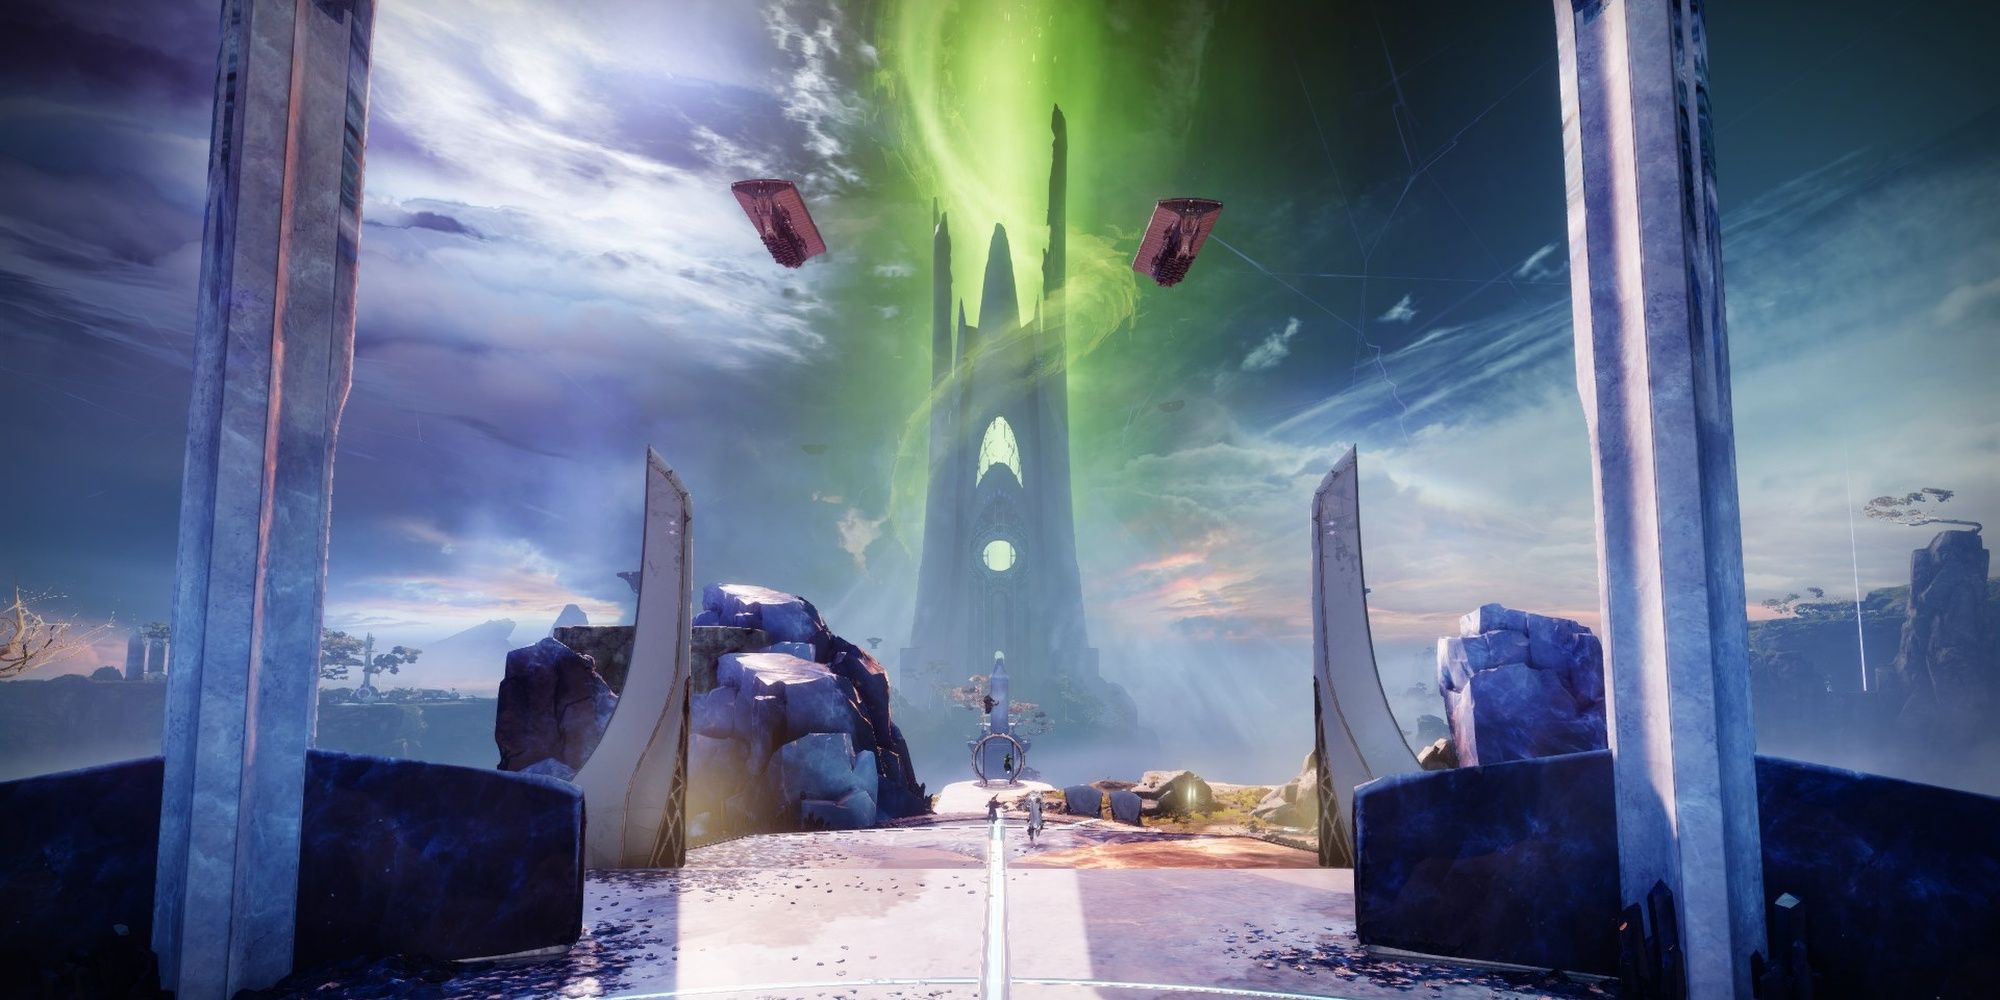
Destiny 2’s Exorcism mission for Season of the Lost is now live, concluding the season with a short six-player activity and quest dialogue. Travel to the Dreaming City once again to help Mara and her Techeuns exorcise Savathun from her Worm.
To be honest, this quest is incredibly short and serves more as a prelude to The Witch Queen than a proper new activity. We’ll break down how to start this season’s final quest and beat the Exorcism activity, but we recommend going in blind if you can. The narrative beats from this activity are nothing short of fantastic. For everyone else, let’s break down Season of the Lost’s final quest.
This article contains spoilers for Season of the Lost
How To Start The Quest
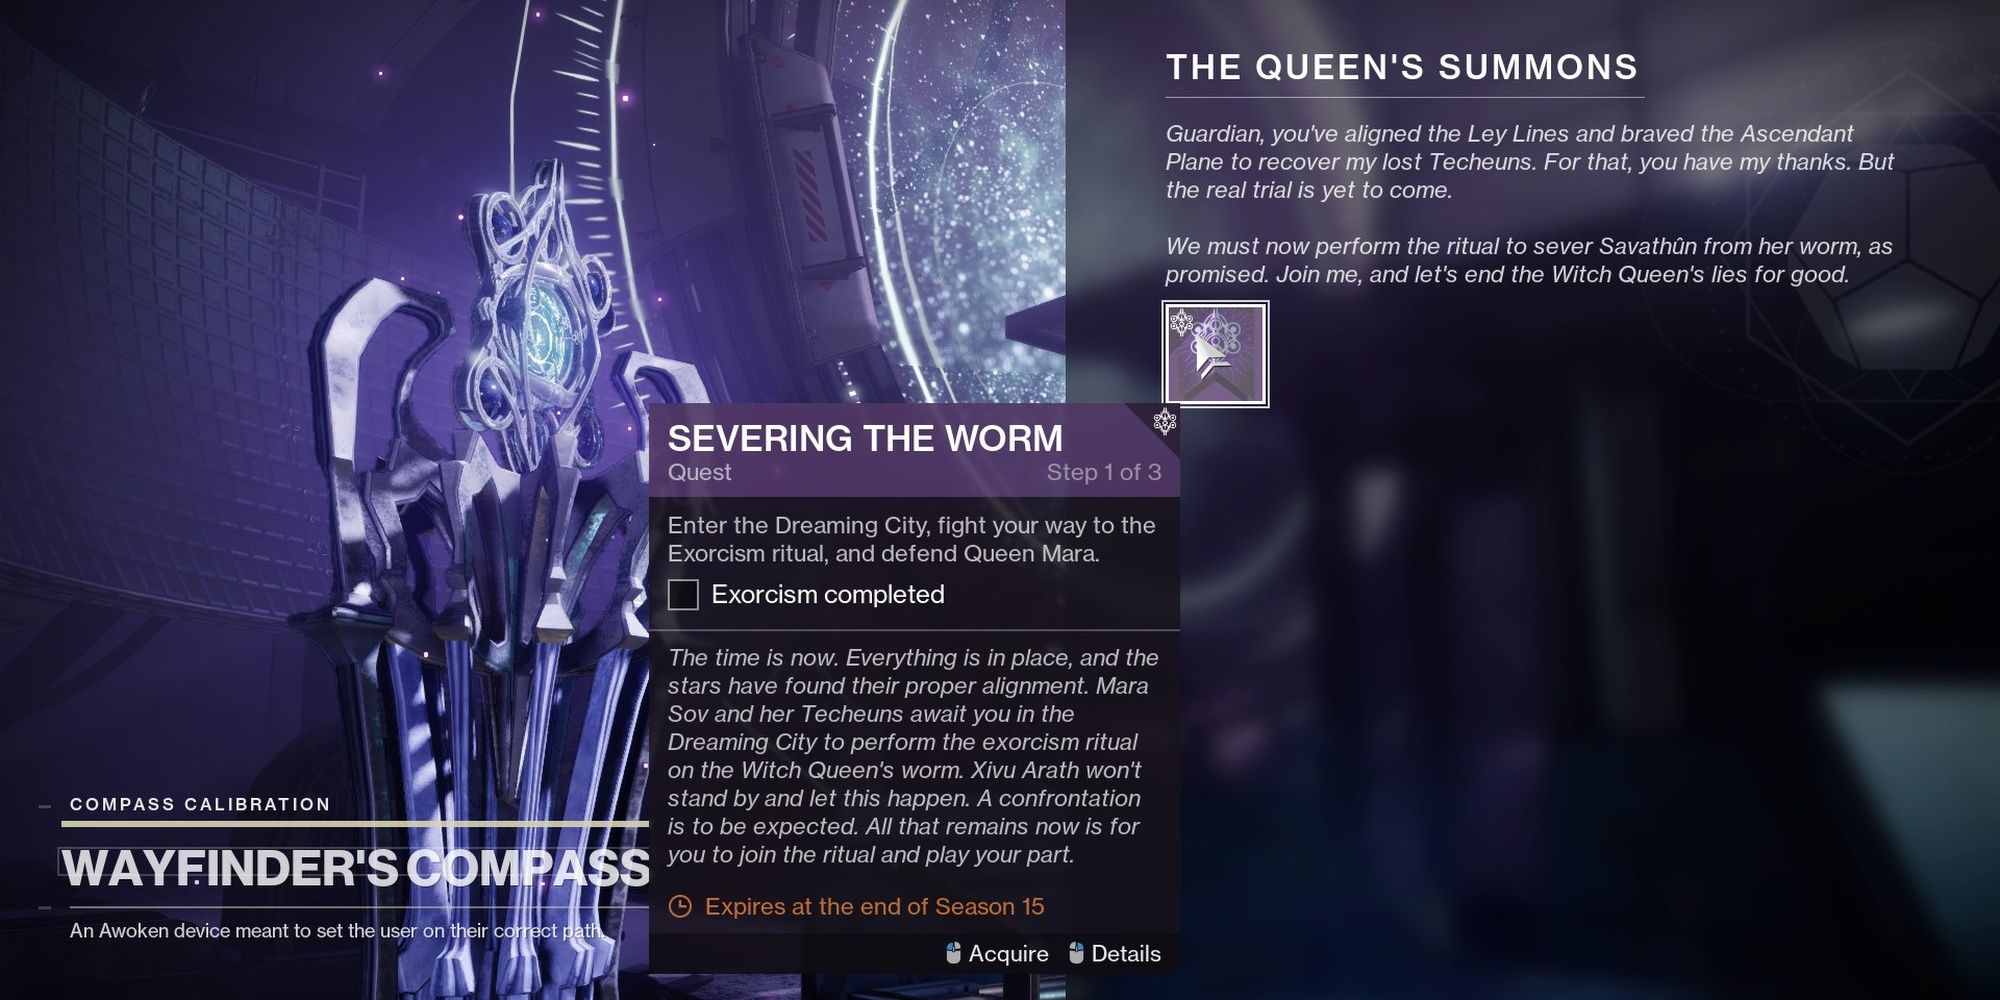
Head to the Wayfinder’s Compass NPC in the H.E.L.M. to start this quest. You do not need to have completed the Wayfinder’s Voyage quest chain from this season to unlock this quest. After a brief bit of dialogue from Mara Sov, you’ll unlock the Exorcism activity in the Dreaming City. You’ll find it right next to Astral Alignment. This activity features Barrier and Unstoppable Champions, so have your anti-Champion mods in order. Exorcism is a six-player activity that features matchmaking.
Return to Quick Links
Exorcism Walkthrough

Align The Beacons
You and five other players will need to align three beacons inside the Blind Well, similar to the Dreaming City’s Blind Well activity. Waves of Hive will spawn for the first portion, nothing a band of Guardians can’t handle. Aligning all three beacons will teleport your fireteam outside.
A teleporter at the other side of the arena will bring your team to a rather lengthy bridge. Fight alongside your fireteam to the tower on the other side, avoiding the Hive ship projectiles as you go. When you reach the other side, get ready for an assault.
Reinforce The Corsairs
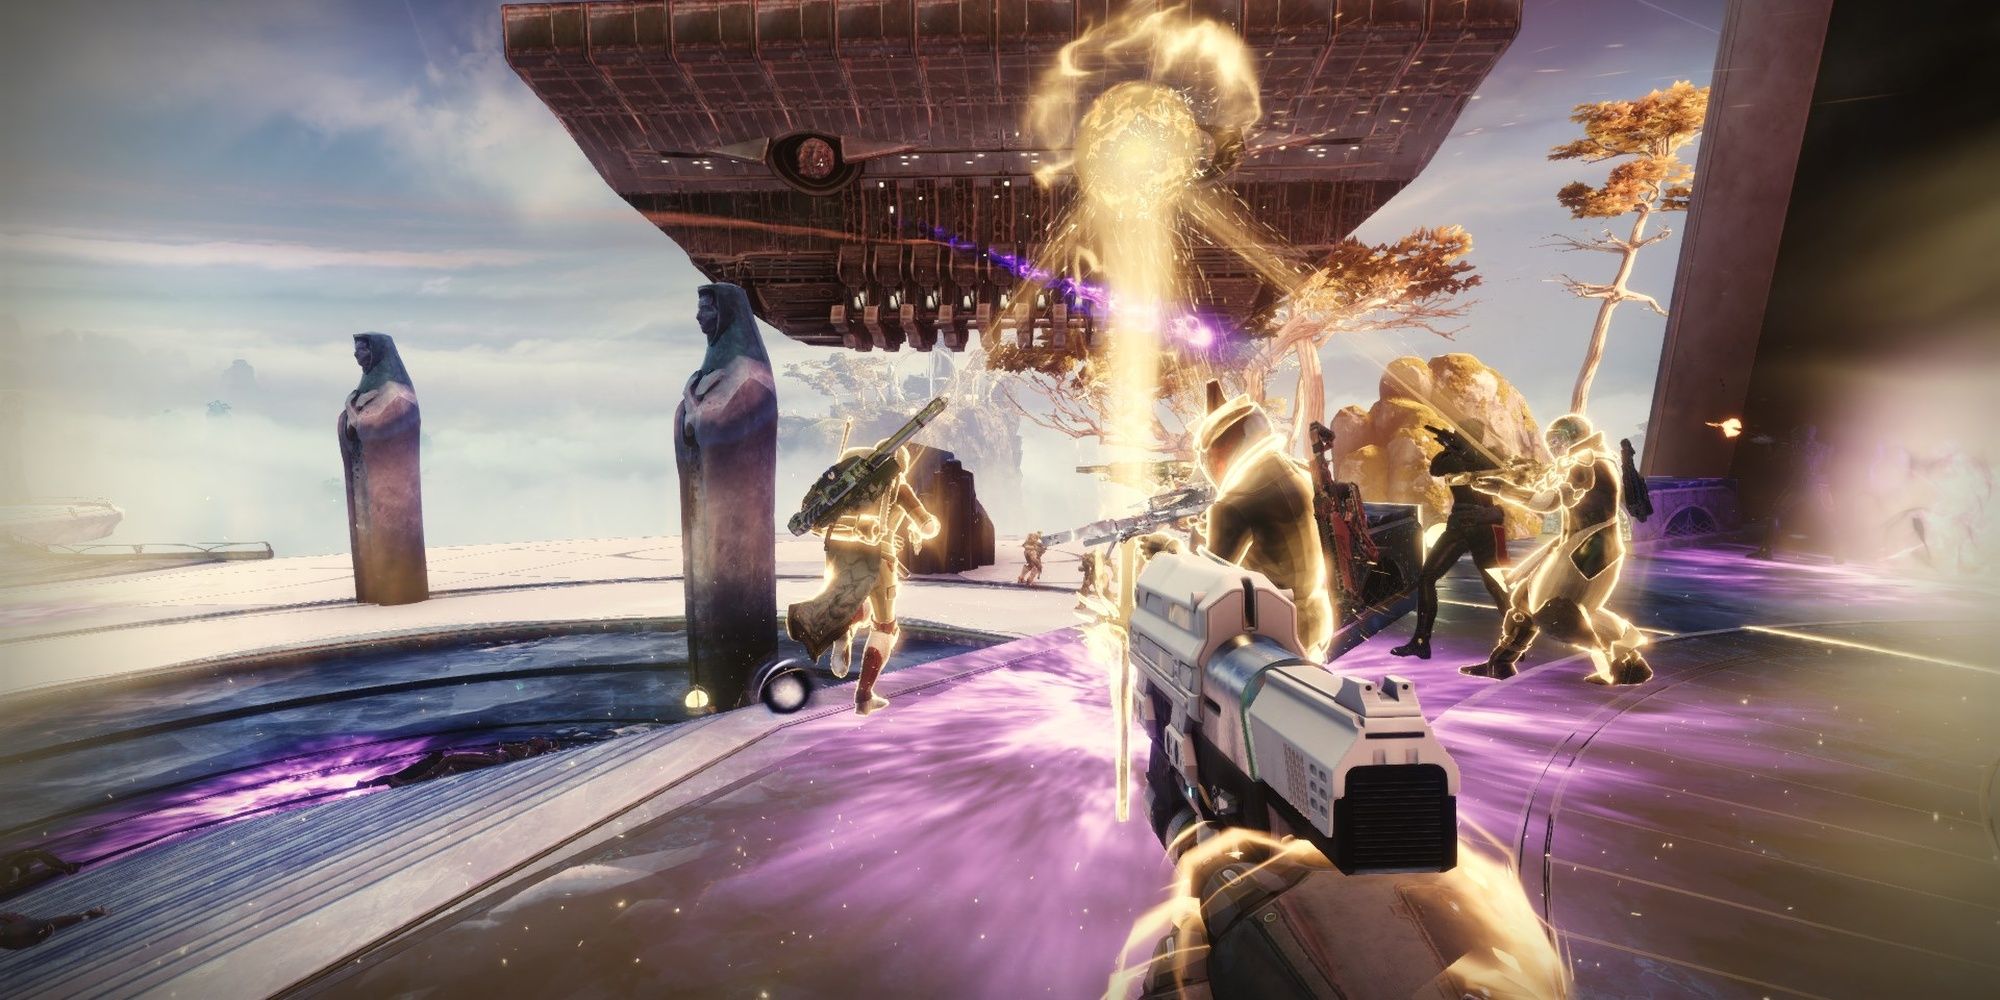
Xivu Arath is sending a small army to stop the exorcism. Your fireteam must fend off the waves of forces attempting to enter the tower. A few Barrier Champions and major-tier Wizards will spawn during this part, but they shouldn’t prove too difficult against six people. Use a defensive Super like Well of Radiance or Ward of Dawn to make this part easier. You can also use Stasis to freeze the Hive right as they spawn, making this part go by a little faster. Once the majority of Xivu Arath’s forces are slain, make your way inside the tower.
If the ships stop moving and don’t spawn any enemies, you’ll need to restart the activity.
Repel Xivu Arath’s Forces
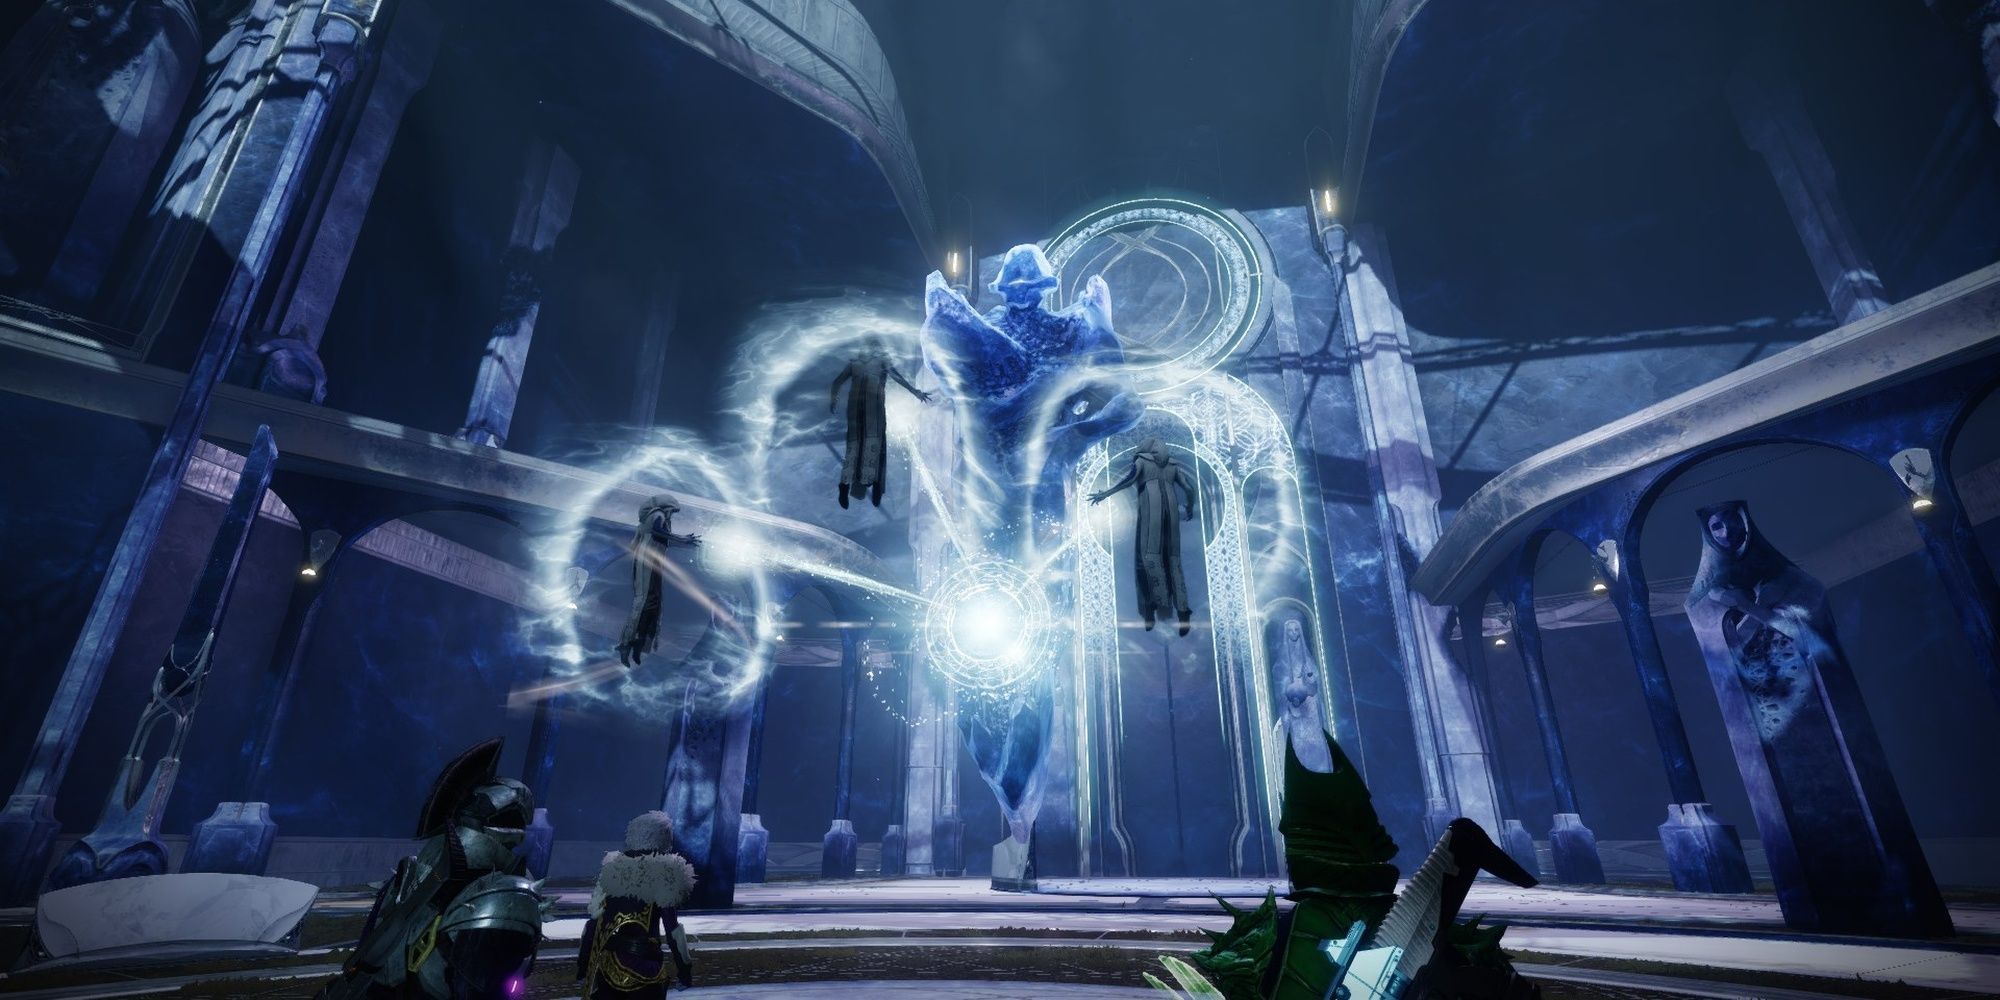
Techeuns will begin to exorcise Savathun right as Xivu Arath’s forces barge into the tower. You’ll need to fend off against multiple waves of Hive and defeat a boss to finish this mission. Your fireteam will first need to fend off the Kruutiks boss from the Astral Alignment activity. The boss will use its phase one mechanics, so they should be fairly easy to kill. Barrier Knights and Unstoppable Ogres will spawn during this part, so have your Champion counters at the ready. Defeating Kruutiks will spawn Kholks, Taken Of Xivu Arath. This is the Ogre boss from Astral Alignment. Use your strongest weapons to take both bosses down.
Saint-14 will deploy an indefinite Ward of Dawn for this part. Walk inside to gain Weapons of Light, a 35% damage increase.
Once your fireteam has cleaned up that initial wave, a new boss will spawn. Kelgorath, Risen from Bones serves as the final boss. It’s just an Ascendant Knight with a large health bar, although it does have a wipe mechanic. When Kelgorath reaches its final sliver of HP, it’ll start a wipe mechanic. You must kill the boss in 30 seconds or you’ll wipe. Use your strongest weapons to widdle down its HP, defeating any Champions and Hive Wizards that spawn throughout the fight. Should your team lack any defensive Supers, use Saint’s bubble to stay alive.
Defeating Kelgorath will finish the mission. Your first clear of Exorcism seem to give spikey armor distributions (albeit with sub-60 stats) and a Season of the Lost weapon with two perks in each column. Subsequent clears only give blues, so we don’t encourage farming this activity.
Return to Quick Links
Wrapping Up Season Of The Lost

Talk to Mara Sov at the H.E.L.M. once you’ve finished the Exorcism activity. Saint will also have some dialogue back at the Tower, ending this quest. Savathun might have held up her end of the bargain and given us Osiris back, yet Mara was unable to capture Savathun after the Exorcism. We still don’t know how Savathun obtains the Light, but we do know what comes next week. Get your loadouts in order, stock up on materials, and finish any seasonal content on your to-do list. The hunt for the Witch Queen is nigh.
Return to Quick Links
Link Source : https://www.thegamer.com/destiny-2-season-of-the-lost-savathun-exorcism-quest-guide/
