
Monster Hunter Stories 2: All Monsters, Eggs, And Items Found On Hakolo Island
Table of Contents
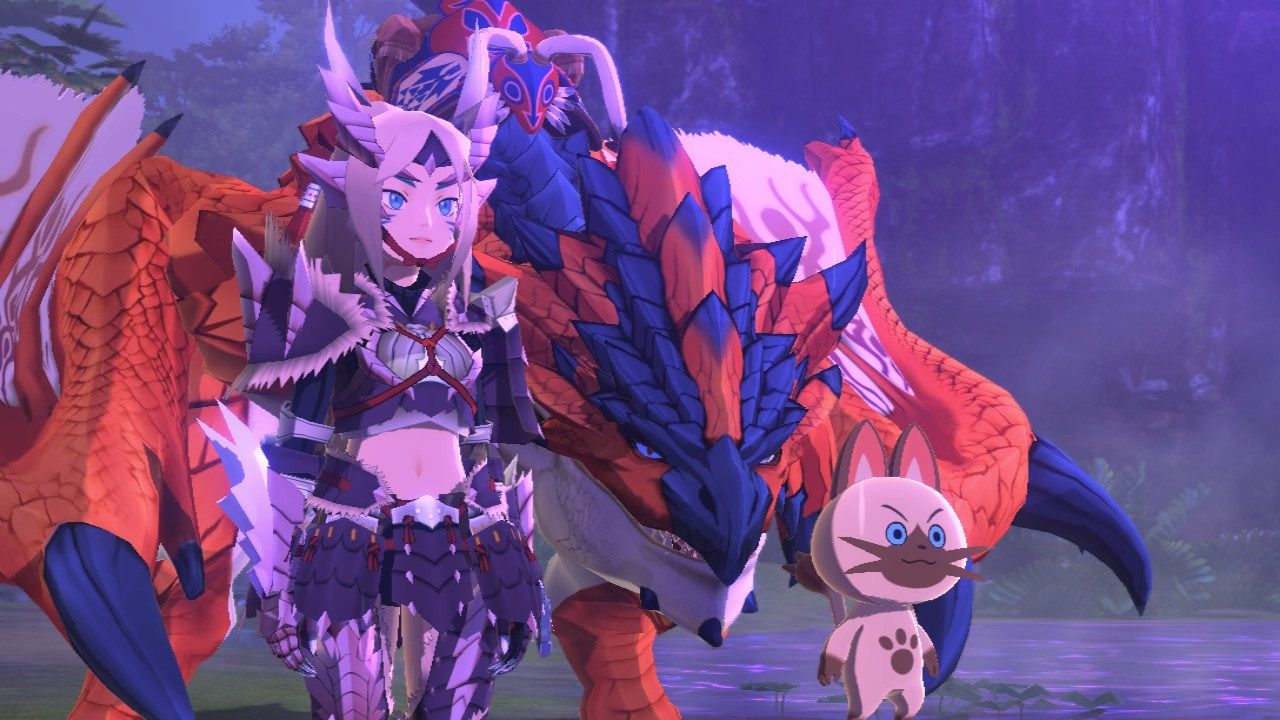
Playing Monster Hunter Stories 2: Wings of Ruin? Here’s a full list of every monster, egg, and gatherable item you can find and farm on Hakolo Island.
You Are Reading :Monster Hunter Stories 2 All Monsters Eggs And Items Found On Hakolo Island

Quick Links
Hakolo Island is the first area that you will have access to in Monster Hunter Stories 2: Wings of Ruin, though some of it cannot be explored until later when you have a monstie that is capable of flying. As with each area in the game, the Hakolo Island region has one main map, Kamuna Cape, and then a handful of off-shooting maps such as the Guardian Ratha Woods, North Kamuna Forest, Overlook Cave, South Kamuna Forest, and of course, your home — Mahana Village.
Each region is home to its own types of monsters, eggs, and gatherable items, so here’s a breakdown of what you can find in this area. For the area you access later in the game, called East Kamuna Heights, we have added separate tables at the end.
Note: The below tables are based on the information we have gathered from playing the game ourselves. When it comes to where to find monsters or items, there may be more places they can be found that we just did not discover yet. We will continue to update this guide as necessary.
Monsters Found On Hakolo Island

- Guardian Ratha Woods
- Nose: All
- Body: Piercing
- Anjanath Scale (1 pt)
- Flame Sac (1 pt)
- Pittance Fang
- Break Nose: Anjanath Nosebone (3 pts)
- Break Body: Anjanath Scale (1 pt)
- Kamuna Cape (Quest only)
- Nose: All
- Body: Piercing
- Anjanath Scale (1 pt)
- Flame Sac (1 pt)
- Pittance Fang
- Anjanath Nosebone (3 pts)
- Anjanath Fang (10 pts)
- Break Nose: Anjanath Nosebone (3 pts)
- Break Body: Anjanath Scale (1 pt)
- Kamuna Cape
- Overlook Cave
- Slashing
- Raw Meat
- Aptonoth Tail (1 pt)
- Monster Bone S (1 pt)
- Quality Meat
- Guardian Ratha Woods
- Kamuna Cape
- North Kamuna Forest
- Overlook Cave
- Monster Den
- Blunt
- Bnahabra Shell (1 pt)
- Insect Husk (1 pt)
- Monster Fluid (1 pt)
- Guardian Ratha Woods
- Kamuna Cape
- North Kamuna Forest
- Monster Den
- Slashing
- Bulldrome Hide (1 pt)
- Brute Bone S (1 pt)
- Bulldrome Tusk (3 pts)
- Brute Bone M (3 pts)
- Bulldroime Bone (10 pts)
- Pittance Fang
- Everden
- Guardian Ratha Woods
- Kamuna Cape
- North Kamuna Forest
- Monster Den
- Slashing
- Brute Bone S (1 pt)
- Raw Meat
- Bullfango Pelt (1 pt)
- Quality Meat
- Guardian Ratha Woods
- Kamuna Cape
- North Kamuna Forest
- Monster Den
- Blunt
- Konchu Shell (1 pt)
- Insect Husk (1 pt)
- Monster Fluid (1 pt)
- Everden
- Guardian Ratha Woods
- Kamuna Cape
- North Kamuna Forest
- Monster Den
- Body: Slashing
- Rock: Blunt
- Kula-Ya-Ku Hide (1 pt)
- Kulu-Ya-Ku Beak (3 pts)
- Kulu-Ya-Ku Plume (10 pts)
- Break Rock: Iron Ore (1 pt)
- Kamuna Cape
- Slashing
- Raw Meat
- Larinoth Hide (1 pt)
- Monster Bone L (10 pts)
- Quality Meat
- Guardian Ratha Woods
- North Kamuna Forest
- Monster Den
- Kamuna Cape (Quest only)
- Body: Slashing
- Tail: All
- Head: Blunt
- Pukei-Pukei Scale (1 pt)
- Pukei-Pukei Sac (3 pts)
- Poison Sac (1 pt)
- Pukei-Pukei Tail
- Break Head: Pukei-Pukei Sac (3 pts)
- Break Body: Pukei-Pukei Scale (1 pt)
- Break Tail: Pukei-Pukei Scale (1 pt)
- Everden
- Guardian Ratha Woods
- Kamuna Cape
- North Kamuna Forest
- Overlook Cave
- Monster Den
- Slashing
- Velocidrome Hide (1 pt)
- Velocidrome Claw (3 pts)
- Screamer Sac
- Velocridrome Head (10 pts)
- Pittance Fang
- Subquest Den in Kamuna Cape (Quest only)
- Slashing
- Velocidrome Hide (1 pt)
- Velocidrome Claw (3 pts)
- Screamer Sac
- Velocridrome Head (10 pts)
- Pittance Fang
- Everden
- Guardian Ratha Woods
- Kamuna Cape
- North Kamuna Forest
- Overlook Cave
- Monster Den
- Slashing
- Velociprey Scale (1 pt)
- Monster Bone S (1 pt)
- Screamer Sac
- Everden
- Guardian Ratha Woods
- Kamuna Cape (After story encounter)
- North Kamuna Forest
- Monster Den
- Body: Piercing
- Head: Piercing
- Kut-Ku Scale (1 pt)
- Flame Sac (1 pt)
- Kut-Ku Webbing (3 pts)
- Giant Beak (10 pts)
- Valuable Scale
- Break Head: Kut-Ku Scale (1 pt)
Note: Some areas/monsters/eggs cannot be accessed or will not appear until you have progressed the storyline further in that specific area. For example, a monster and its egg may not appear until you have defeated it as part of the storyline. Additionally, if the monster is capable of retreating, we have listed the item/action that increases its retreat rate.
Eggs Found On Hakolo Island

Items You Can Gather on Hakolo Island

- Silver Cricket (All areas)
- Carpenter Bug (All areas)
- Toadstool (All areas)
- Blue Mushroom (All areas)
- Nitroshroom (All areas)
- Stinkshroom (Kamuna Cape)
- Iron Ore (All areas)
- Earth Crystal (All areas)
- Stone (All areas)
- Whetstone (Guardian Ratha Woods)
- Monster Bone S (All areas)
- Monster Bone M (All areas)
- Brute Bone S (All areas)
- Brute Bone M (All areas)
- Bitterbug (All areas)
- Thunderbug (All areas)
- Shiny Beetle (Overlook Cave)
- Insect Husk (Kamuna Cape)
- Sleepyfish (Kamuna Cape, Overlook Cave, and Guardian Ratha Woods)
- Pelagicite Ore (Kamuna Cape, Overlook Cave, and Guardian Ratha Woods)
- Goldenfry (Kamuna Cape, Overlook Cave, and Guardian Ratha Woods)
- Monster Bone L (All areas)
- Brute Bone L (All areas)
- Pittance Fang (All areas)
- Potential (S) (Kamuna Cape and Guardian Ratha Woods)
- Golden Fragment (All areas)
- Antiblind (S) & Hounding (S) (Kamuna Cape)
- Pelagicite Ore (All areas)
- Evasion (S) & Flinch (S) (Kamuna Cape)
- Showdown (S) & Founding (S) (Kamuna Cape)
- Health (S) (North Kamuna Forest)
- Crit Heal (S) (Guardian Ratha Woods)
- Antiseal (S) (Overlook Cave)
- Honey (All non-cave areas)
- Hakolo Honey (All non-cave areas)
- Snakebee Larva (All non-cave areas)
- Mixed Honey (All non-cave areas)
- Trap Tool (Kamuna Cape)
- Throwing Knife (Kamuna Cape)
- Kelbi Horn (Kamuna Cape)
- Stone (Kamuna Cape)
- Woemill Wheat (All non-cave areas)
- Antidote Herb (All non-cave areas)
- Herb (All non-cave areas)
- Ivy (All non-cave areas)
- Aloe Leaf (All non-cave areas)
- Sap Plant (All non-cave areas)
- Heftcorn (Rare Monster Den and Guardian Ratha Woods)
- Paintberry (All non-cave areas)
- Unique Mushroom (All areas)
- King Truffle (Overlook Cave and Guardian Ratha Woods)
- Duskshroom (Kamuna Cape, Guardian Ratha Woods, and South Kamuna Forest evening only)
- Spiderweb (All non-cave areas)
- Insect Husk (All non-cave areas)
Note: Items can also be gathered from Monster Dens of the same map type. Some items are a lot rarer than others, so you might be farming for a while before you get what you want. Rare Monster Dens seem to have a higher chance of gathering rarer items, but this has not been proven.
It appears that once you progress to a new region in the game, the items native to that region have a chance of being gathered in previous regions you have visited. For the sake of this guide, we have only included the items you can gather from each region when you are first visiting it.
Return to Hakolo Island: East Kamuna Heights

As you advance throughout the game, you will eventually unlock monsties that can fly. This will allow you to access the upper area above Kamuna Cape (you’ve likely already noticed the catavan fast travel point that you couldn’t reach earlier).
This area is called East Kamuna Heights and the monsters and items here are not the same as the lower section of Hakolo Island, however, the Monster Dens consist of the same monsters and eggs as the rest of Hakolo Island. Listed below are the monsters and items you can find in this small area.
Monsters
- East Kamuna Heights
- Head: Slashing
- Body: Slashing/ Blunt
- Tail: Slashing
- Claws: Blunt
- Ash Kecha Fur (1 pt)
- Flame Sac (1 pt)
- Ash Kecha Longbone (3 pts)
- Ash Kecha Ear (10 pts)
- Pittance Fang
- Break Head: Ash Kecha Fur (1 pt)
- Break Body: Ash Kecha Fur (1 pt)
- Break Tail: Ash Kecha Fur (1 pt)
- Break Claws: Ash Kecha Fur (1 pt)
- East Kamuna Heights
- Head: Blunt
- Body: Slashing
- Crimson Peco Scale (1 pt)
- Crimson Peco Feather (3 pts)
- Flamboyant Quill (10 pts)
- Break Head: Crimson Peco Scale (1 pt)
- Break Body: Crimson Peco Scale (1 pt)
- East Kamuna Heights
- Head: Piercing
- Stomach: Piercing
- Tail: Slashing
- Green Nargacuga Scale (1 pt)
- G. Narga Mottlefur (3 pts)
- Wyvern Stone (1 pt)
- Green Narga Cutwing (10 pts)
- Break Head: Green Nargacuga Scale (1 pt)
- Break Stomach: Green Nargacuga Scale (1 pt)
- Break Tail: Green Nargacuga Scale (1 pt)
- East Kamuna Heights
- Head: Blunt
- Body: Slashing
- Crimson Peco Scale (1 pt)
- Crimson Peco Feather (3 pts)
- Flamboyant Quill (10 pts)
- Break Head: Crimson Peco Scale (1 pt)
- Break Body: Crimson Peco Scale (1 pt)
Items
- Silver Cricket (East Kamuna Heights)
- Shiny Beetle (East Kamuna Heights)
- Nitroshroom (East Kamuna Heights)
- Toadstool (East Kamuna Heights)
- Machalite Ore (East Kamuna Heights)
- Iron Ore (East Kamuna Heights)
- Lightcrystal (East Kamuna Heights)
- Dragonite Ore (East Kamuna Heights)
- Monster Bone S (East Kamuna Heights)
- Monster Bone M (East Kamuna Heights)
- Brute Bone S (East Kamuna Heights)
- Brute Bone M (East Kamuna Heights)
- Speartuna (East Kamuna Heights)
- Sleepyfish (East Kamuna Heights)
- Goldenfry (East Kamuna Heights)
- Monster Bone L (East Kamuna Heights)
- Pittance Fang (East Kamuna Heights)
- Golden Fragment (East Kamuna Heights)
- Honey (East Kamuna Heights)
- Mixed Honey (East Kamuna Heights)
- Antidote Herb (East Kamuna Heights)
- Sap Plant (East Kamuna Heights)
- Girthy Garlic (East Kamuna Heights)
- Manyberry (East Kamuna Heights)
Return to Hakolo Island: Before the Final Battle
Near the end of the game, you will return to Hakolo Island and find that many of the normal monsters who lived there are now rage-rayed. Additionally, the Rare Monster Dens are now home to new monsters, and new eggs spawn in both the normal and Rare Monster Dens throughout the island. Guardian Ratha Woods is also home to some new monsters too.
Note: Just below are all of the new additions to the area from this point of the game onwards, some of the standard Hakolo Island monsters and eggs still make an appearance too, but we have not included them in the below list.
Monsters
- Guardian Ratha Woods
- Rare Monster Den
- Nose: All
- Body: Piercing
- Anjanath Scale (1 pt)
- Flame Sac (1 pt)
- Pittance Fang
- Break Nose: Anjanath Nosebone (3 pts)
- Break Body: Anjanath Scale (1 pt)
- Guardian Ratha Woods
- Blunt
- Shiny Beetle (1 pt)
- Bnahabra Shell (1 pt)
- Monster Fluid (1 pt)
- Guardian Ratha Woods
- Rare Monster Den
- Head: Blunt
- Legs: All
- Brute Tigrex Scale (1 pt)
- Brute Tigrex Claw (3 pts)
- Wyvern Stone (1 pt)
- Brute Tigrex Tail (10 pts)
- Fortune Fang
- Break Head: Brute Tigrex Scale (1 pt)
- Break Legs: Brute Tigrex Scale (1 pt)
- Kamuna Cape (Quest Only)
- Head: Blunt
- Stomach: Slashing/ Blunt
- Tail: Slashing
- Wings: Piercing
- Bazelgeuse Scale (1 pt)
- Bazelgeuse Shell (3 pts)
- Blast Sac (1 pt)
- Bazelgeuse Claw (10 pts)
- Fortune Fang
- Break Head: Bazelgeuse Scale (1 pt)
- Break Stomach: Bazelgeuse Scale (1 pt)
- Break Tail: Bazelgeuse Scale (1 pt)
- Break Wings: Bazelgeuse Scale (1 pt)
- Kamuna Cape (Quest only)
- Head: All
- Body: All
- Legs: All
- Tail: Slashing
- Deviljho Scale (1 pt)
- Deviljho Fang (3 pts)
- ???
- Whelp Core (1 pt)
- Fortune Fang
- Break Head: Deviljho Fang (3 pts)
- Break Body: Deviljho Scale (1 pt)
- Break Legs: Deviljho Scale (1 pt)
- Break Tail: Deviljho Scale (1 pt)
- Guardian Ratha Woods
- Rare Monster Den
- Kamuna Cape (Quest only)
- Blunt
- Dragonbug Juice (1 pt)
- ???
- Whelp Core (1 pt)
- Guardian Ratha Woods
- Rare Monster Den
- Blunt
- Remobra Hide (1 pt)
- Guardian Ratha Woods
- Rare Monster Den
- Spikes:
- Stomach:
- Tail:
- Sand Barioth Shell (1 pt)
- Wyvern Stone (1 pt)
- Sand Barioth Pelt (3 pts)
- Break Spikes: Sand Barioth Shell (1 pt)
- Break Stomach: Sand Barioth Shell (1 pt)
- Break Tail: Sand Barioth Shell (1 pt)
- Guardian Ratha Woods
- Rare Monster Den
- Stomach:
- Head:
- Wings:
- Legs: Slashing/ Blunt
- Seregios Sharpscale (1 pt)
- Seregios Bladehorn (3 pts)
- Seregios Claw (10 pts)
- Fortune Fang
- Break Stomach: Seregios Sharpscale (1 pt)
- Break Head: Seregios Sharpscale (1 pt)
- Break Wings: Seregios Sharpscale (1 pt)
- Break Legs: Seregios Sharpscale (1 pt)
- Guardian Ratha Woods
- Rare Monster Den
- Kamuna Cape (Quest only)
- Head: Blunt
- Body: Piercing
- Tail: Slashing
- S. Zinogre Shell (1 pt)
- Whelp Core (1 pt)
- Stygian Zinogre Claw (3 pts)
- S. Zinogre Plate (10 pts)
- Fortune Fang
- Break Head: S. Zinogre Shell (1 pt)
- Break Body: S. Zinogre Shell (1 pt)
- Break Tail: S. Zinogre Shell (1 pt)
- Guardian Ratha Woods
- Rare Monster Den
- Blunt
- Vespoid Wing (1 pt)
- Shiny Beetle (1 pt)
- Monster Fluid (1 pt)
- Guardian Ratha Woods
- Horn: Piercing
- Legs: Piercing
- Tail: Piercing
- W. Monoblos Shell (1 pt)
- W. Monoblos Ridge (3 pts)
- Wyvern Gem (1 pt)
- W. Monoblos Horn (10 pts)
- Fortune Fang
- Break Horn: W. Monoblos Horn (10 pts)
- Break Legs: W. Monoblos Shell (1 pt)
- Break Tail: W. Monoblos Shell (1 pt)
Eggs
Link Source : https://www.thegamer.com/monster-hunter-stories-2-monsters-eggs-items-location-hakolo-island-guide/