Outriders: Frontier Quest Walkthrough
Table of Contents
Kang’s Fighters aren’t the only enemies lurking in this forest.
You Are Reading :Outriders Frontier Quest Walkthrough

Frontier sets the groundwork for the last few hours of Outriders’ campaign. This is the point of no return, where your crew goes from somewhat familiar territory into the outskirts of the Anomaly.
To make sure you’re ready for that transition, this quest pits you against tons of difficult enemies in a wide-open space. If the last few quests were about outputting high amounts of damage, this quest is a utility check. You’ll want to bring a few crowd control abilities or weapons for this mission, as some of the enemies are a pain to deal with otherwise. It’s time to leave the forest ruins and trek towards the Anomaly.
Quest Synopsis
- Clear a path forward
- Reach the gate
- Clear a path to the gate
Clear A Path Forward
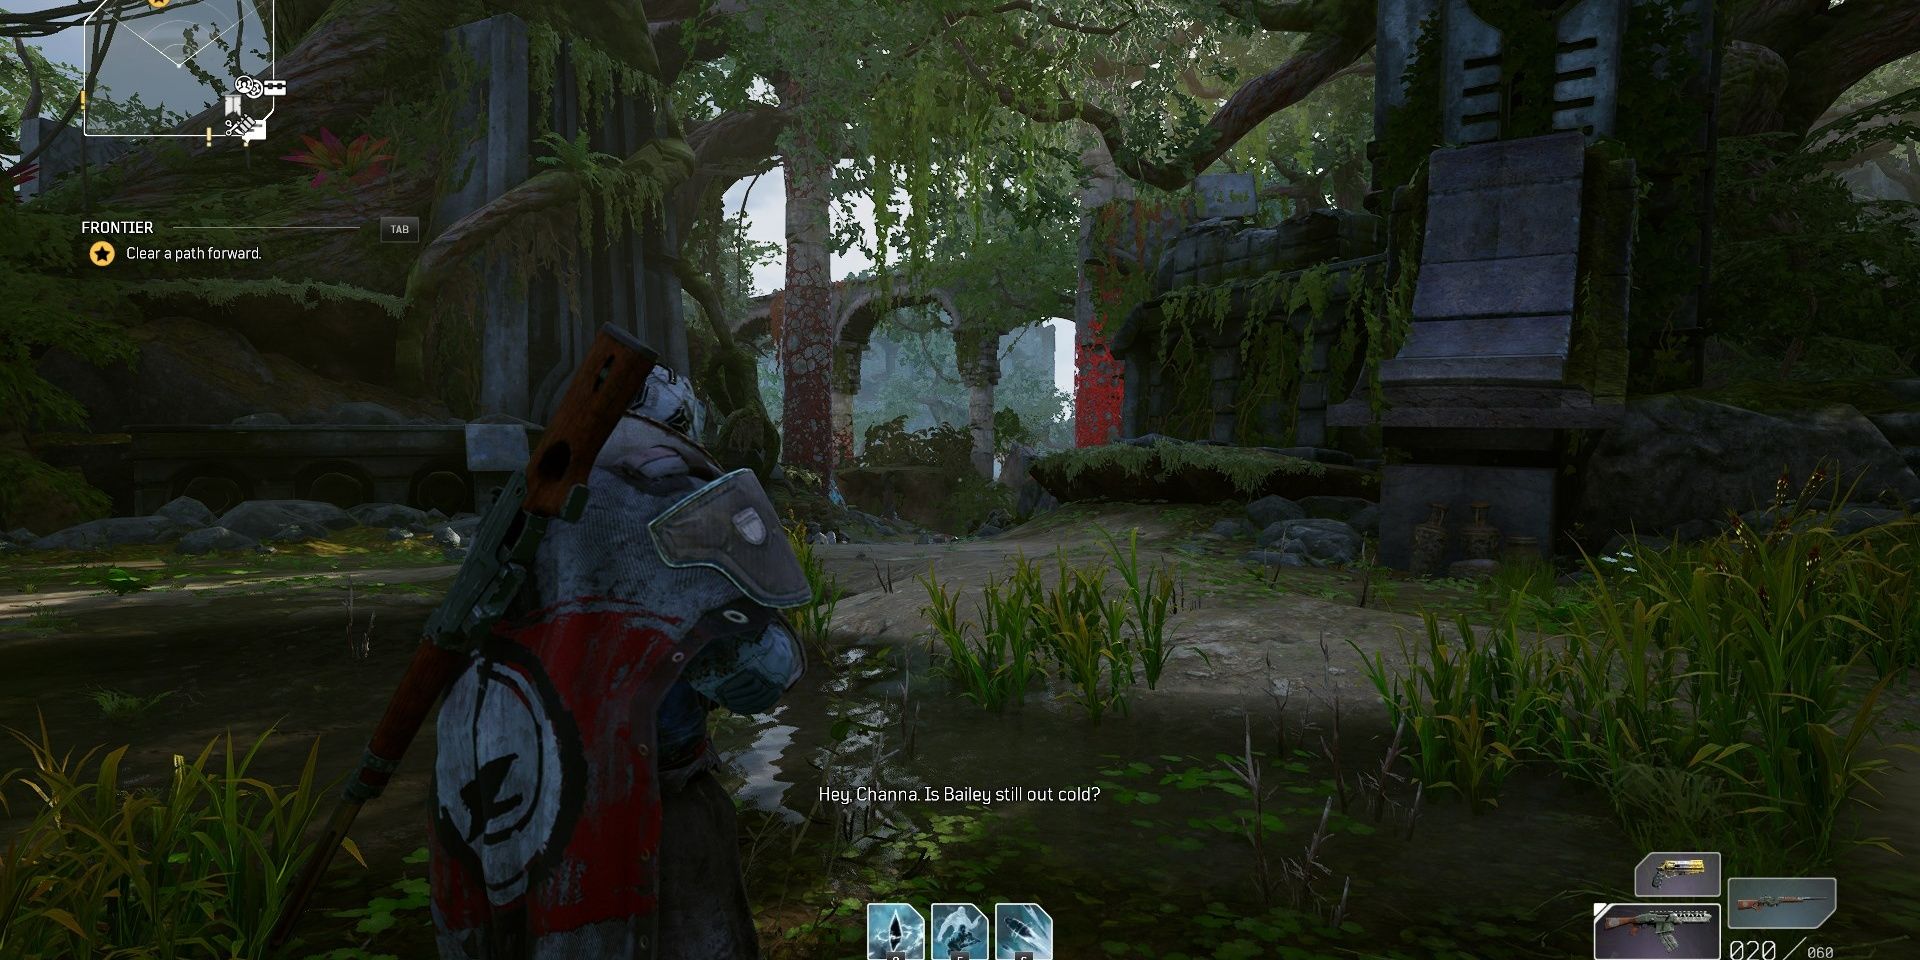
After dealing with Kang’s Fighters, you should now be back at your truck. Travel in the opposite direction of where you went last time, delving deeper into the forested ruins. When the path forks, head left.
Hidden Chest
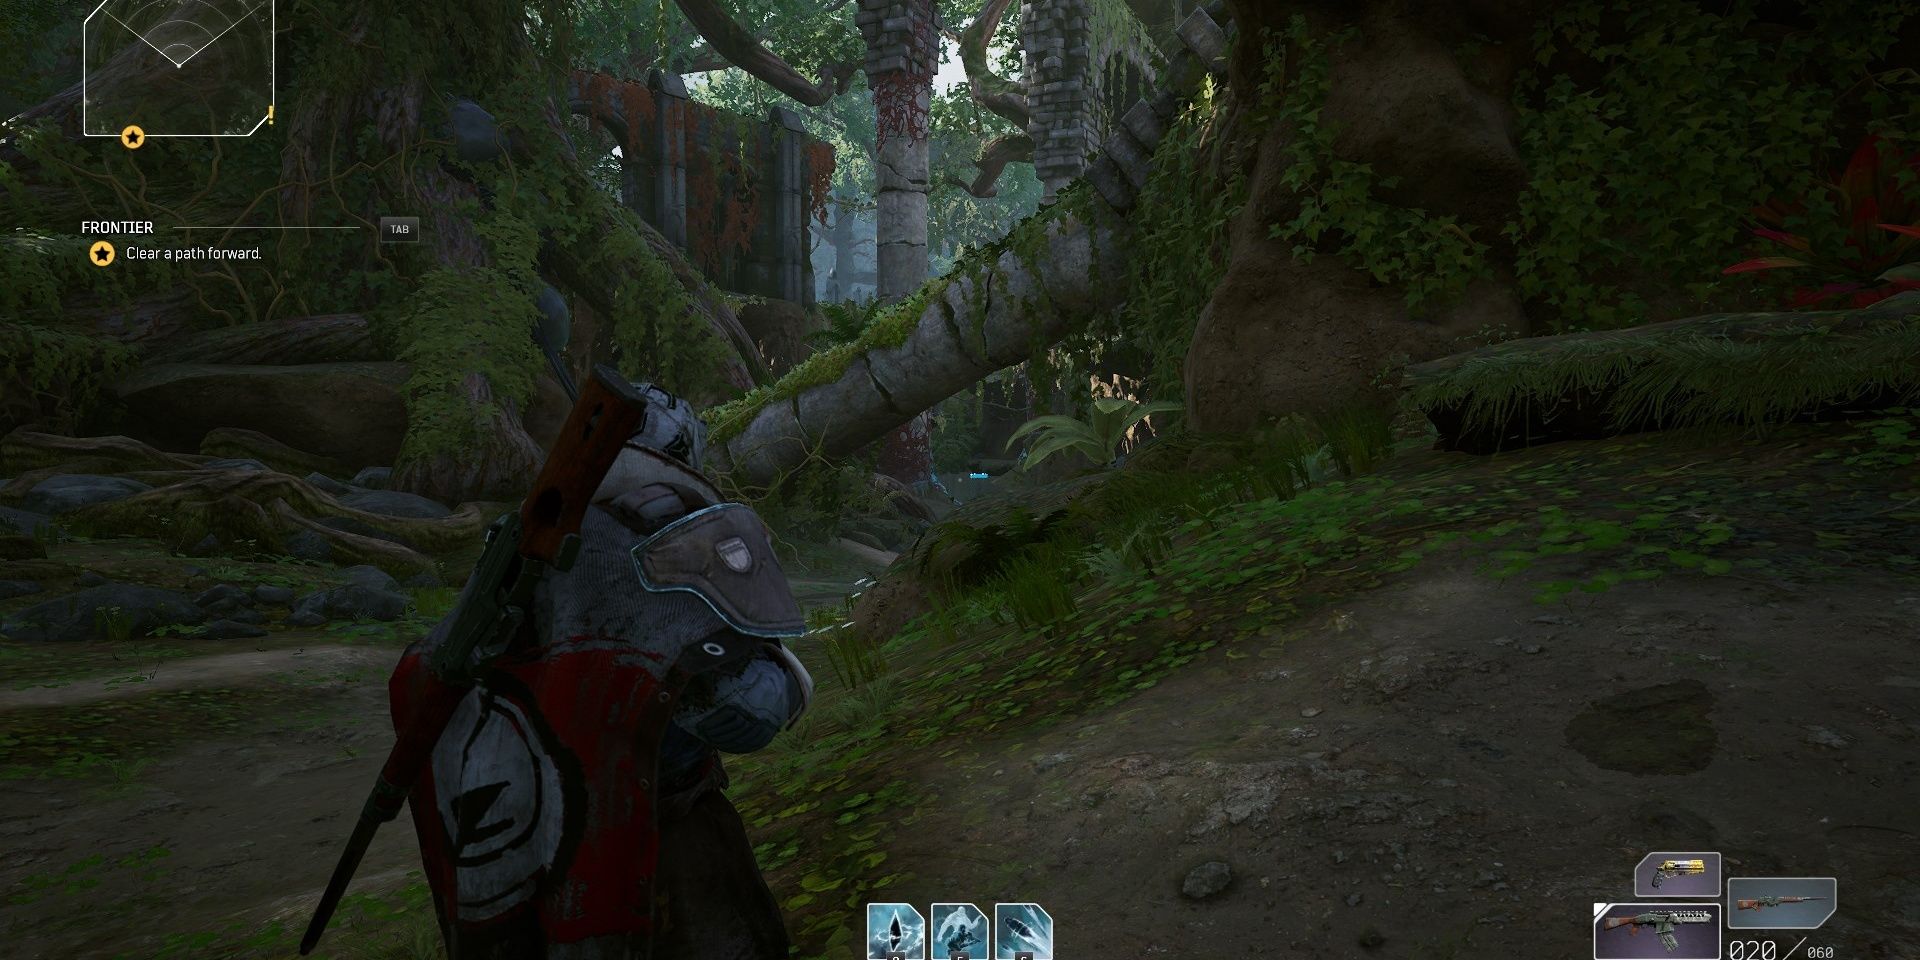
The path will fork in two different directions. Heading right will lead to a hidden chest.
Reach The Gate
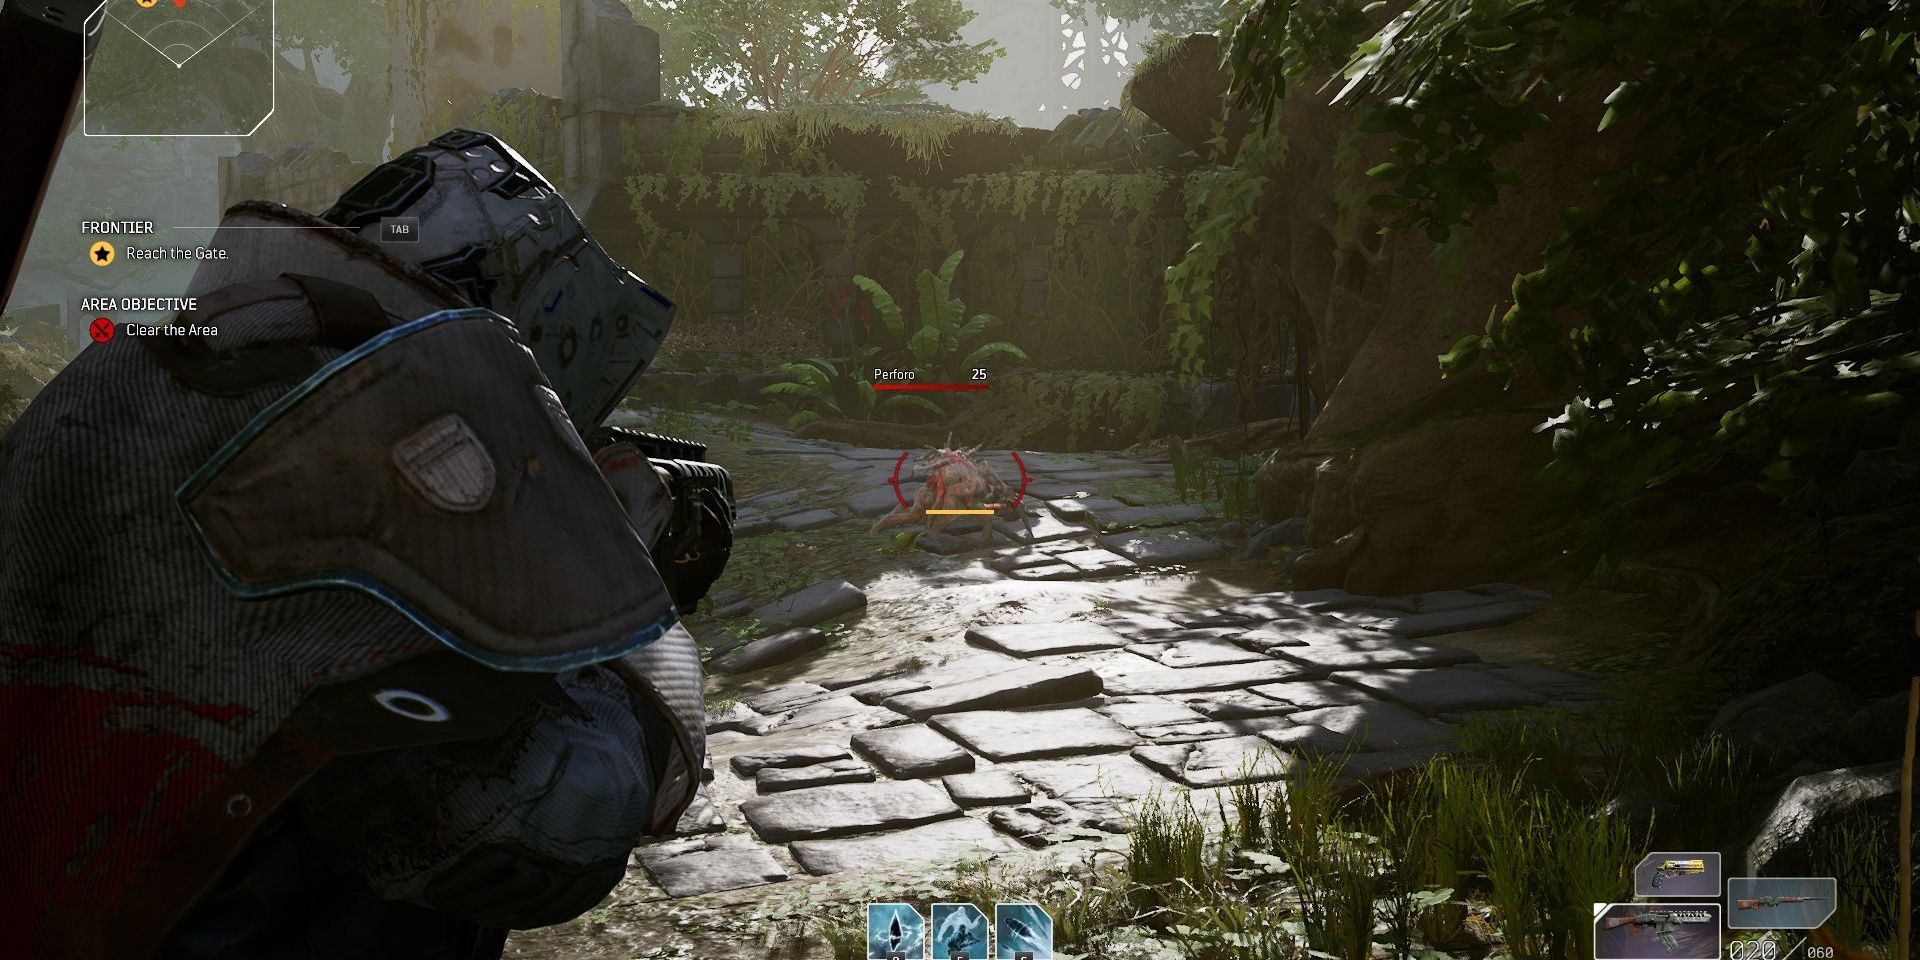
Further up the path will be two Perforos beside each other. Killing them will cause a small wave of enemies to spawn, featuring three Alpha Perforos along with more fodder enemies.
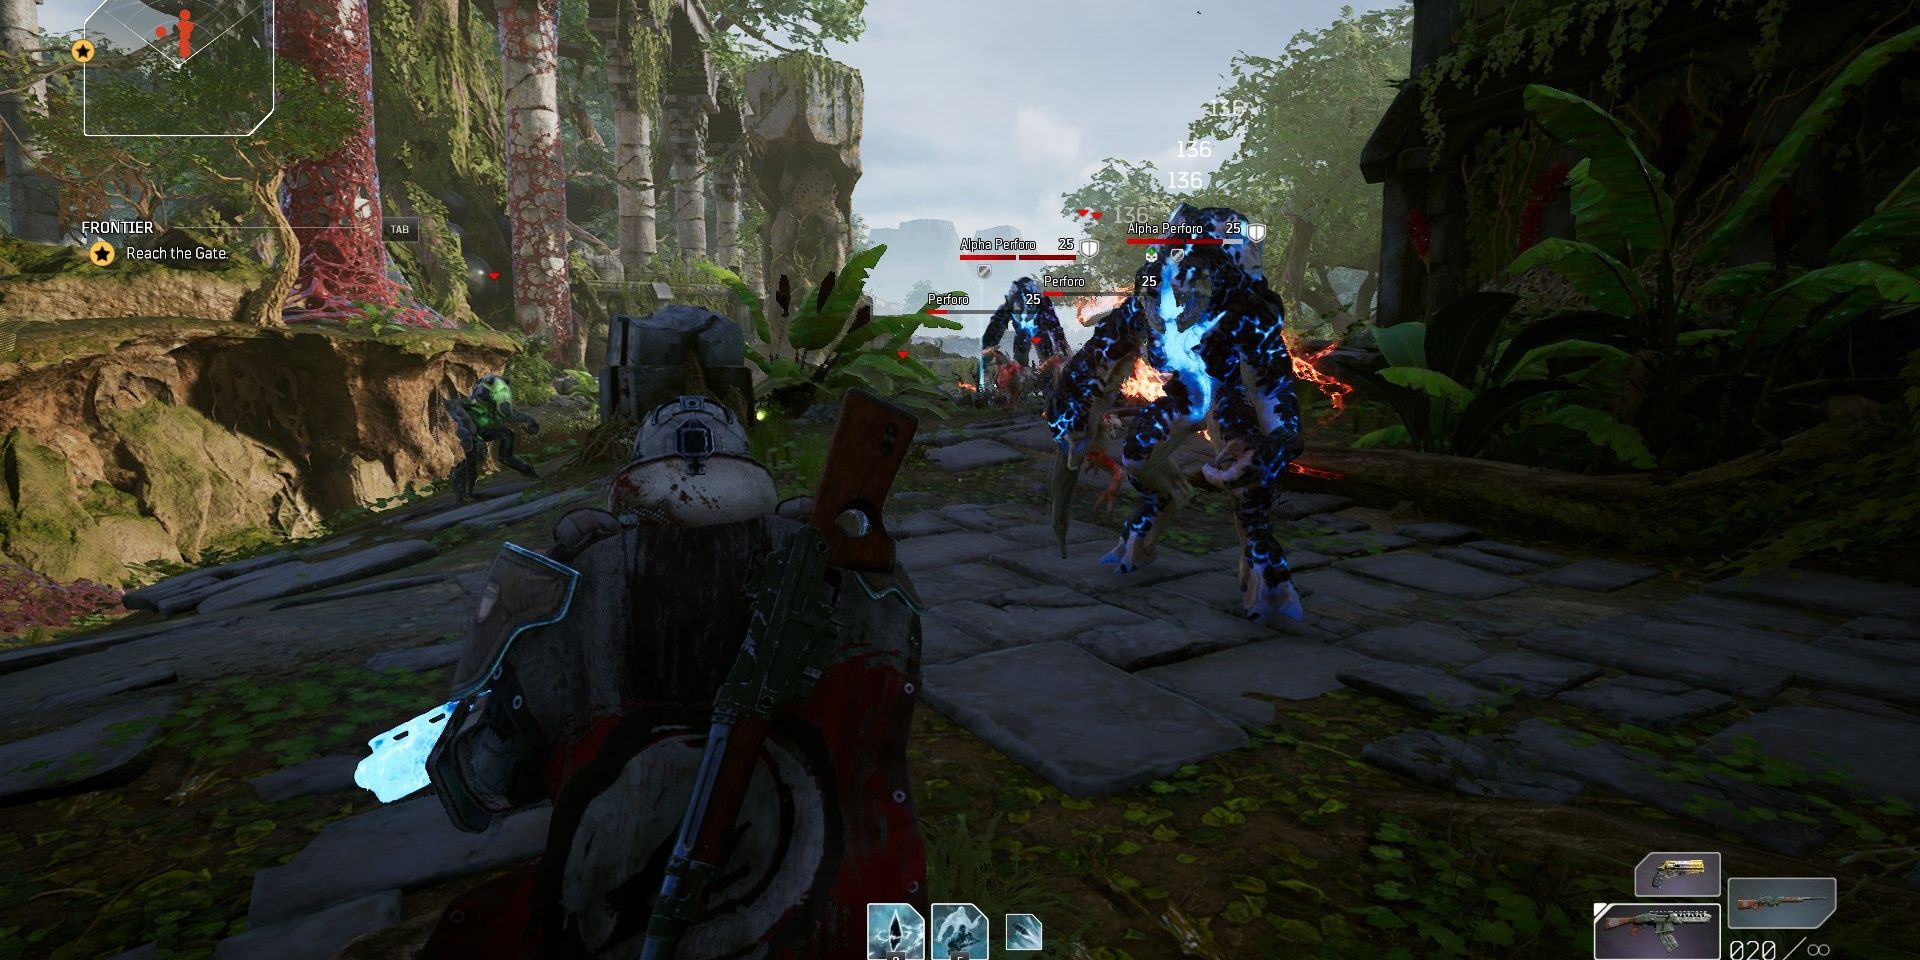
Avoid getting stunlocked by the Alphas by using your abilities or melee attack. If you need more room to maneuver, you can retreat to the path you came from.
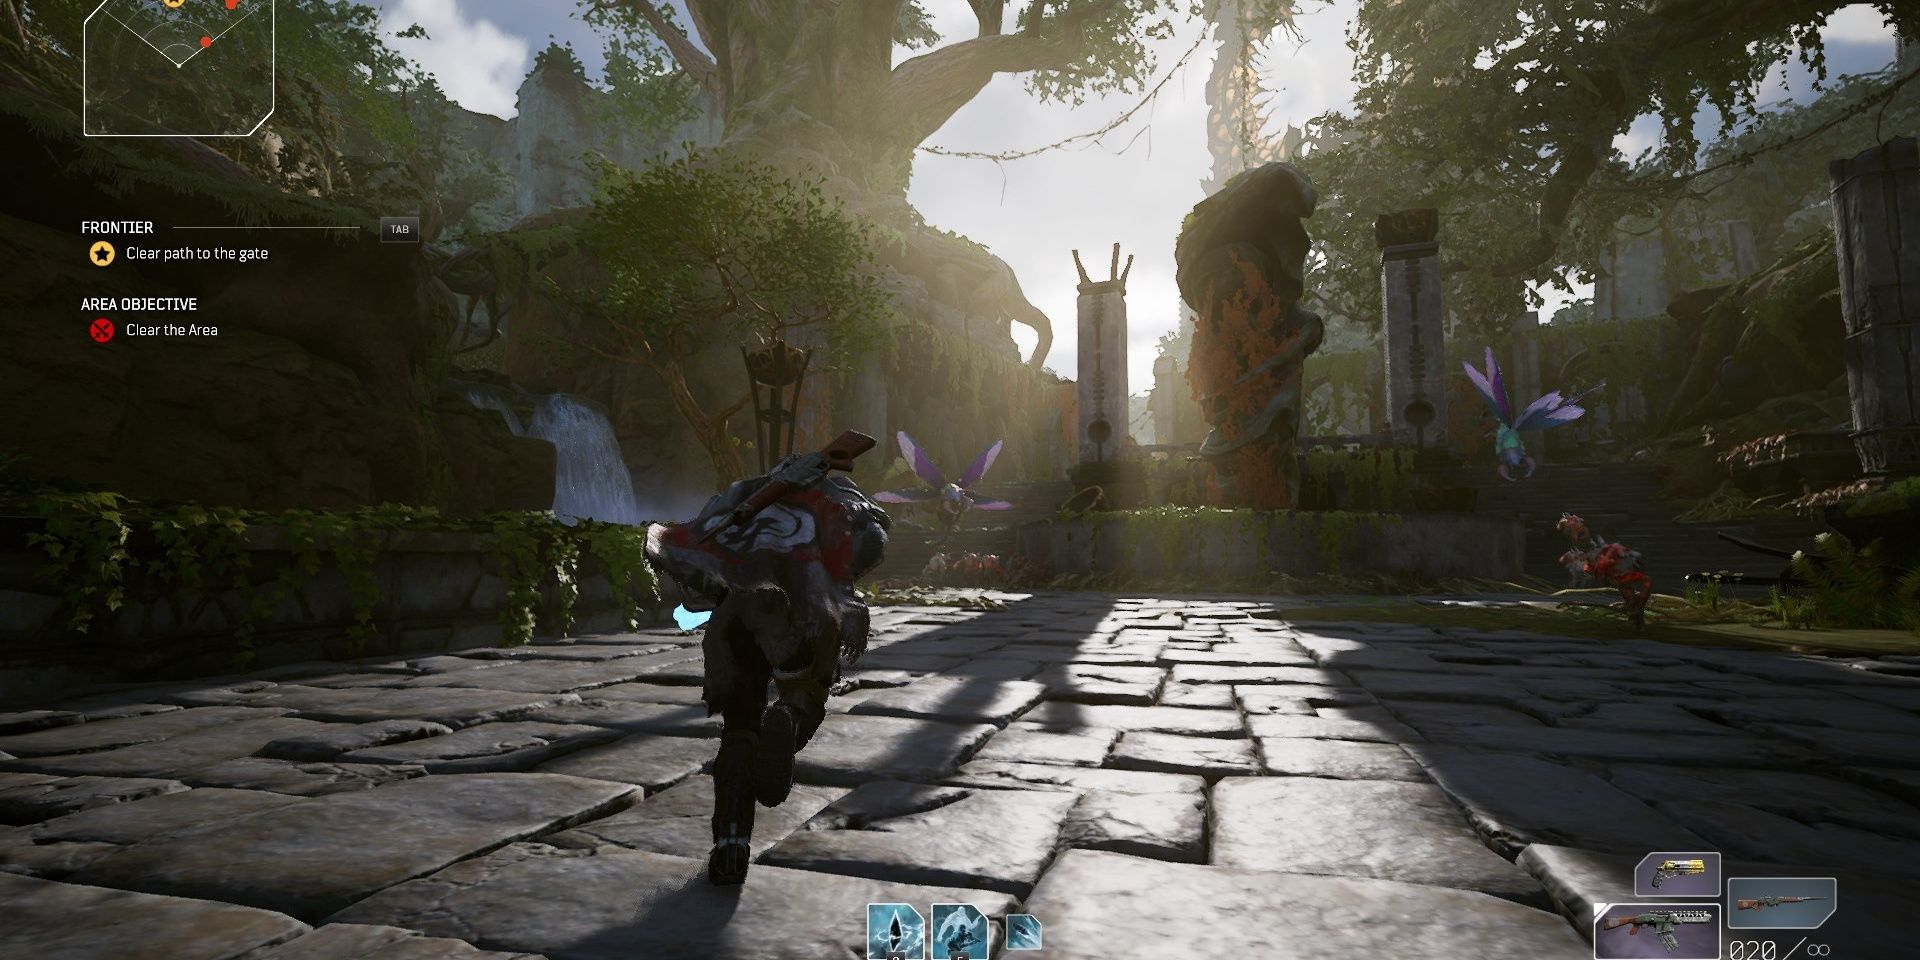
Clear the debris pile blocking your path through a bridge. About halfway up the bridge, you’ll start to see Perforos spawn in from the sides of the bridge. The fountain at the end of the bridge will also spawn a few enemies, two of which are Strix. Crowd control effects and mods are great for dealing with these flying critters, although a high-damage weapon does the job just as well.
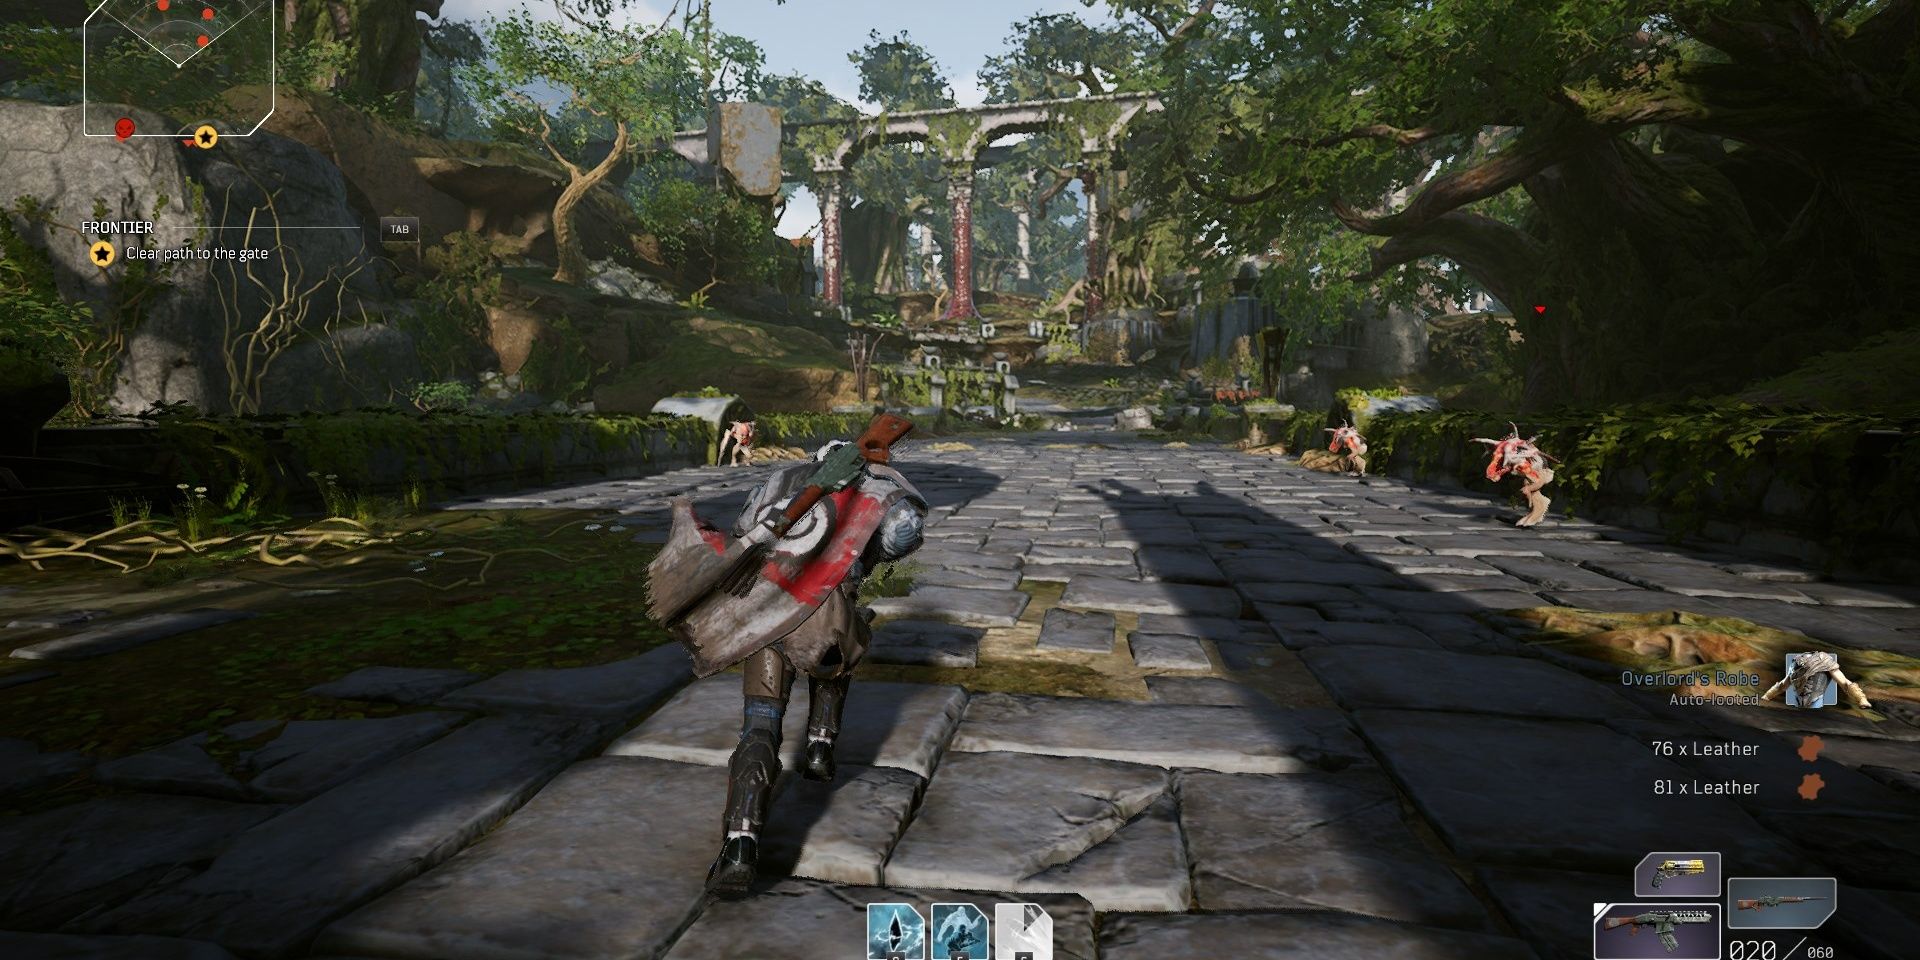
A second wave of enemies will spawn after you cleared most of the first wave. Run back towards the bridge. They’ll be three Perforos trying to flank you.
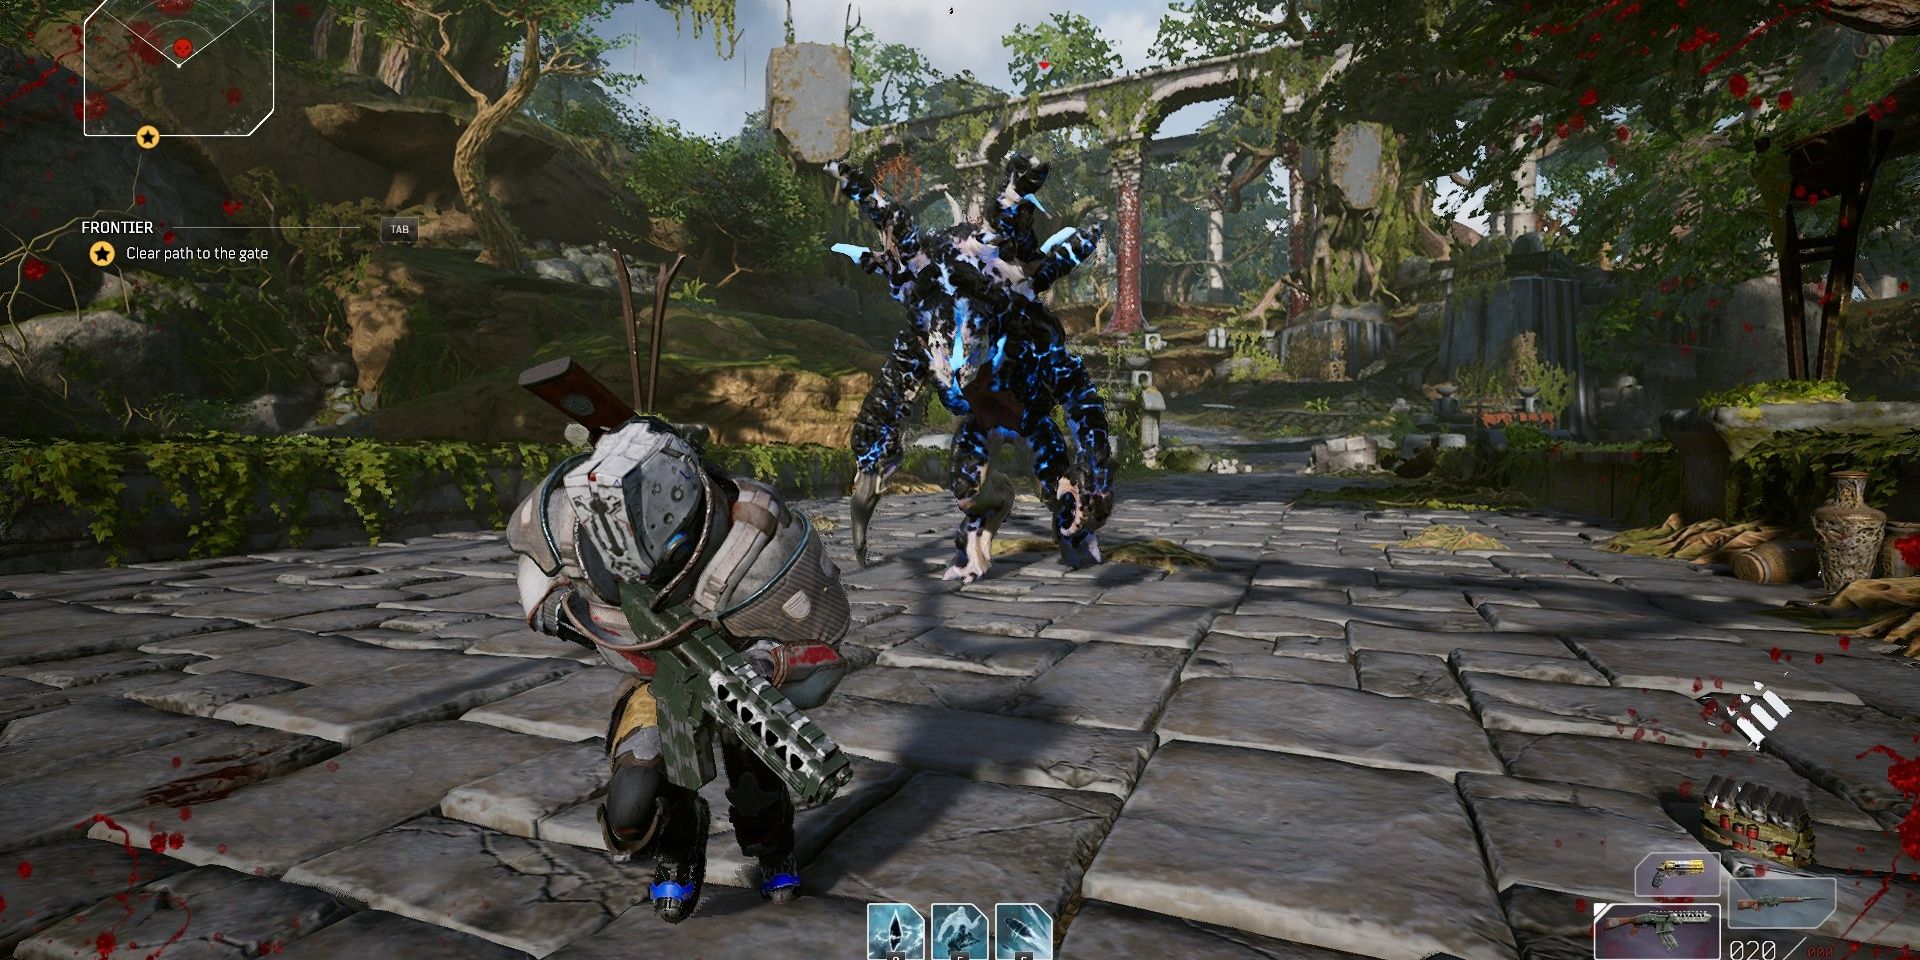
The real threat is the Brood Mother that spawns beside the fountain. If you try to fight it on its turf, you’re asking to die. Lure it towards the bridge, doing your best to avoid any AoE attacks it throws out. Tons of Perforos will be accompanying the Brood Mother, so feel free to use them as health packs. Kill the Brood Mother and remaining enemies, then head up the fountain to find the path forward.
Hidden Chest
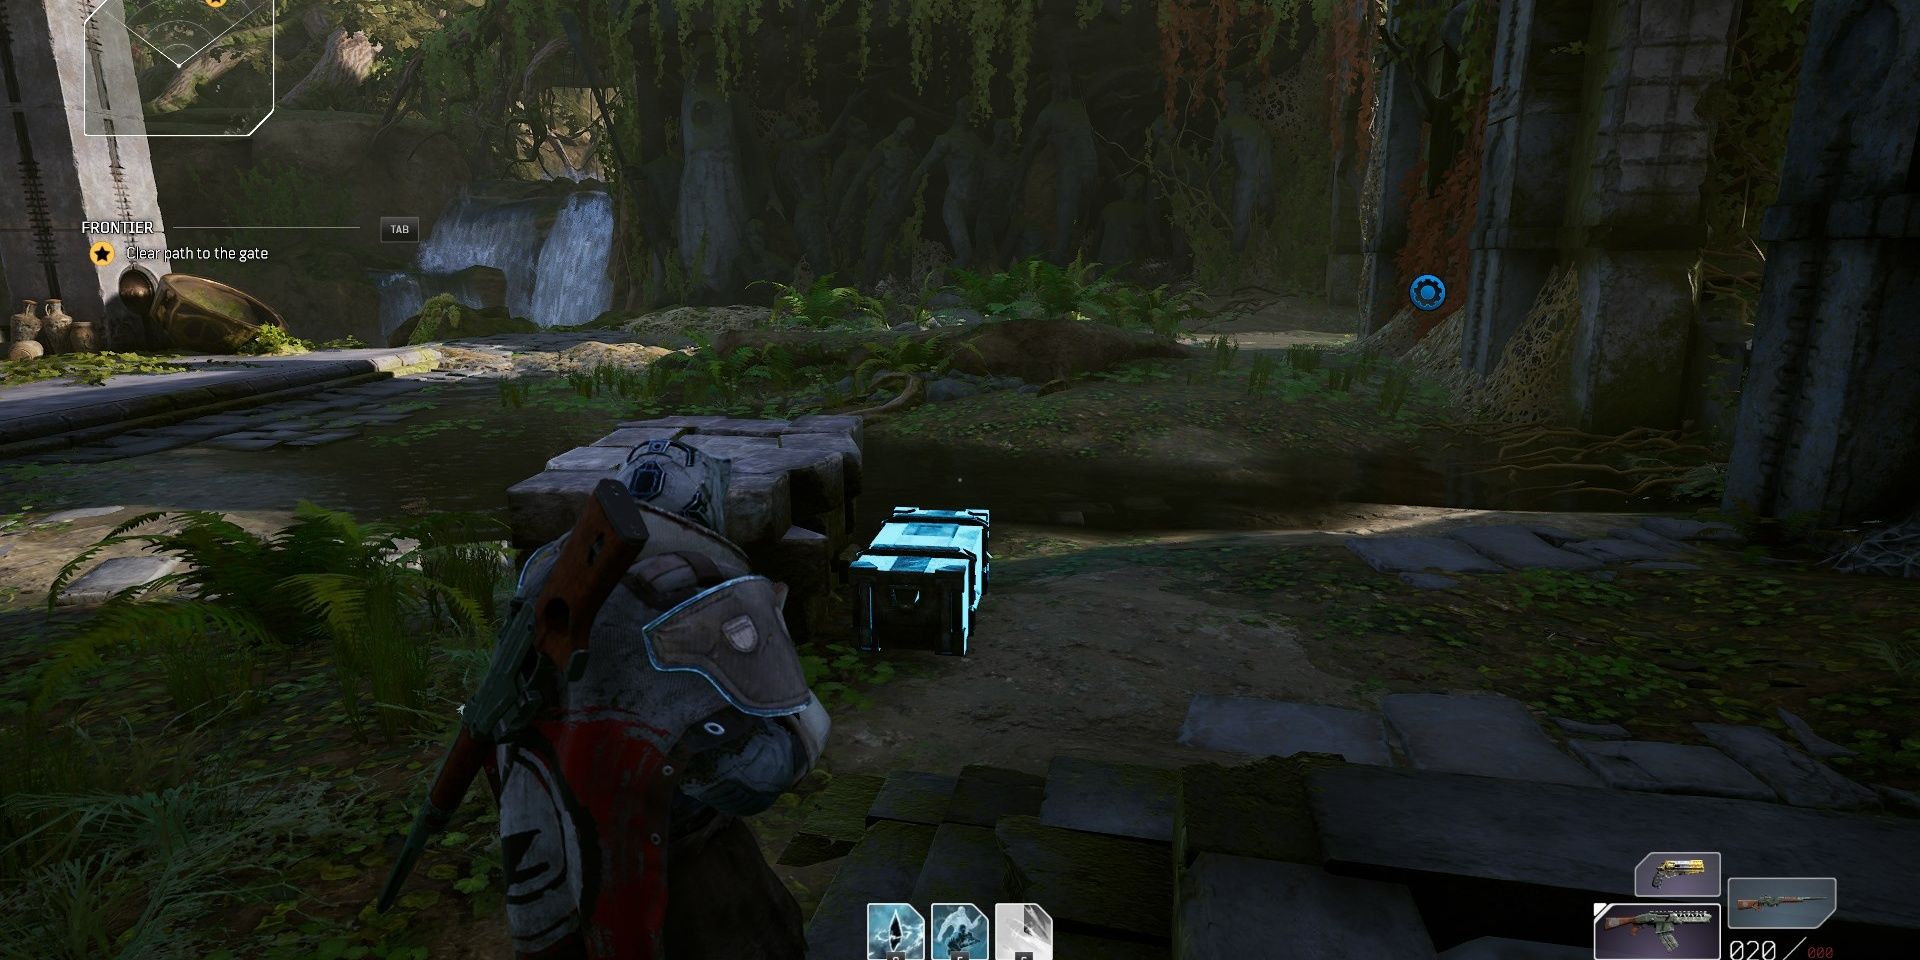
Just before you clear the path forward, turn right to find a chest.
Clear A Path To The Gate

Petrified bodies and sparse vegetation make up the plaza preceding the gate. To proceed, interact with the switch at the center of the area. Before you interact with it, stock up on ammo at one of the nearby ammo stations. It’s also a good idea to loot the hidden chests around here now instead of after the next encounter.
Hidden Chest #1
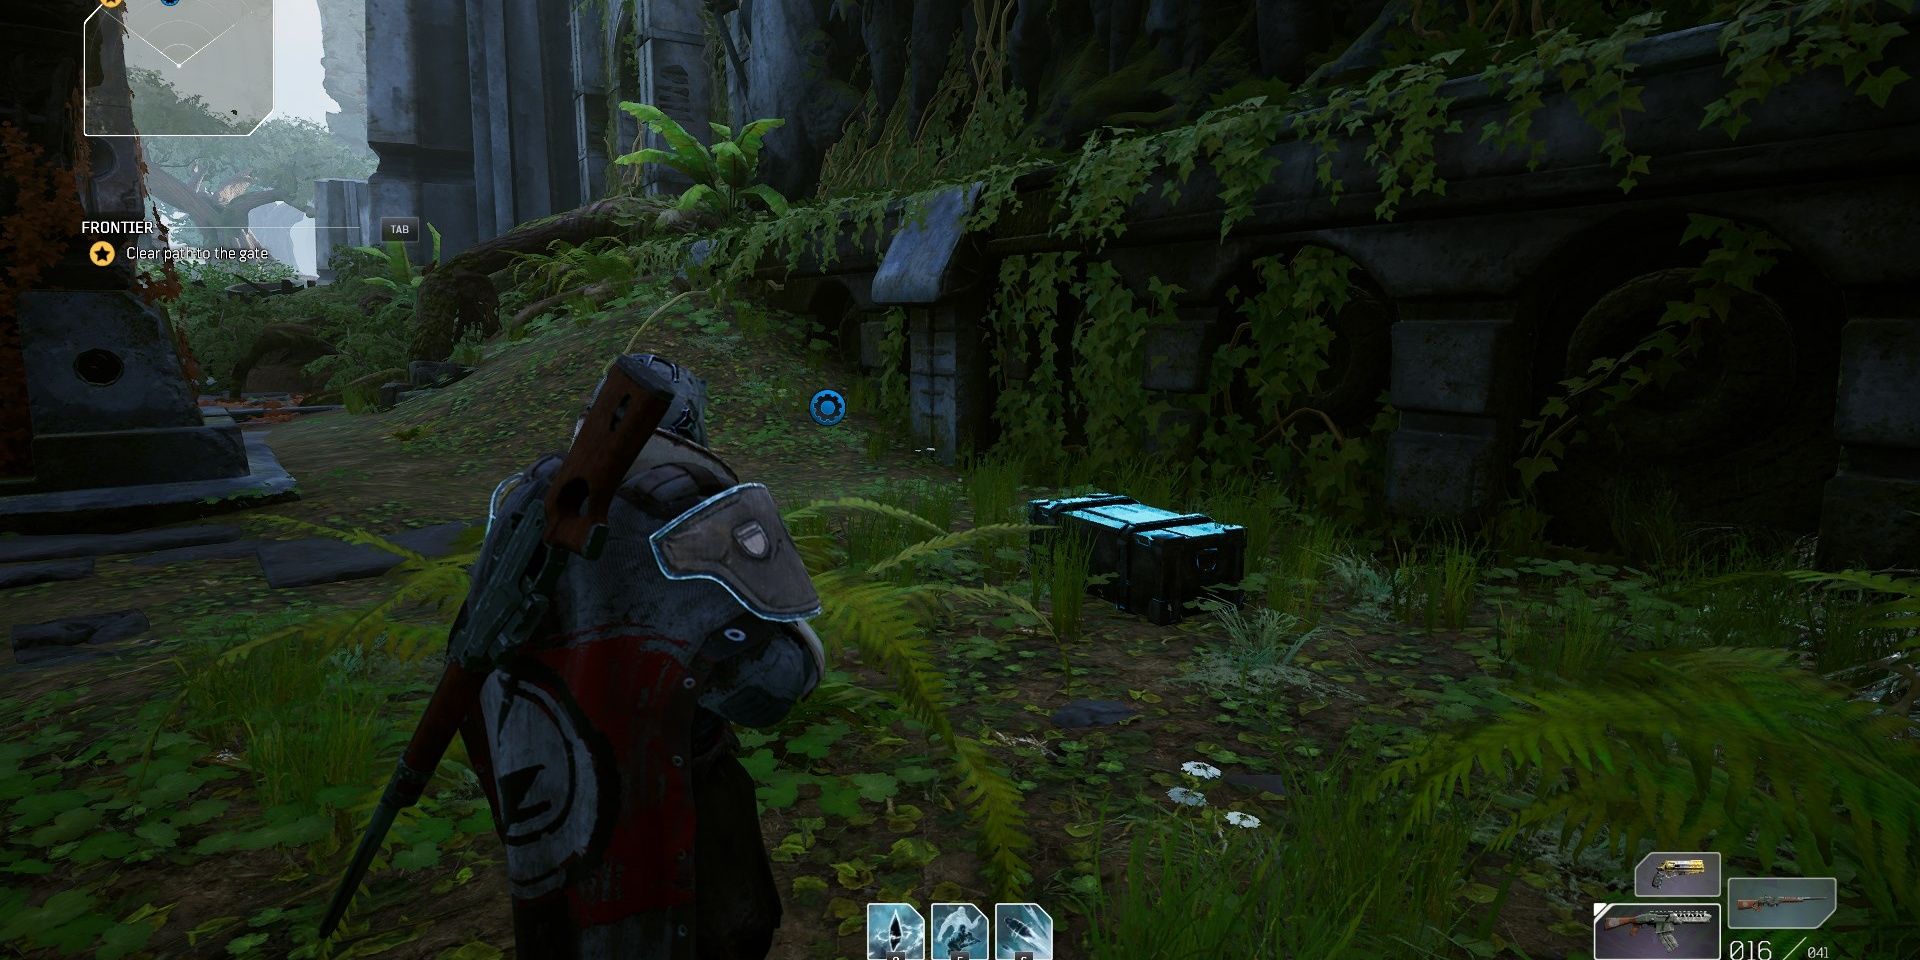
After you enter the plaza, run up the second staircase to your right. They’ll be a chest tucked away in a corner.
Hidden Chest #2
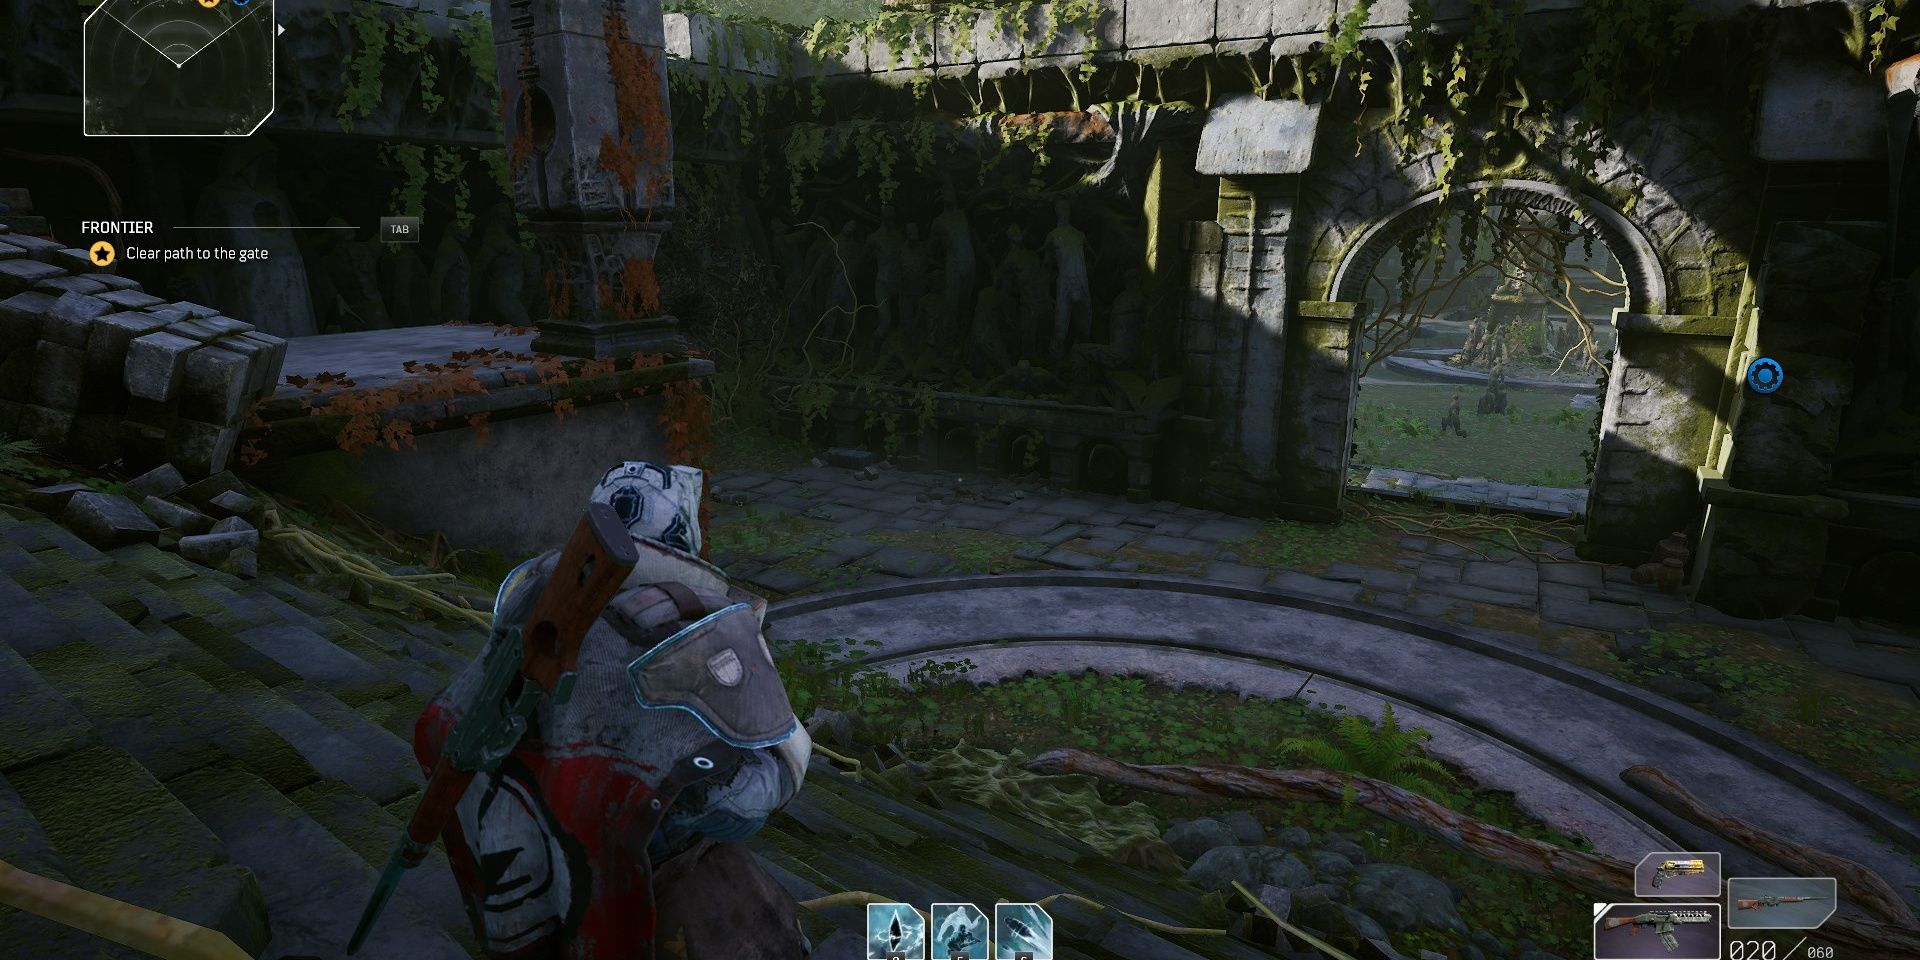
From the central plaza switch, run up the stairs to your left. Once you’ve run through the gate, turn right to find a chest.
Hidden Chest #3
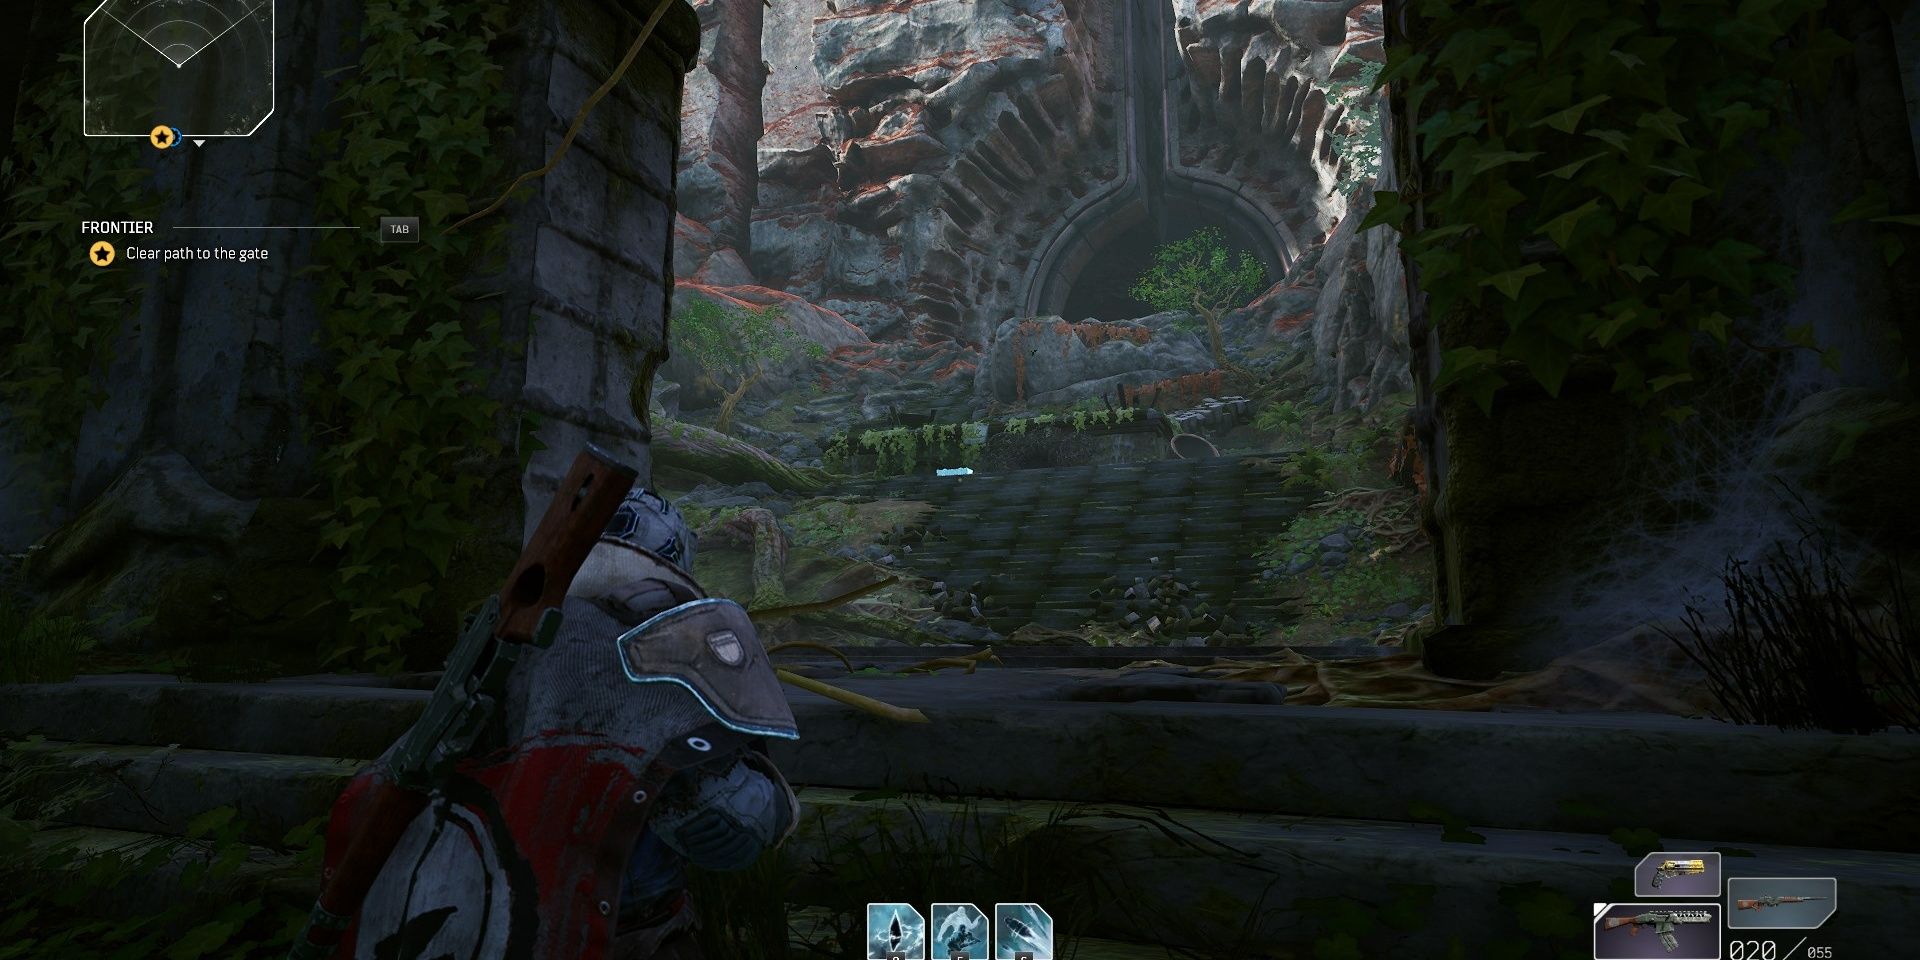
This chest is directly opposite of the second hidden chest’s location. Instead of heading lead from the switch, head right. It’ll be atop a set of stairs.
Plaza Problems
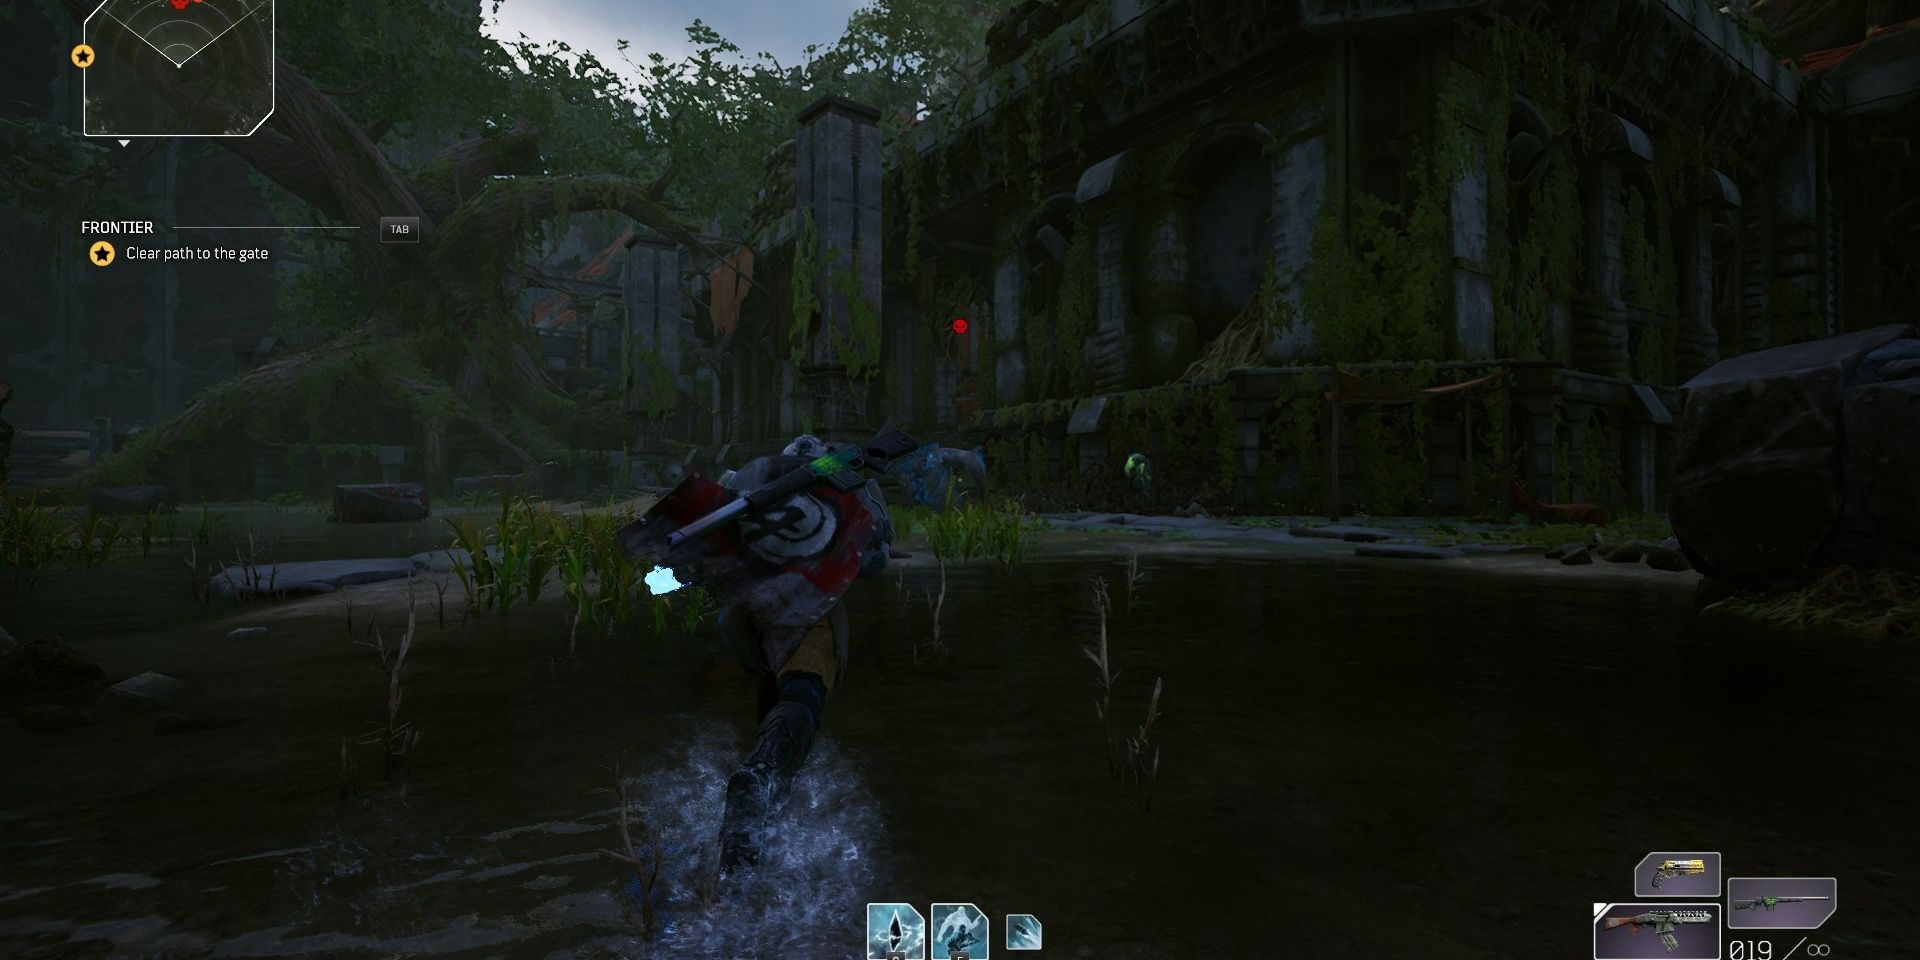
Interacting with the switch angered every Beast in the vicinity. Dozens of enemies will pawn from every side of the arena. Run towards one side of the arena to lure all of the mobs to your location.
Your first major threat is a Crawler on the right side of the plaza. Close the gap and take it out as soon as possible. If you maintain distance with it, the Crawler will just freeze you—leading to a swift death. Staying behind the Crawler is the safest way of damaging it on higher World Tiers.
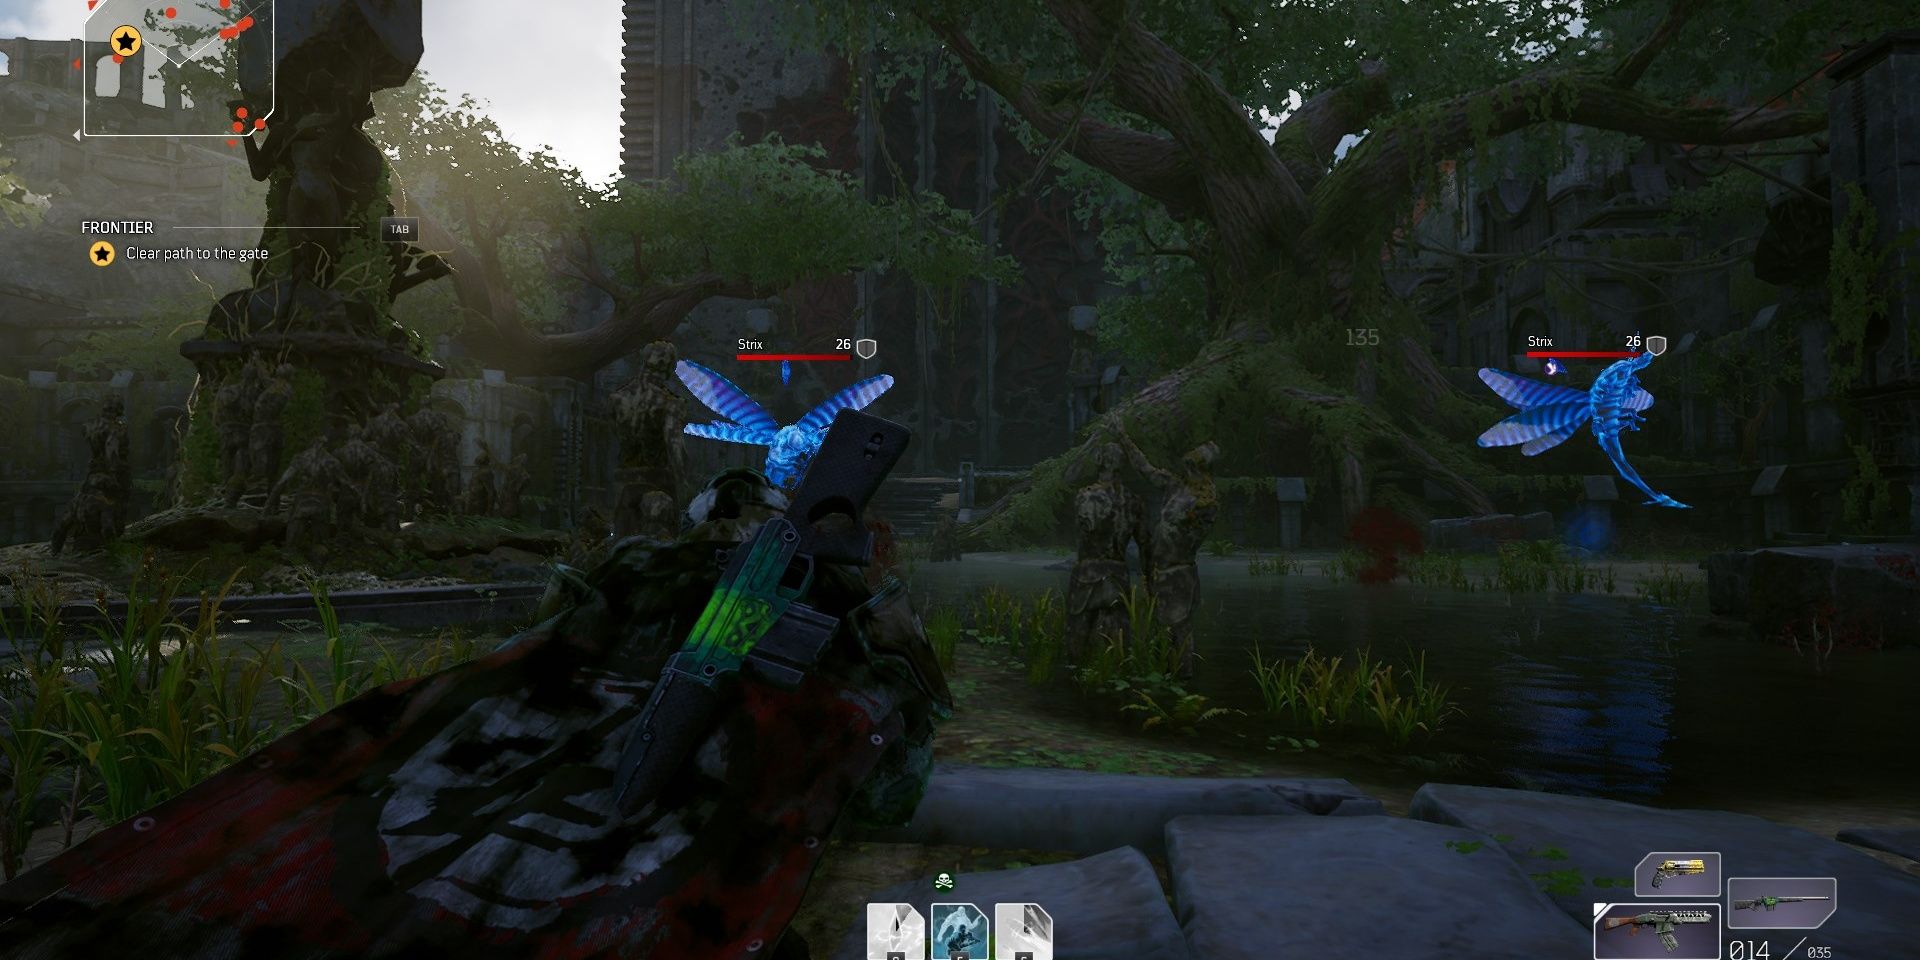
Defeating the Crawler will spawn a second wave of enemies, this time including Strix. These flying enemies should be killed immediately. Any crowd control effects, such as Freeze of Ash, work wonders against these enemies. Don’t be afraid to focus on the Perforos if your health gets low.
Behemoth Duo
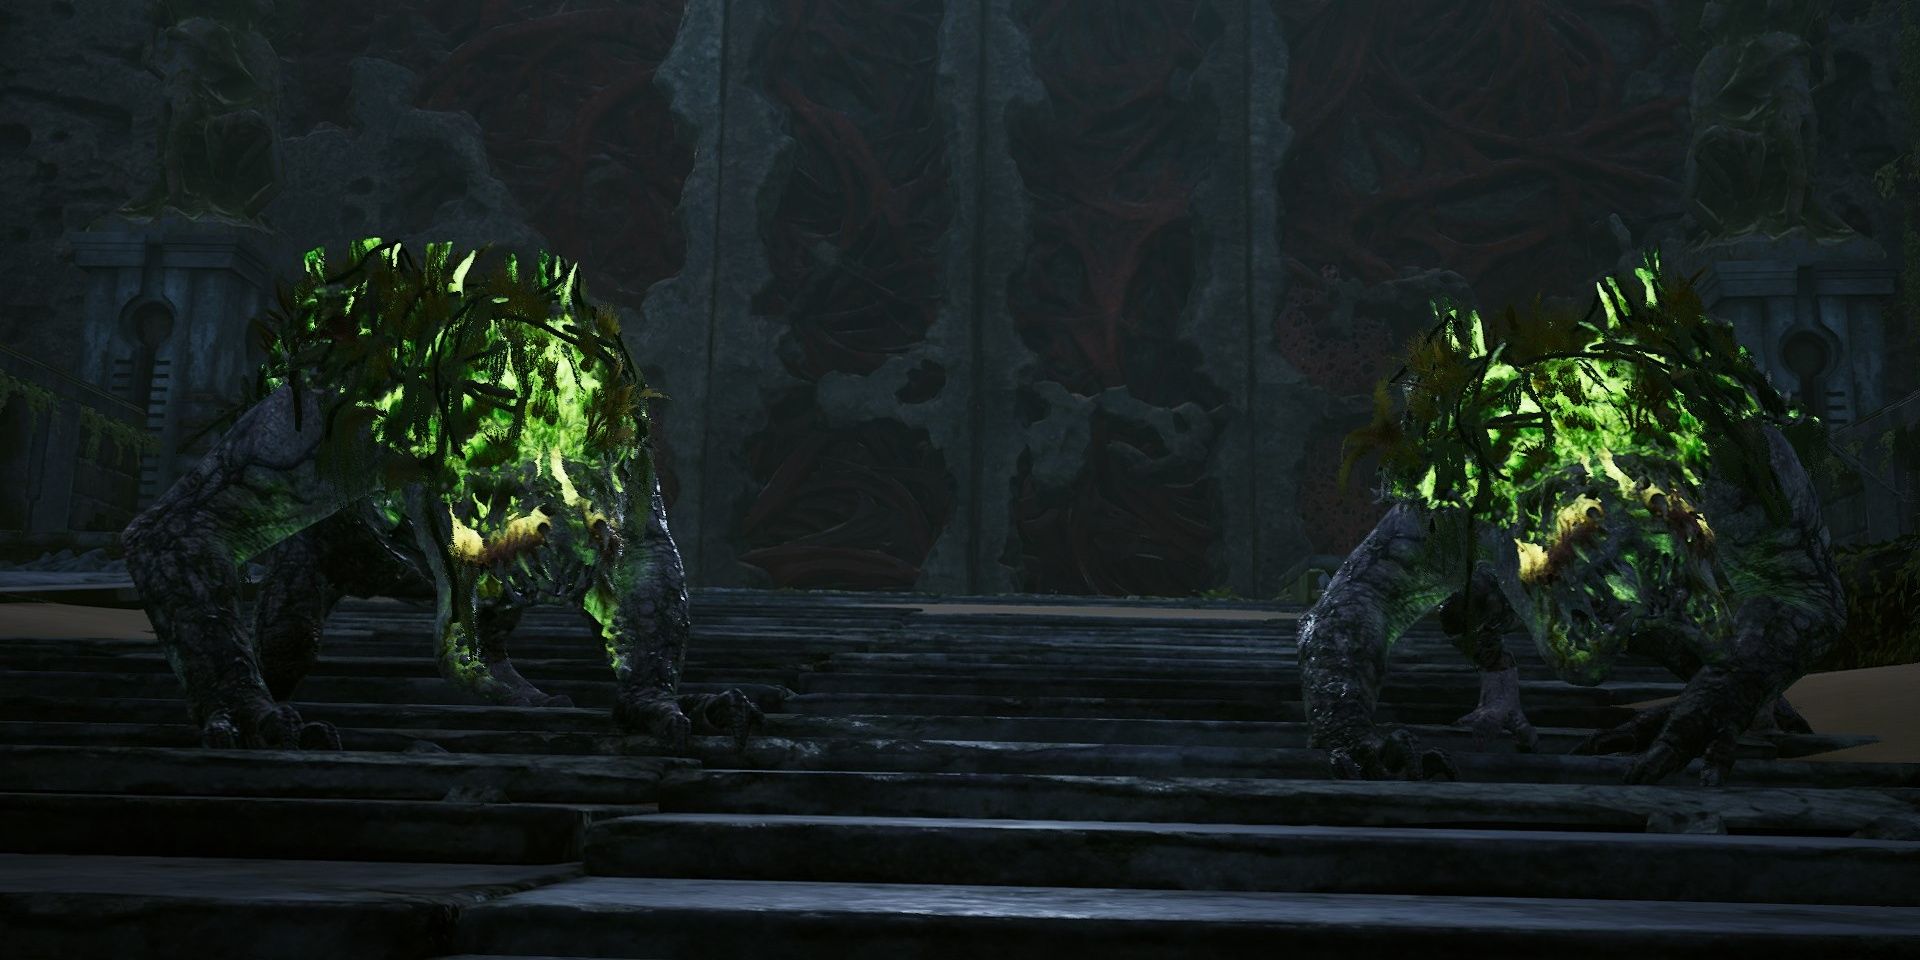
Two Behemoths will charge from the gate. This encounter is all about situational awareness. These enemies love to charge you at inopportune moments, so it’s best to keep your eyes on them.
Alpha Perforos and other Perforo types will attempt to stun you and leave you trapped. The Alphas need to be slain as soon as possible. If a Behemoth attempts to charge you during this, disengage.
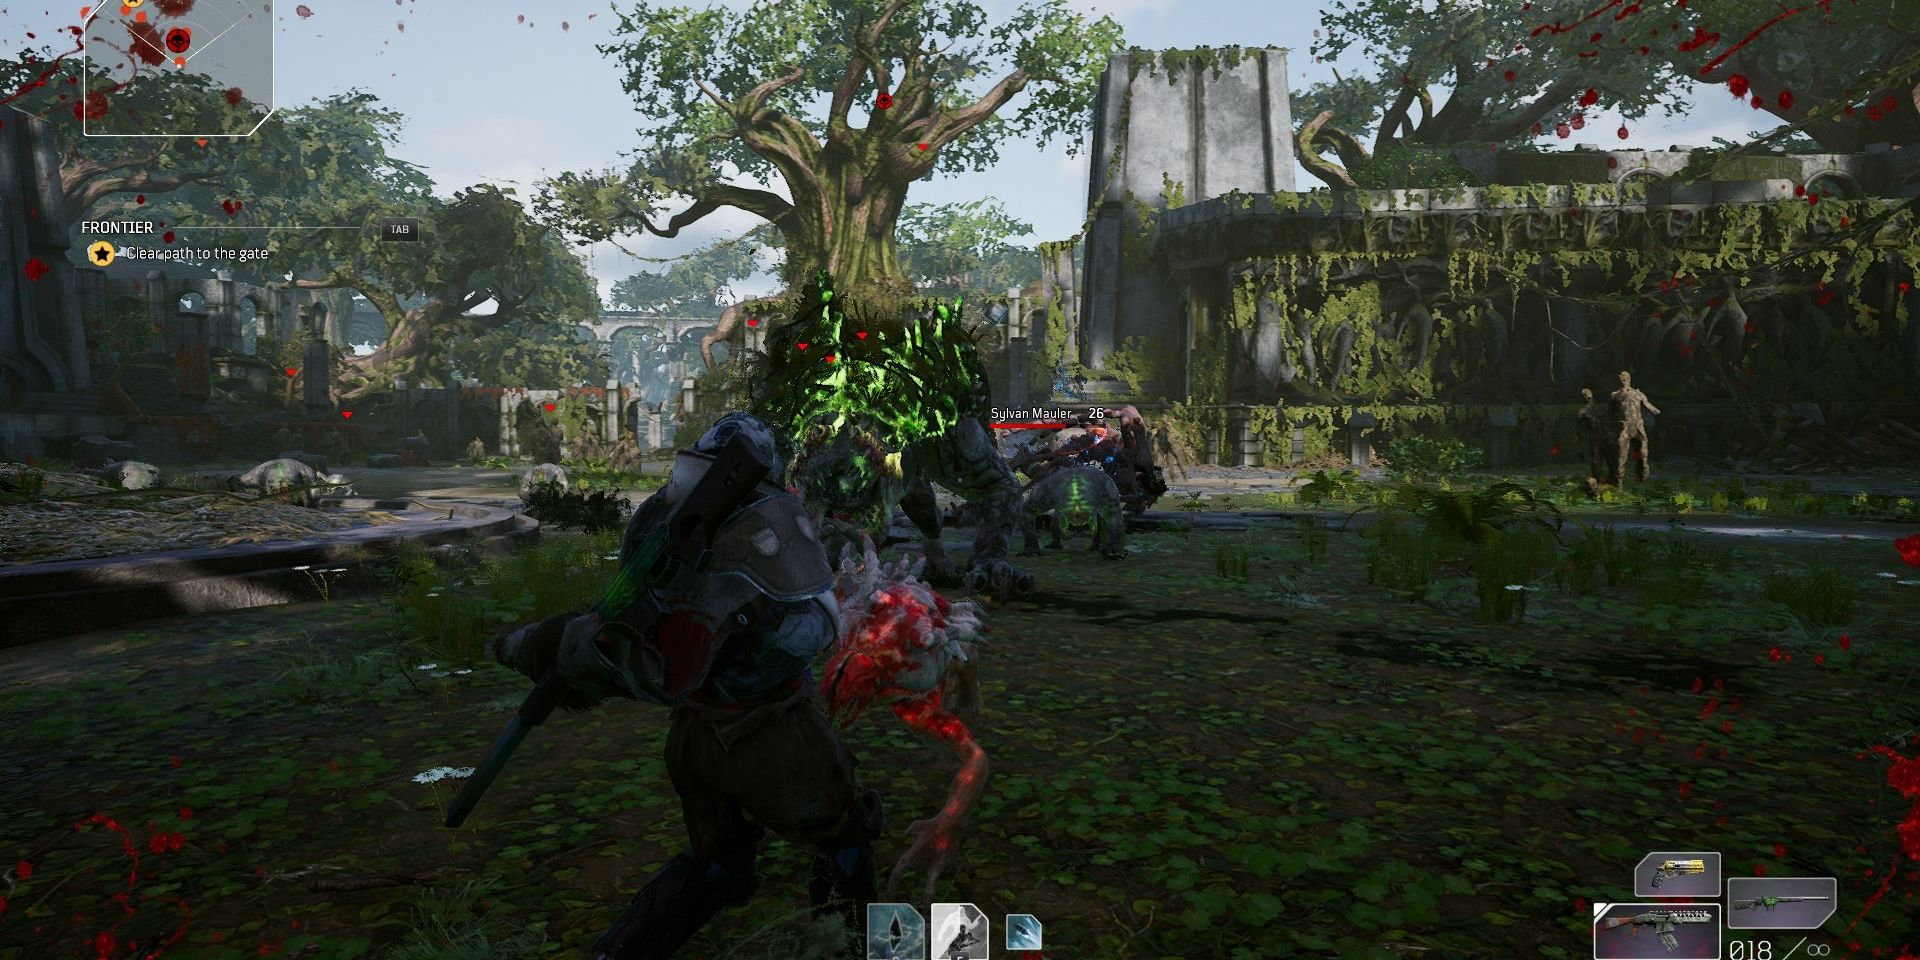
Use the Perforos and Maulers as mobile health packs, juggling between the Behemoths and the fodder enemies to maintain your HP. Try to get behind a Behemoth to give yourself a moment to use an ability. Focus on one Behemoth at a time, play around the central plaza fountain, and this encounter shouldn’t pose nearly as much of a threat.

Plant the flag at the hologram location near the foot of the gate. Run towards the gate and interact with it to wait for your crew, completing the quest.
Link Source : https://www.thegamer.com/outriders-frontier-quest-walkthrough/
