
Outriders: Humanity Quest Walkthrough
Table of Contents
Enter the Caravel and defeat a familiar foe to unlock Outriders’ endgame content.
You Are Reading :Outriders Humanity Quest Walkthrough

Humanity is the last quest in Outriders’ main campaign. After hours of exploring Enoch and facing its toughest foes, you’ve finally made it to the source of the signal. Surprisingly, it wasn’t from the Pax or another alien race. It was from the Caravel, a ship that blew up before it left Earth.
To find answers and send resources to Enoch, you’ll need to enter the Caravel. Push through the surrounding camp, defeat any Ferals and Beasts in your path, and use Dr. Zahedi’s briefcase to send Drop Pod Resources to the planet. Of course, it’s the last level in the campaign, so expect a final boss fight. Make sure your character is geared and ready for what’s to come.
Quest Synopsis
- Reach the Caravel
- Reach the signal’s source
- Defeat Yagak
Reach The Caravel

Before you venture towards the Caravel, upgrade your character now. The enemies ahead aren’t very tough, but the final boss at the end of this level is formidable. Bring weapons that deal great single-target damage, and consider grabbing some Resistance from your class tree or through armor mods.
The Caravel is stationed inside a massive military camp. You’ll need to enter the camp to reach the ship. Run through the front gates and follow the path.

Partway through the camp, you’ll encounter a few Perforos. These enemies are incredibly easy to kill. The only notable enemy during this part is an Alpha that spawns during the last wave. Wait for it to leap or use an attack, then use your skills or weapons to take it down.

Open the gate at the end of the path, then plant a flag at the hologram. There’s a hidden chest right around the corner.
Hidden Chest

Right after the flag, walk towards the barricade on your right. Walk around the barricade to find a chest.
Ruins

You’ll enter a ruin with a small group of Ferals guarding the way forward. This part is tough for casters, as there are multiple snipers at vantage points that can launch an artillery barrage as a special attack.

Focus on the snipers first, doing whatever you can to close the gap. One Destroyer will spawn to make this somewhat harder, but a single melee attack is enough to remove the Destroyer’s armor. Wipe out the rest of the enemies, then focus your attention on a storage unit down the path.

This storage unit will spawn one more wave of Ferals, one of them being a Warlord. The Warlord needs to be dealt with as soon as possible. AoE skills are excellent here, capable of wiping out the entire wave in one go.

With the Ferals dealt with, open the gate beside the storage unit. This will lead you to the Caravel.
Find A Way To The Caravel

A barren outpost is the only thing between you and the ship. Two Sciathans guard this area. Walk towards the ship to alert one of the birds, then run back to fight it one-on-one. Damaging the Sciathan enough will force it to land, giving you a moment to use your abilities or close-range weapons.
Eliminate the first bird, then kill the second Sciathan. Before you make your way to the ship, backtrack to find two hidden chests.
Hidden Chest #1

Right as you walk out the gate, turn right to find a chest hiding in tall grass.
Hidden Chest #2

From the second Sciathan’s spawn point, head left to find a chest resting beside some white storage containers. It’s directly across a massive circular structure.
Reach The Signal’s Source

There’s a fast travel flag directly ahead. Plant the flag down, then restock on ammo. This is your last chance to upgrade your character. If your character isn’t ready for the upcoming boss fight, fast travel back to camp. You can either use crafting to improve your gear or complete some side content to obtain epic and legendary items.
When you’re ready, run into the ship to face the final boss.
Hidden Chest #1

Before you walk inside the Caravel, turn left to find a chest hiding beside a wall.
Hidden Chest #2

When you reach the elevator to the bridge, turn around to find a chest hiding in a corner.
Defeat Yagak

Yagak hasn’t forgotten your last encounter. Instead of wielding a giant sword, Yagak uses the power of the Anomaly and his whips to damage you.
This fight is comprised of two different phases. We’ll give a brief overview of each encounter. If you need more specific tips for this fight, read out Yagak boss fight guide.
Phase One

Yagak acts as a caster during the first phase, summoning lightning storms and Rifts to damage you. He has no default attacks during the first phase, meaning he can’t damage you unless he’s casting an ability.
Yagak has the following abilities:
- Anomaly Rifts: Similar to the Shaman Warlord, Yagak summons two Rifts to damage you. Only two Rifts can be active in a given moment.
- Chain Lightning: Yagak fires a bolt of lightning directly at you, dealing moderate damage. You cannot dodge this attack; you must interrupt it.
- Grasping Shock: Yagak creates a lightning shockwave at the target area, dealing heavy damage over a large area.
- Ground Blast: Yagak slams the ground, dealing Anomaly damage in a large radius. He only casts Ground Blast if you’re near him.
- Overload: Behaves the same as the Shaman Warlord’s attack. Yagak will channel an Anomaly fissure, releasing it near the end of the animation. It travels quickly and deals heavy damage.
- Sand Wyrm: A massive tentacle slams the ground in a narrow area, dealing massive damage.
As you can see, this is effectively the Shaman Warlord fight with a few more abilities to manage. Yagak’s most dangerous attack is Anomaly Rifts. Whenever Yagak summons these Rifts, destroy them immediately! If you let them persist, the Rifts will two or three-shot you at higher World Tiers.
Ultimately, this stage requires that you deal a high amount of damage and can dodge. Roll out of any incoming AoE attacks, and use the small window after the cast animation to damage Yagak. There are no fodder enemies during this phase, so every class excluding Technomancer will have to rely on dodging to stay alive.
Phase Two

A few Ferals will dot the path to Yagak’s second arena. Before you continue, stock up on ammo at the ammo crate you spawn next to. Kill the Ferals, then jump into the arena.
Phase two morphs Yagak into a melee-caster hybrid that is extremely dangerous to fight at mid-range. Yagak can use the following abilities during this phase:
- Anomaly Rifts: Yagak summons two Rifts that fire devastating projectiles.
- Chain Hook (Default Attack): After a brief windup, Yagak throws his chain forward and leaps to it, dealing moderate damage if you’re caught in the hook’s path.
- Chain Lightning: A bolt of lightning strikes at you. You can’t dodge this attack, so you’ll have to interrupt it.
- Energy Shield (Phase Mechanic): When Yagak takes serious damage, he’ll encase himself in an impenetrable energy shield. Ferals will spawn during this part, giving you a chance to heal.
- Flaming Hooks (Default Attack): Yagak will make a flaming cross that’s centered around himself.
- Sand Wyrm: Yagak summons an Anomaly tentacle to slam the ground.
- Whiplash: Yagak will spin his chain hooks in a circle around him, dealing moderate damage multiple times if you’re in the area.
As long as you don’t stand at mid-range from Yagak, this phase is arguably easier than the first. Standing close to Yagak will cause him to use his chain hooks, so try to stay at long range to force Yagak to use an ability. You can damage Yagak either during or after an animation to widdle his Health down.
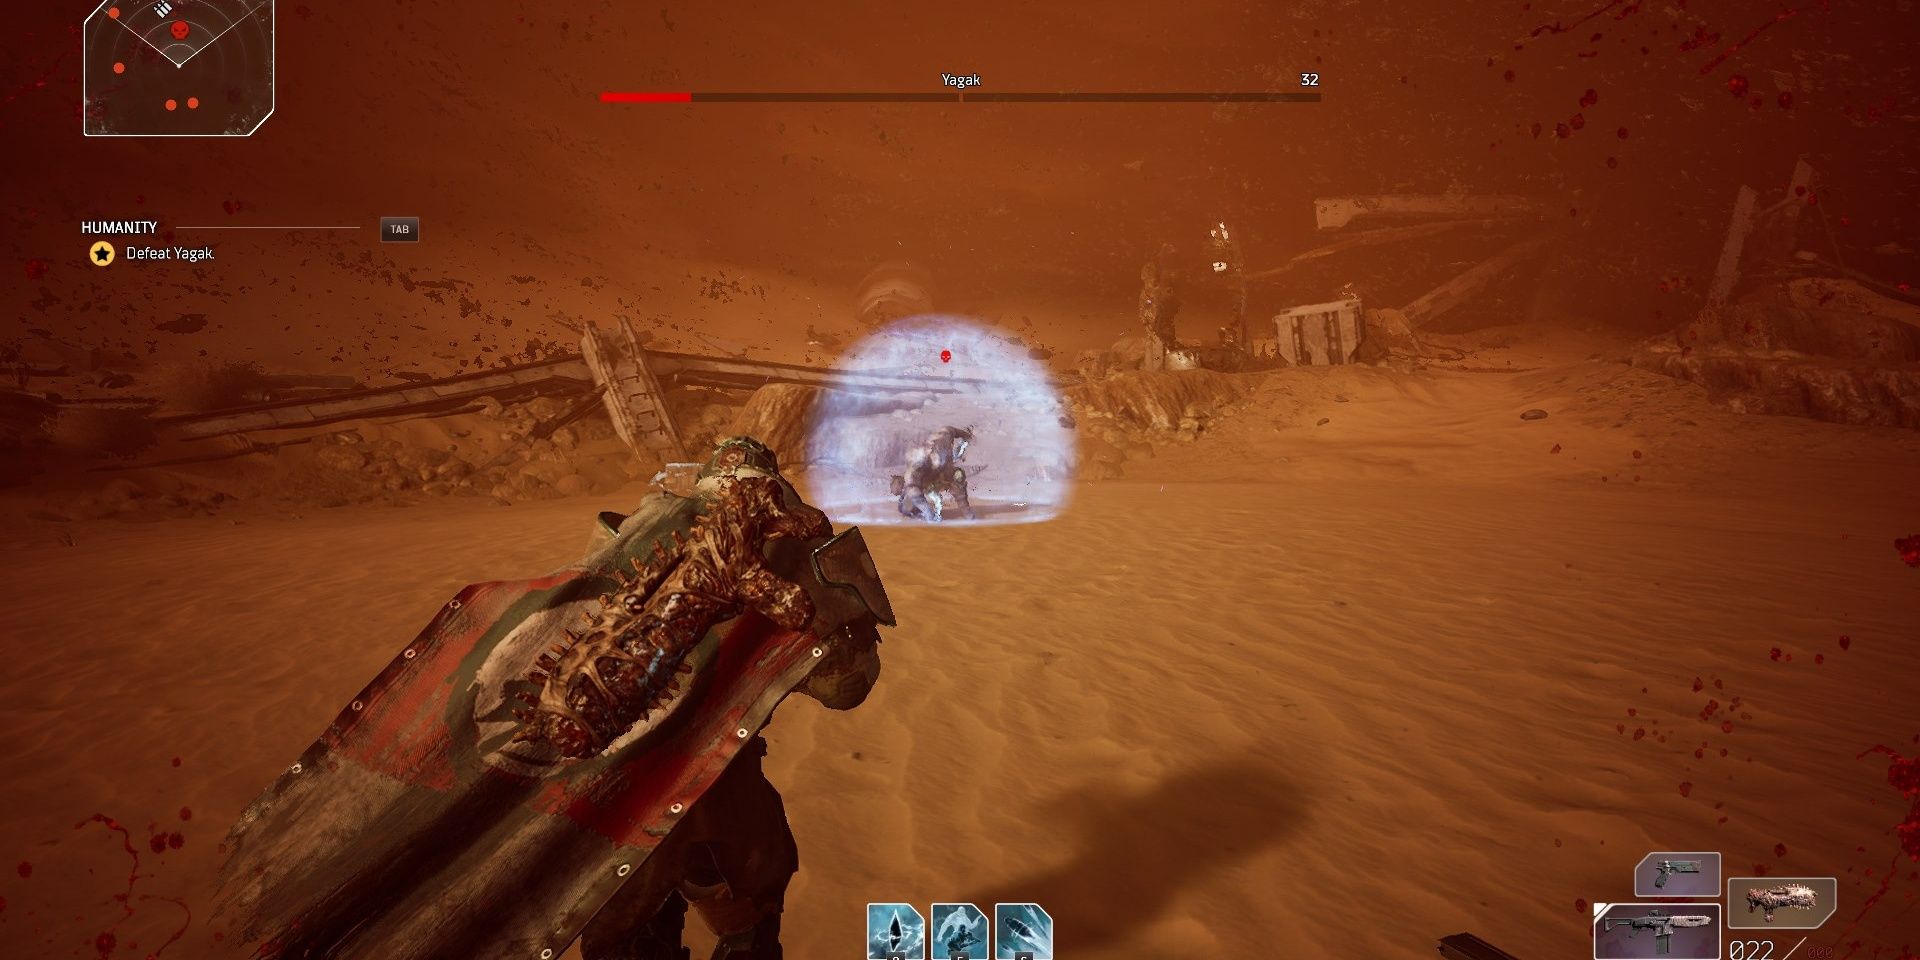
Whenever Yagak takes enough damage, he’ll summon Ferals while encasing himself in an energy dome. This is the perfect time to restore your Health and reload your weapons. Don’t stand too close to Yagak, punish him for using an ability, destroy any Rifts he casts as soon as possible, and you shouldn’t have much issue with this fight.
Link Source : https://www.thegamer.com/outriders-humanity-quest-walkthrough/