
Solar Ash: How To Find All Broken Capital Voidrunner Caches
Table of Contents
Here’s how to find every Voidrunner Cache in the Broken Capital in Solar Ash.
You Are Reading :Solar Ash How To Find All Broken Capital Voidrunner Caches

Quick Links
Voidrunner Caches are the primary collectible in Solar Ash, the newly released indie game by Heart Machine. There are five or six in most of the locations in Solar Ash, of course excluding the Crash Site and the Starseed locations, and collecting all of them in each area rewards Rei with a different suit based on the aspects of her crewmate making the Caches.
In any case, the path leading up to each Cache is always marked with a glowing Voidrunner sigil, but they can still be a bit tricky to find. So, let’s start with one of the earliest explored locations in the game, the Broken Capital, and go over where each Cache is located.
Cache #1: In The Upside-Down


The first Cache is found almost right as Rei skates into the Broken Capital and is located a decent distance before the platform where she can activate Cyd. Once players leave the Crater to head towards the Broken Capital, skate up to their first grind rail, and see the cloud sea leading to the ruins before the Capital, they’re already close to the first Cache.
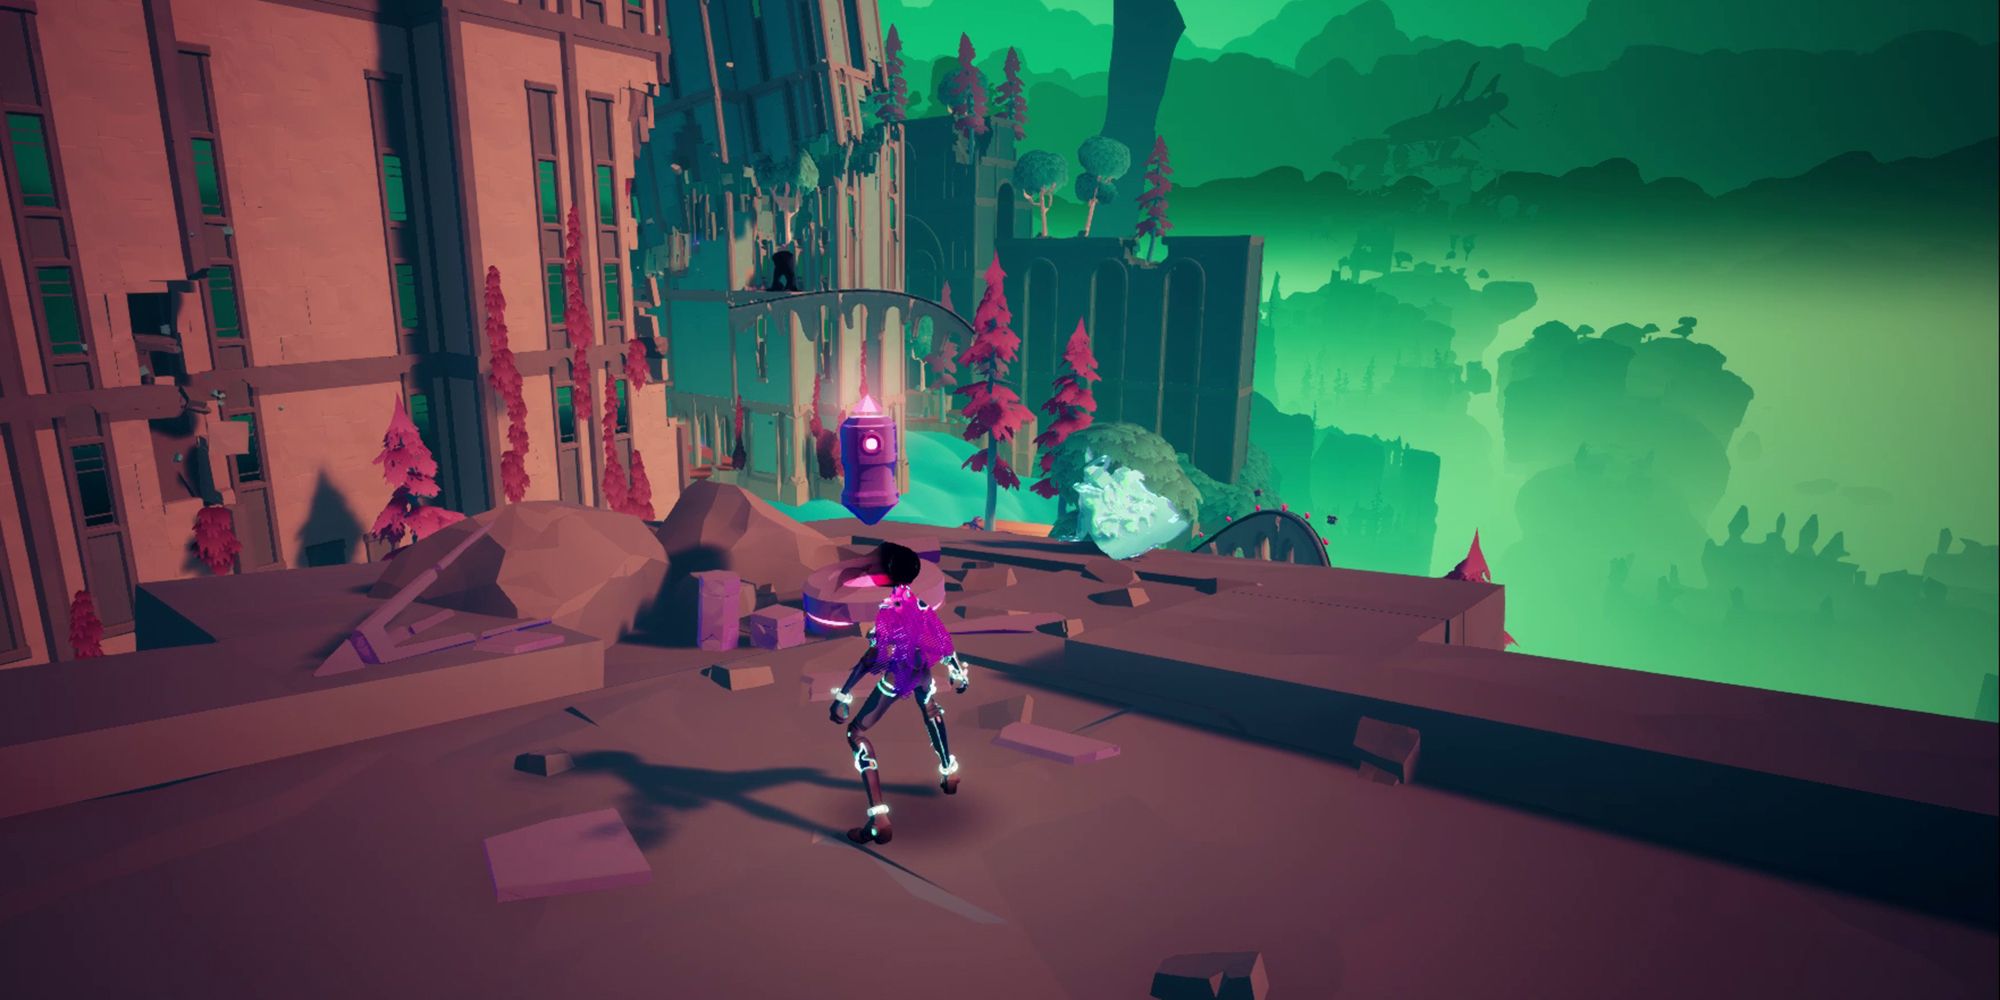
As soon as you step foot on the cloud ocean head to your immediate right and you should see this pink tree shown above with the Voidrunner Sigil on it. Go past the tree and follow the clouds until the world gets a bit topsy-turvy, and then look to the right. You should see this little outcropping with the first Cache sitting right in the center.
Cache #2: At The Crest Of The Ancient Statue


After grabbing the first Cache, make your way steadily up the ruins in front of you until you reach the absolute top, unlocking the two grind rail shortcuts along the way in case you fall. Once you reach the apex and unlock the second shortcut, before heading through the doors that lead to the “actual” Broken Capital and the fountain with the Veruki, turn back around to look at the shortcut you just unlocked.
You should see a Voidrunner Sigil to the left of the window behind the grind rail, this is your clue. Cautiously jump out the window, turn to your left, and hop onto the statue. Look on the far side of the statue for some black climbable ooze, and ascend to the head of the statue to see the Voidrunner Cache.
Cache #3: In The Ruins Of A Hollowed Out Building


Finally, our first Voidrunner Cache within the actual Broken Capital and not the ruins beforehand. From the Cyd platform, head to the backside of the building to your immediate right, and there should be a grind rail that leads upward, blocked part-way by a train car. You’ll know you found the right rail if there’s the Voidrunner Sigil on the wall directly behind it.
Head up it, jump off before the train car, and climb the black goop on the building to your right. Hop back on the rail on the other side of the train car and follow these rails until they take you into the hollowed remains of a destroyed building, with the debris from the top half of it floating just overhead, head to the back of this building and you should easily find the third Voidrunner Cache.
Cache #4: Right Above The Entryway Fountain


It’s odd that this is Cache 4 because it’s much closer to Cache 2 than it is to Cache 4, but in any case, the Voidrunner Sigil pointing to this one can be seen on the wall to the left of the fountain where the Veruki was praying. Head on out in the Broken Capital and take the grind rail down to the main platform that activates Cyd.
Then, turn around and head right back up that grind rail. Look to the right of the building the fountain was in as you grind up it, and you should see a grapple point you can jump off the rail mid-way and latch onto. Do this, and it’ll propel you into some more climbable goop. Once you reach the top, the fourth Cache is right there, and you can drop right back down into the fountain area afterward.
Cache #5: Overlooking The Remains Of The Capital


The last one looks a bit deceptive to get to from ground level, but it all makes sense once you’re up and above the city. Directly to the right of the hallowed building where Cache 3 was are two more buildings with some grapple points in between them floating in mid-air. Keep clearing out the anomalies in this area until you naturally end up on the building with an unlockable shortcut.
Once you’re at the top of that shortcut, head to your left and follow the grind rail that leads to some climbable goop with another trickier anomaly to clear at the top. After cleansing this anti-matter sludge, you’ll see another grind rail leading off of the roof to your right.
Follow this to another area packed full of the little white charging Voidcreatures. Climb as high as you can in this area to where the two bird-like void monsters are, and you’ll see another Voidrunner Sigil on the wall, with a grapple point above it.
Once you grapple up, you’ll see yet another line of grapple points hovering mid-air to your right that end above the roof of one of the only “intact” buildings in the city. Follow these around, and the building they land you on has the last Voidrunner Cache in plain sight.
The reward for all this is Erving’s Suit, which doubles your Plasma intake. Plasma is the primary “currency” in Solar Ash, and while this suit is useful, there’s not much to spend Plasma on, which is something we wish we knew before going in.
Link Source : https://www.thegamer.com/solar-ash-voidrunner-cache-broken-capital-location-guide/