
Outriders: Scorched Lands Expedition Guide
Table of Contents
Looking for an easy Expedition to farm? It’s hard to top Scorched Lands.
You Are Reading :Outriders Scorched Lands Expedition Guide

Quick Links
Scorched Lands is one of the best Expeditions to farm in Outriders. This Expedition has open sightlines, mostly fodder enemies, an easy final boss, and the drop rates at higher Challenge Tiers are better than other Expeditions.
You’ll need to start this Expedition on Challenge Tier 12 and spend some Drop Pod Resources, yet the enemies you fight are easy enough that most builds should be able to clear Scorched Lands with little issue. If you’re looking for a relaxed Expedition, Scorched Lands is your best choice. Here is a complete guide detailing how you can clear this mission as quickly as possible.
Updated December 5th, 2021, by Charles Burgar: The largest appeal of farming Scorched Lands was its fairly lenient timer. With the New Horizon update, Expedition timers are now a thing of the past. Players can now farm any Expedition they please at their own pace. Even with this change, Scorched Lands is still a fantastic Expedition to farm—mostly due to its scattered enemy spawns and easy final boss. We’ve updated this guide to reflect recent changes while recommending some good skills and mods for this mission.
Scorched Lands Enemies

- Challenge Tier Requirement: 12
- Drop Pod Resource Cost: 2,600
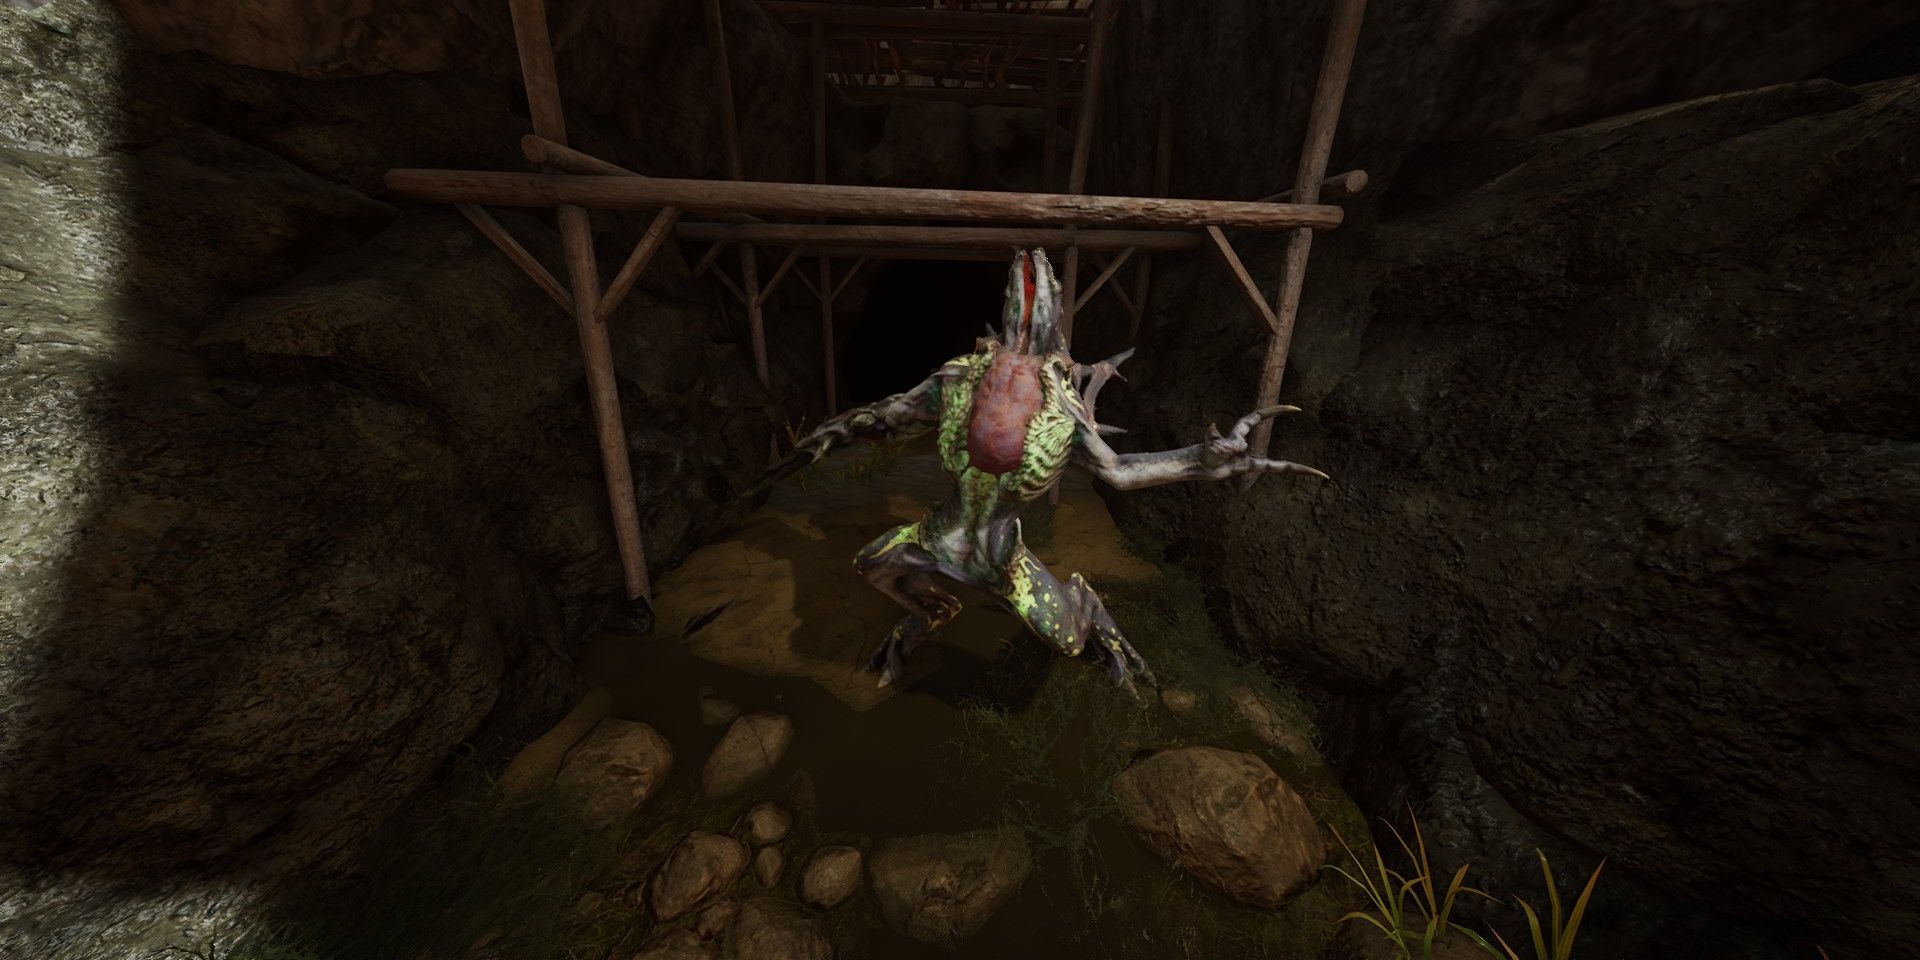
Desert Beasts are the only enemies in this mission. Scorched Lands has quite a few Brood Mothers, Behemoths, and Screechers that you’ll need to face. A DPS build is highly recommended here, although a team utilizing crowd control effects can do just as well.
Return to Quick Links
Recommended Skills And Mods

Devastator
Gravity Leap is a must for this mission. Each arena is quite massive with scattered enemy spawn points. Any other ability will work fine here; just focus on enhancing your damage as much as possible.
Pyromancer
F.A.S.E.R. Beam is amazing for this mission. It has excellent reach, damages enemies surrounding your character, and has a very short cooldown. For tougher enemies, Eruption or Heatwave will work just fine.
Technomancer
Blighted Rounds is hard to top on a Technomancer, regardless of Expedition. It’s no different here. Use a Tactical Rifle with good damage mods to burst down every enemy in the game with ease. Consider using Blighted Turret to further improve your damage.
Trickster
Twisted Rounds or Temporal Blade will carve through the Beasts with little issue. Regardless of your build, we highly recommend you run Hunt the Prey to traverse this map more quickly. Alternatively, make liberal use of Borrowed Time to achieve a similar effect.
Mods
Since this map is so large, you have quite a few options for mods. Anything that scales your damage will work great here, with staples like Firepower or Anomaly Echo being good staples for most builds. If you’re struggling to survive, Mitigation from Death will fix most of your issues. Crowd control mods like Freezing Bullets or Snowsquall are also a good choice.
Return to Quick Links
Opening Encounter

Take note of how large this area is. You’ll have enemies spawn from the edges of the map, so staying near the center of the arena is recommended to cut down on travel time. The timer is rather lenient for this mission, although it doesn’t hurt to speed up this part as much as you can.
The first group of enemies will be fodder Perforos that you can mow through with ease. Later waves will spawn more Alpha Perforos, some Sciathans, and even a Brood Mother. The first few waves spawn near the bottom half of the arena from the left and right sides. If you’re playing in a squad, split your team to kill the enemies right as they spawn to save some time. Otherwise, let them charge you at the center of the map. Clearing the final wave of Sciathans and Perforos will spawn a Brood Mother.
Return to Quick Links
Brood Mother

The Brood Mother will spawn at the end of the arena by itself. If you have the damage, you can kill it right now without much trouble. Those that rely on kill-stacking buffs should wait a few seconds for adds to spawn. These fodder enemies are extremely easy to kill. Don’t get swarmed; focus on the Brood Mother, and you should have no trouble here. Interact with the generator near the gate when you’re finished to proceed.
Return to Quick Links
Second Encounter

This section plays out similarly to the last combat encounter, except there will now be Crawlers and two Brood Mother waves.
You’ll be rushed by multiple Alpha Perforos when you enter this part. Kill them quickly, the direct your attention to the center of the arena. A few Crawlers will spawn that can easily kill you if you aren’t careful. Take them out, then push to the other end of the arena. A Brood Mother will be waiting for you.
Most of the Perforos you ran past will charge towards you, and the Brood Mother will likely try to buff them. Shoot at its heart to destroy it, preventing the Brood Mother from buffing its allies. Kill the Brood Mother first if you can. Clear out the Perforos and other enemies as fast as you can, as a second Brood Mother will spawn shortly after you kill the first one. Use the same process against this one, destroying its heart or focusing your damage on the Brood Mother. Kill the remaining enemies, then activate the generator to reach the final area.
Return to Quick Links
Drain The Flooded Basin

A small group of Maulers will be staring at the water basin. Take them out, then immediately direct your attention to the water. A Behemoth will rush from the water, giving you a short period to kill it. If you can’t kill it now, run to your left to take out a few Maulers and fodder Perforos. Should the Behemoth attempt to stun you, use your melee ability. The animation makes you immune to stuns and will break the Behemoth’s ability animation.
Once the Behemoth is dead, you’ll be swarmed by Desert Beasts. Most of these enemies shouldn’t pose much of a threat. Run to the left side of the arena when you’re done, killing the Mauler duo on your way to the generator. They’ll be two Crawlers near the generator that you’ll need to kill. If you don’t have any crowd control effects to stun one of them, focus all of your damage on one Crawler at a time. Kill both Crawlers and the second Behemoth, then activate the generator.
Activate The Generator

This part gets chaotic. A Behemoth will rush you from your right, an Alpha Perforor to your left, and a whole host of Beasts from the basin itself. Killing the Alphas first is recommended, as they can easily stunlock you. Further into the basin are additional Perforos and a Brood Mother. Try to keep the Behemoth isolated from the rest of the group when attempting to kill it. Once it’s dead, kill the Sciathans to give yourself some breathing room.
Now you’ll need to deal with the previous Brood Mother and a second Behemoth. Once again, try to keep the Behemoth and Brood Mother away from each other. Focus your attention on whichever enemy gives you the most trouble—for most, it’s the Brood Mother. Clear the basin of Beasts to spawn the boss.
Return to Quick Links
Final Boss
A Brood Guardian will spawn at the basin, acting at this Expedition’s final boss. Fortunately, this part isn’t as tough as the last one. Besides this boss, some fodder Perforos will spawn that you can kill to heal yourself. Focus on the Brood Guardian’s heart if you can. Kill all of the enemies in the area to complete this mission.
Return to Quick Links
Link Source : https://www.thegamer.com/outriders-scorched-lands-expedition-guide/